Introduction to Silk Painting at the NC Arboretum

by Kathy Goodson

Click on the picture to change

Click on the picture to change.

Another wonderful class of very talented creative students. (This time I remembered to take pictures.) Proud of their work, although I did not get pictures of their larger circle disks and some very imaginative designs.

Handpainted Silk Lampshade

by Kathy Goodson

I have been wanting to paint my own lampshades for many years.  Please watch this fascinating video on painting and making your own lampshade.  I do not have a supplier of the lampshade materials.  I can see that Glen is using Dupont dyes.  I use Jacquard Red label and Tinfix dyes, but all are pretty comparable.  None of these are light fast so it is very important that only incandescent or the new LED non UV or IR light bulbs be used in the lamp, all other bulbs have UV rays and will fade the dyes.

Introduction to Silk Painting at the NC Arboretum

by Kathy Goodson

July 19,2014

Taught another class at the NC Arboretum.  It was full.  I neglected to take pictures, please forgive me, class, because I was too busy admiring their work.

There will be another introduction class Nov. 15.  Please go to www.ncarboretum.org to sign up for the fall.  Remember to sign up early.


July 4th Rainy Day Silk Painting Project at Cape Cod

by Kathy Goodson

I decided to teach "my grand daughters" how to paint on silk using the French Serti technique and Resistad. Sidney got sick so she didn't get to finish and Sarah not only finished, but was the quietest I had seen her for days.

Notice the lobster bib.  Also of note is that plastic aprons and gloves are extremely hot and uncomfortable on a hot humid July day especially just before Hurricane Arthur.

Silk Abstracts with Suzanne Punch

by Kathy Goodson

Arts Weekend

at the

Lake Conference Center near Tusten, NY

Serene setting of the Lake Conference Center

Serene setting of the Lake Conference Center

All paintings pictured here are in process and belong to the artists.  The second and third are different views of Suzanne's demo of Abstract Painting.  The next five are other students' work.  The last one is mine, but is still unfinished.  I'll post more as I complete them.


EASTER 2014

by Kathy Goodson

SILK-DYED EGGS (aka TIE-Dyed!)

POSTED IN EASTERHOLIDAY CRAFTSSARA

floral egg

03.23.2012


I posted this tutorial a few years ago and it has become somewhat of a tradition to bring it back every year!  One of our family Easter traditions is dying eggs with pieces of silk. I saw a cute lady show Martha how to do it a few years ago and I ran upstairs right then to steal a tie! It’s way cooler than those cups of neon liquid that end up all over your clothes, your furniture and your hands plus it gives you an excuse to rid a man’s closet of ugly ties.

Here’s the run-down:

You need 100% silk for this to work. Make sure to check the labels to make sure you’re not buying polyester, which can look similar. I grab old ties at the thrift store where they’reusually pretty cheap. And remember: when it comes to ties, you may not want ugly ones on your man, but ugly ties do make pretty eggs! You could also use silk from an old blouse, a scarf, or whatever.  So if you’re rummaging through a thrift store, check out some other areas as well.

I try to find an assortment of colors and patterns. Usually dark blues, purples, and reds work the best, but it’s fun to experiment with all kinds of things. The interesting thing is that you never know how much of the color and pattern will transfer to the eggs. Sometimes ties I think will be awesome really disappoint, and ones I didn’t think much of make the most beautiful eggs. Here’s some of the ties I grabbed from my local thrift store:


Usually it will tell you if it’s 100% silk right on the main label of the tie, but a lot of them don’t, and if that’s the case, check that little tiny end, it’s usually hiding there.


The first step is to deconstruct the tie. Snip the seams and remove the lining so you are just left with the silk. (And yes, this old Christian Dior tie, which I love, was only 50 cents at the thrift store!  If it was a skirt, I would totally wear it.  I have gotten many angry comments about the fact that I destroyed a Christian Dior tie.  Honestly, for 50 cents I really don’t care who’s name is on it.  Get over it, people!)

Next you cut a piece large enough to cover an egg. Wrap the egg with the right side of the fabric making contact with the egg. The right side is the printed side, or the side that would be on the outside of the tie. You want to try to wrap the fabric as tight as you can without breaking the egg of course. The more direct contact the silk has with the egg shell the clearer the imprint of the pattern. Where there are folds in the fabric you’ll get kind of a swirly water color effect. I love those parts- it adds to the charm. Once wrapped, tie with a piece of string or a twisty tie. (Do yourself a favor and go with the twisty tie!)

Now, notice how I tied the eggs in the above photo- with the tie on the top of the long side of the egg.  If you do this, the opposite end of the egg will have the best pattern.  If you are going to be sitting the eggs upright in an egg cup, this is the best way to wrap them.

However, if you want the best part of the design on the wide side of the egg, you’ll want to wrap them horizontally, like this:


Just wrap them as smoothly and tightly as you can for the best transfer.


I wish eggs came like this at the grocery store.  I would probably buy a lot more eggs if they were dressed up in their silky best.


After the eggs are wrapped in silk, you’re going to wrap them again with a light colored light weight piece of fabric. An old pillowcase, sheet, or thin dish cloth is perfect. If you go to the thrift store to get ties, you may want to grab a pillowcase too. Otherwise you might get impatient at home and just take one from your kid’s room. Don’t tell my husband I did that.


Put all those little guys in a pot and cover them with water. Add 1/4 C vinegar and bring it to a boil. After about 20 minutes you can remove the eggs and set them in a colander or on a towel to dry and cool. Once they’re cool enough to handle you can remove the fabric.

This is my favorite part. I get so antsy waiting for them to cool. It’s always a surprise to see what went on in that little package.


Below are some of my results. I have to say that the first one is probably my favorite egg of all the ones I’ve ever done. I can’t believe how clearly those flowers transferred and how bold the colors turned out. Incredible!


Here are some older photos, but still fun to look at.  I absolutely love the cool stripy, swirly thing going on in this one


This is one of the disappointments I talked about. I was so excited for a green tie and I thought the pattern was cool (ya know, for an egg) but it turned out super light and muted. Still pretty though, kind of like water colors.


I almost didn’t buy this blue tie because it looked boring, but I’m glad I did. Remember: bad ties make good eggs!


Try this out and let me know how it goes. Everyone will wonder how on earth you did it! Just tell them you’re a genius.  Or give them our website.  Your choice.

Here you can see the opposite sides of where I tied the silk, they get kind of a swirly watercolor look:


And here are the sides where the silk made the most contact:


If you want to add a little shine, just put a little vegetable oil on a paper down and give them a lig


Silk Dyed Easter Eggs
from ourbestbites.com

Cut pieces of 100% silk large enough to cover an egg.  Wrap as smoothy and tightly around egg as possible, with right side of fabric facing in, and secure with a twist-tie or piece of string.  Repeat process, but wrap with a plain piece of lightweight fabric, like an old white pillowcase or sheet.

Place eggs in a large stock pot and cover with water at least 2 inches above eggs.  Add 1/4 cup white vinegar.  Bring pan to a boil and reduce to simmer.  Simmer for 20 minutes and then use a pair of tongs to remove eggs and lay them (still wrapped) on layers of paper towels or an old dish towel.  Let cool to room temperature and then remove the fabric wrappings.  Store in the fridge until ready to display.  If desired, rub with a small amount of vegetable oil for shine.

To complete this process with blown-out eggs, click here.

How to Remove Wax and Steam Silk in a pot

by Kathy Goodson

Removing wax prior to setting silk by steaming. Simple steaming method in a tamale steaming pot. How to set steam set dyes. visit: http://silkpaintinggalelry.com for more information, online classes, and free silk painting network.

Check out this video by Francine Dufour Jones on YouTube.

Here is info from Susan Louise Moyer's website, my teacher, on the steaming process:

Steam Fixation Process

Working with an assistant will make the job easier, since paper will stick to the decorative resist (black, gold. silver etc.) and it is next to impossible to remove it.

The silk should be rolled for steaming between sheets of fabric.

I use freshly washed old cotton or cotton polyester sheets that can be rewashed and reused. After the selvages have been removed, the width of the fabric sheets should be at least 4” wider than the silk.

Prepare enough fabric sheeting to cover the length of the silk with two layers of sheeting 6 inches longer than the silk.

Cut two lengths of newsprint paper 2 feet longer than the length of the silk. The additional length becomes the protection for outside of the rolled silk.

Roll the silk around the steamer core as follows:
The silk is the first layer.
Cover the silk in the following order:
one layer of fabric sheeting
two layers of newsprint paper
one layer of fabric sheeting

NOTE: The newsprint paper should extend 1 1/2 -2 feet beyond the layer of silk and fabric sheeting.

Carefully roll the layers around the steamer core. If the layers are in the correct order you will see the silk painting on the outside of the roll. Seeing the silk gives you the opportunity to prevent wrinkles. Constantly smooth out the silk as you roll and brush your hand over the layers and away from the roll. While rolling the silk, keep even pressure and make sure the edges of the silk, sheeting, and the paper are as lined up as possible. If there is not enough paper at the end of the roll to go around the silk, add more paper.

Secure the roll with 6 or more small pieces of masking tape. (Do not use one long piece of tape placed straight across the length of the roll. This will block the steam and may cause uneven steam fixation and unwanted lines in the painting.)

Cut a piece of brown uncoated craft paper into 55” wide x 48-50” (craft paper needs to be wider than the rolled silk bundle).

Roll the craft paper around the bundle of rolled silk.

Secure the craft paper around the roll by staggering six or so pieces of masking tape along the edge.

Secure the ends of the roll with 2” wide masking tape. Place one half the width of the tape around the edge of the roll and pinch the other half onto the core so it seals the ends. Secure the tape onto the core with a rubber band at each end.

Rolling a painting in preparation for steam setting the dye

The layers of silk and sheeting are being carefully rolled around the steamer core. When the layers are in the correct order, as you see here, the silk painting will be on the outside of the roll. Seeing the silk gives Susan the opportunity to prevent wrinkles. As the layers are rolled, Susan constantly smoothes out the silk by brushing her hand over the layers pushing any lumps or wrinkles out and away from the roll.
While rolling the silk, she keeps even pressure and makes sure the edges of the silk, sheeting, and the paper are as lined up as possible. As seen here, the newsprint paper should extend at least 18” beyond the layer of silk and fabric sheeting. Keep rolling to the end and then secure the roll with 6 or more small pieces of masking tape.

For additional protection against condensation, the rolled silk is covered with a piece of uncoated brown craft paper. In this case, 55” wide craft paper is secured around the roll by staggering six or so pieces of masking tape along the edge.

Secure the ends of the roll with 2” wide masking tape. Place one half the width of the tape around the edge of the craft paper.

Pinch the other half onto the core sealing the ends.Secure the tape onto the core with a rubber band at each end.

Lift the top section of the steamer in place and secures the roll with the second quadrangle. Make sure the hump on the quadrangle is down holding the roll in place

Place the bottom section of the fabric steamer onto the base. To prevent condensation from collecting and water from staining the silk, center the rolled bundle over the center hump of the quadrangle. The quadrangle is the part attached to the bottom of the steamer. Make sure the rolled bundle is securely suspended several inches above the water level.

Steam for 3-3 1/2 hours.

Susan has not had to add water to this steamer but if this is your first time, check the water level at least once during the steaming.

Rocket Steamers and Stove Top Steamers are available from Susan's catalog. Click Here>
 

Once you are sure the roll is securely placed between the bottom and top quadrangles and does not rest on the sides of the fabric steamer, put the lid on the steamer.

7/1/11

Piedmont Silk Painters 2-1-14

by Kathy Goodson

Zentangles by Maria Thomas and Rick Roberts as taught by Joanna White.

Joanna guided us through drawing Zentangles by Maria Thomas and Rick Roberts.  We drew the following: Rain, Crescent Moon, Florz, Tipple, Static, Squid, Meer, Nekton, and Betweed.  Then she demonstrated how to draw these designs on the stretched silk with soy wax and then paint a contrasting color outside of the design.  I didn't get any pictures of the waxing, I was too busy having fun, but a friend had some I could include.

Fabric Presentations at Azule in the NC Mountains

by Kathy Goodson

Join us Saturday September 14 at 4:00 pm for a fabric presentation including me.

The Azule Newsletter

September 2013 

SATURDAY SEPTEMBER 14, 4pm

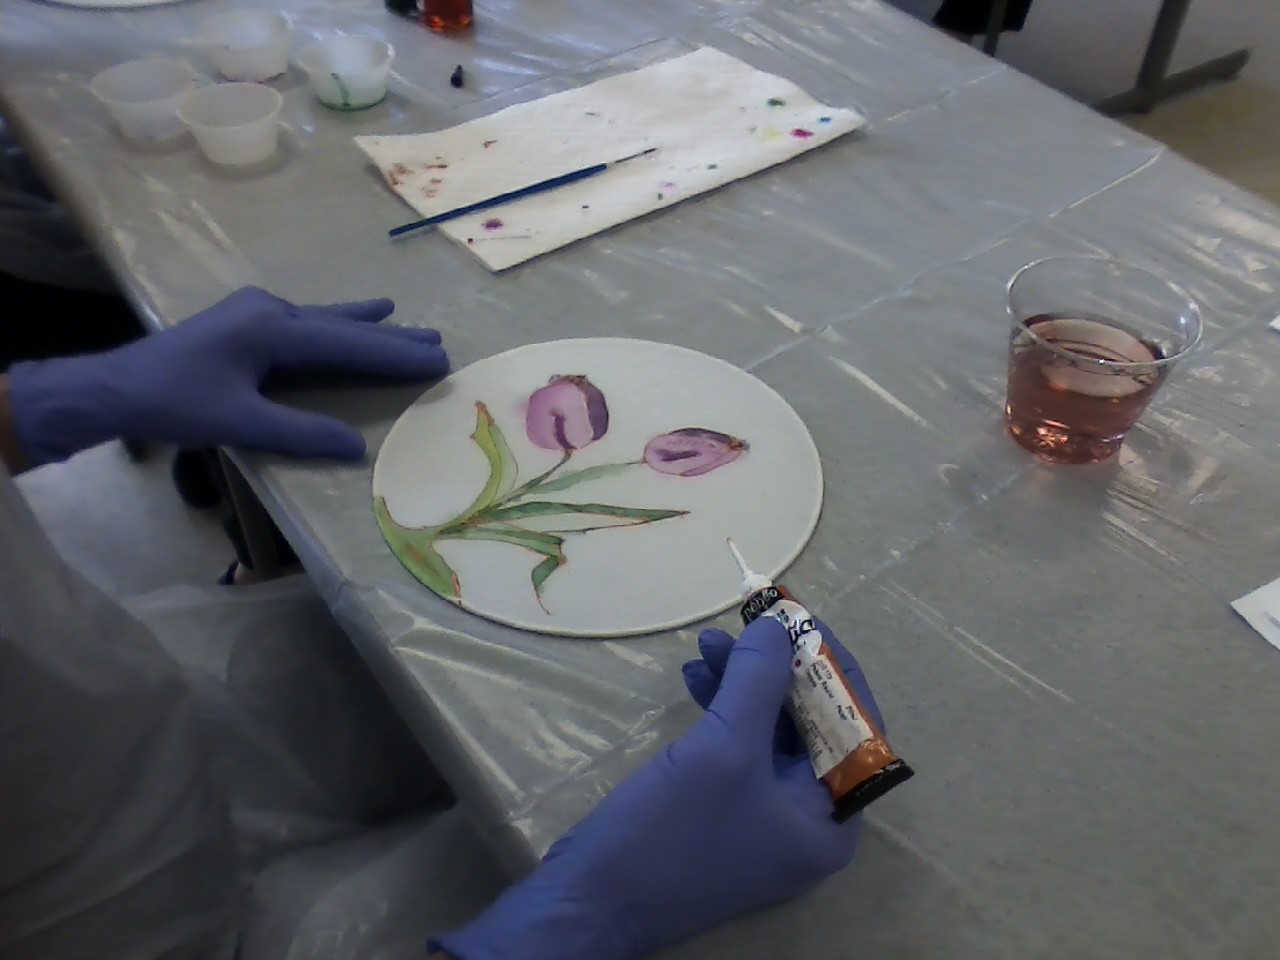
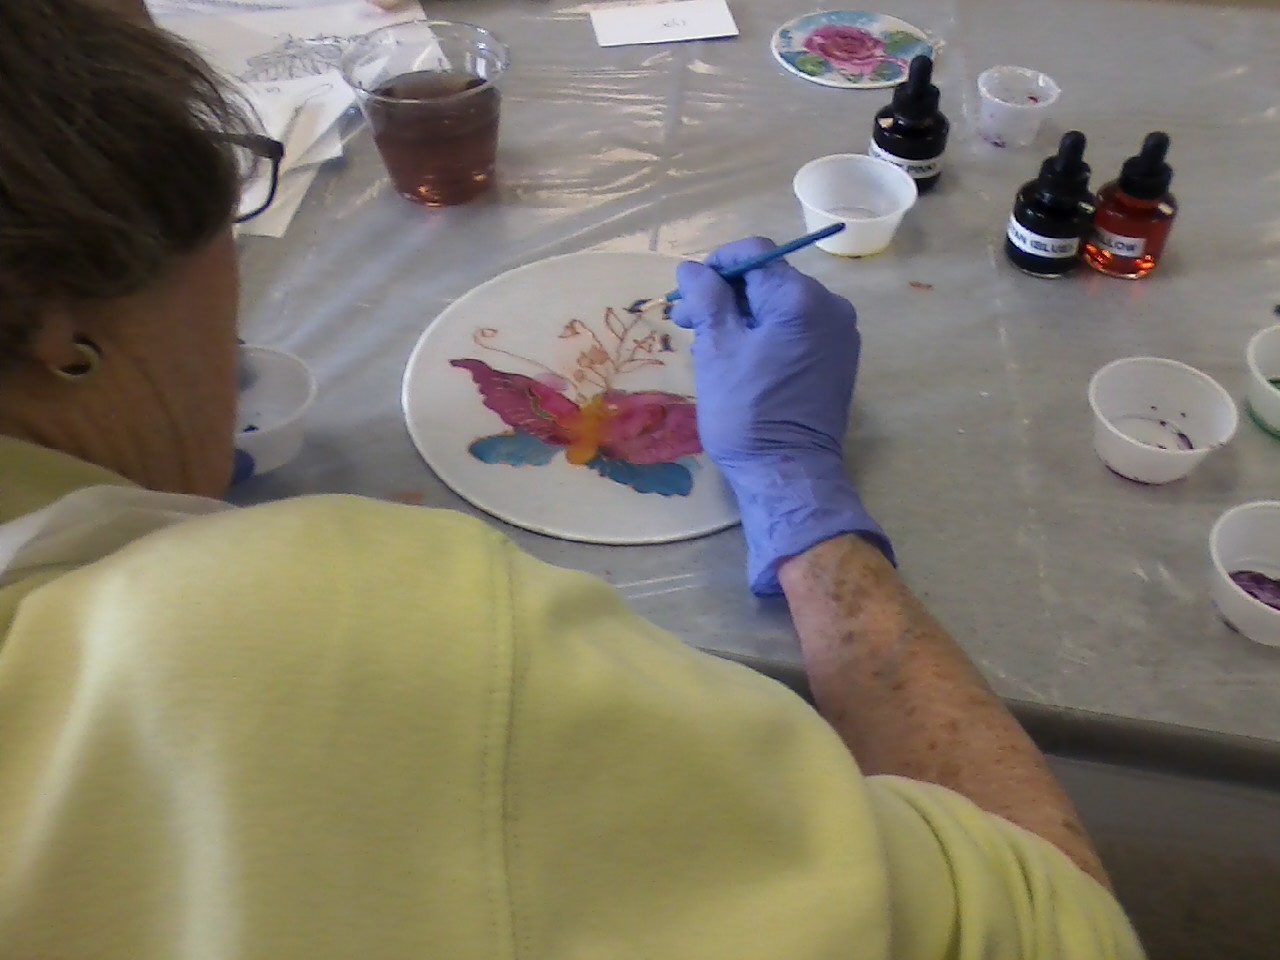
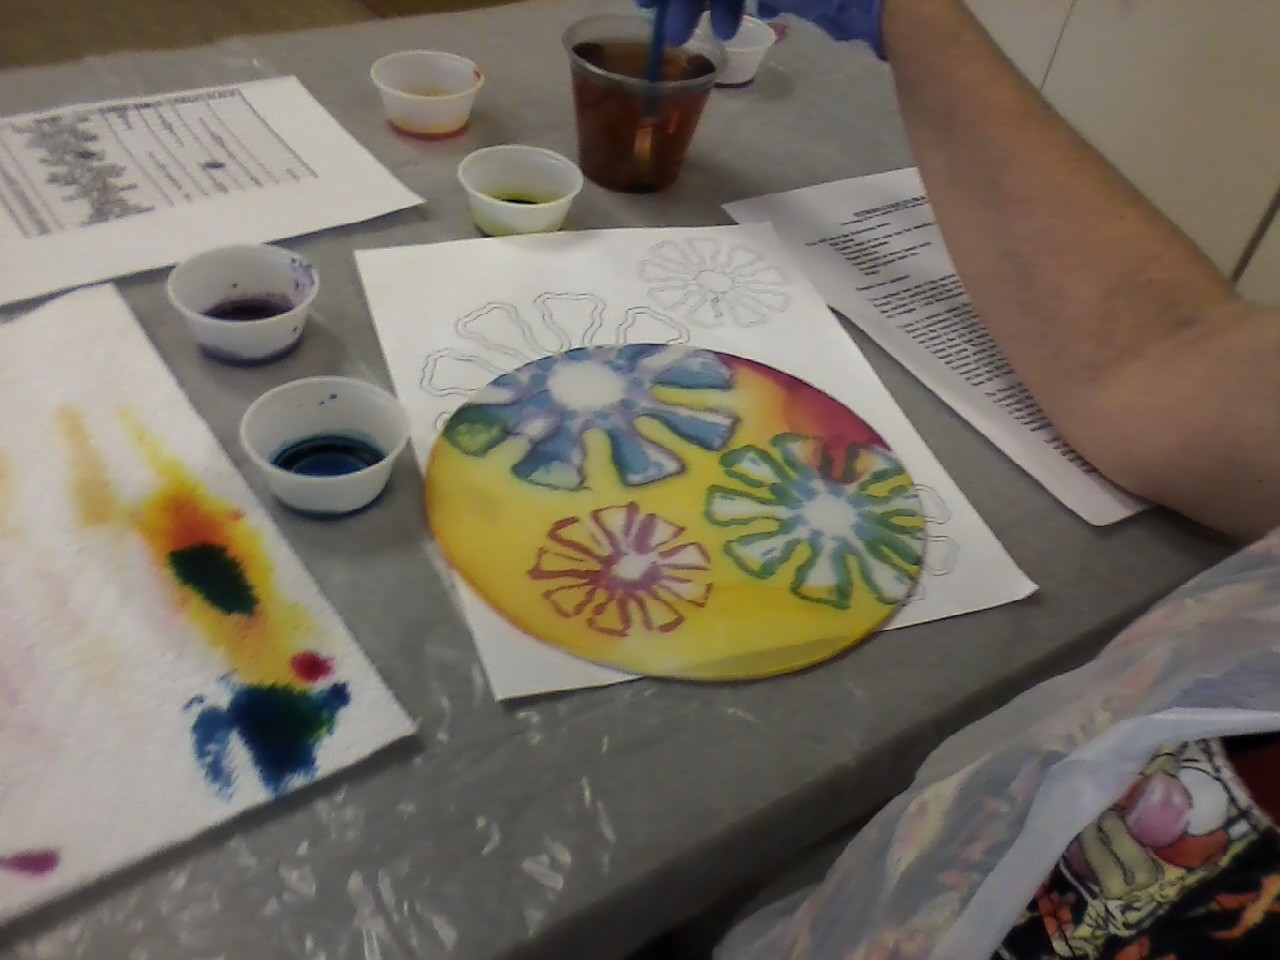
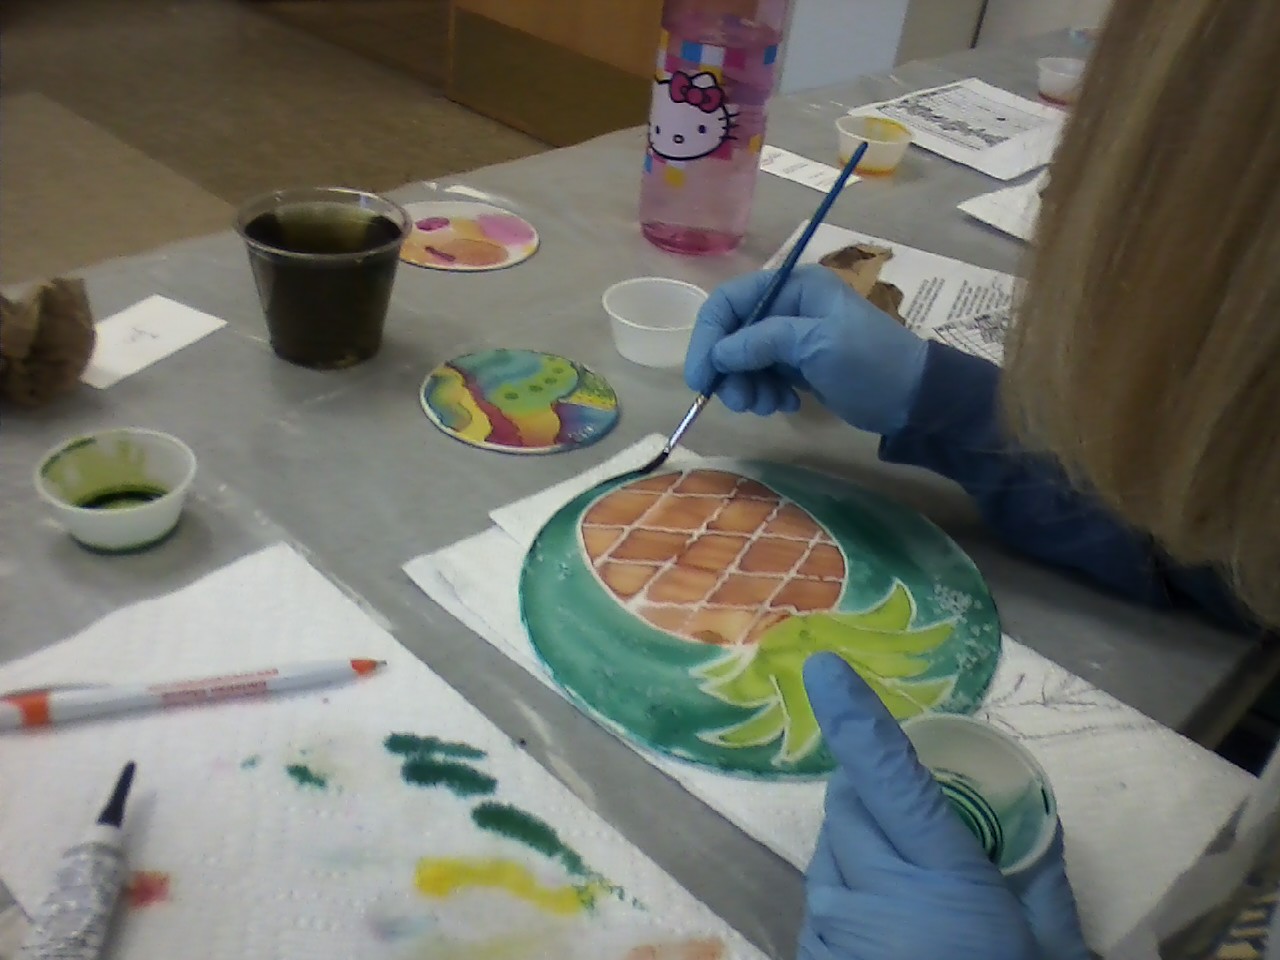
DOCUMENTING THE PROCESS OF ART MAKING

"To Provide An Environment Where Artists And Community Meet, Work And Learn Together Through The Arts In Their Many Forms"

SATURDAY SEPTEMBER 14, 4pm: "Documenting the process of Art Making", followed by a potluck. Presentations by JOYCE HULBERT and MARION JAHAN, both in residence at AZULE, KATHY GOODSON, who lives in Madison County and  BAILEY BARASH, who just completed the wonderful 10 minute film "AZULE Imagine..." with Manoj Sepiastory. "AZULE Imagine..." is now live in HD!
Here is the link: http://www.youtube.com/watch?v=c8VIStnESkU
Also coming up this month, SEPTEMBER 27-29, is a SKILLSHARE weekend, organized by OMARI FOX: "R & RSC: Rest & Resource for Social Change" 

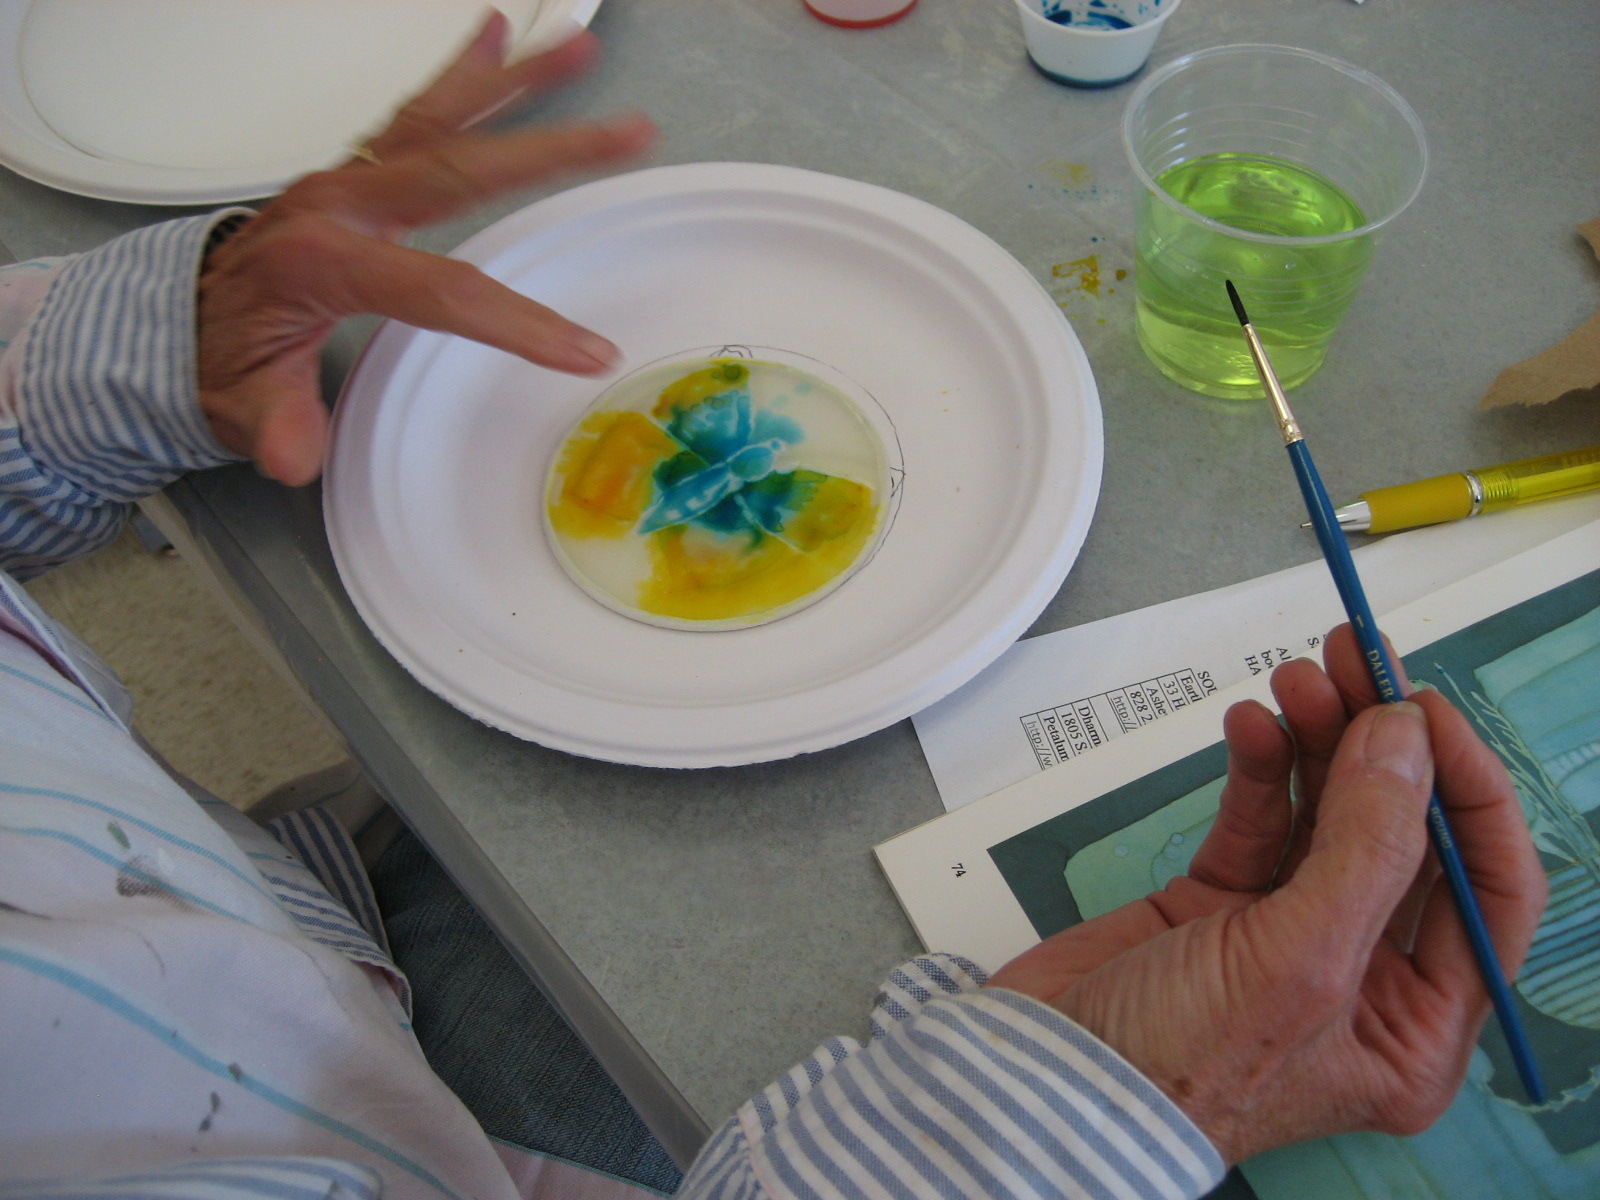
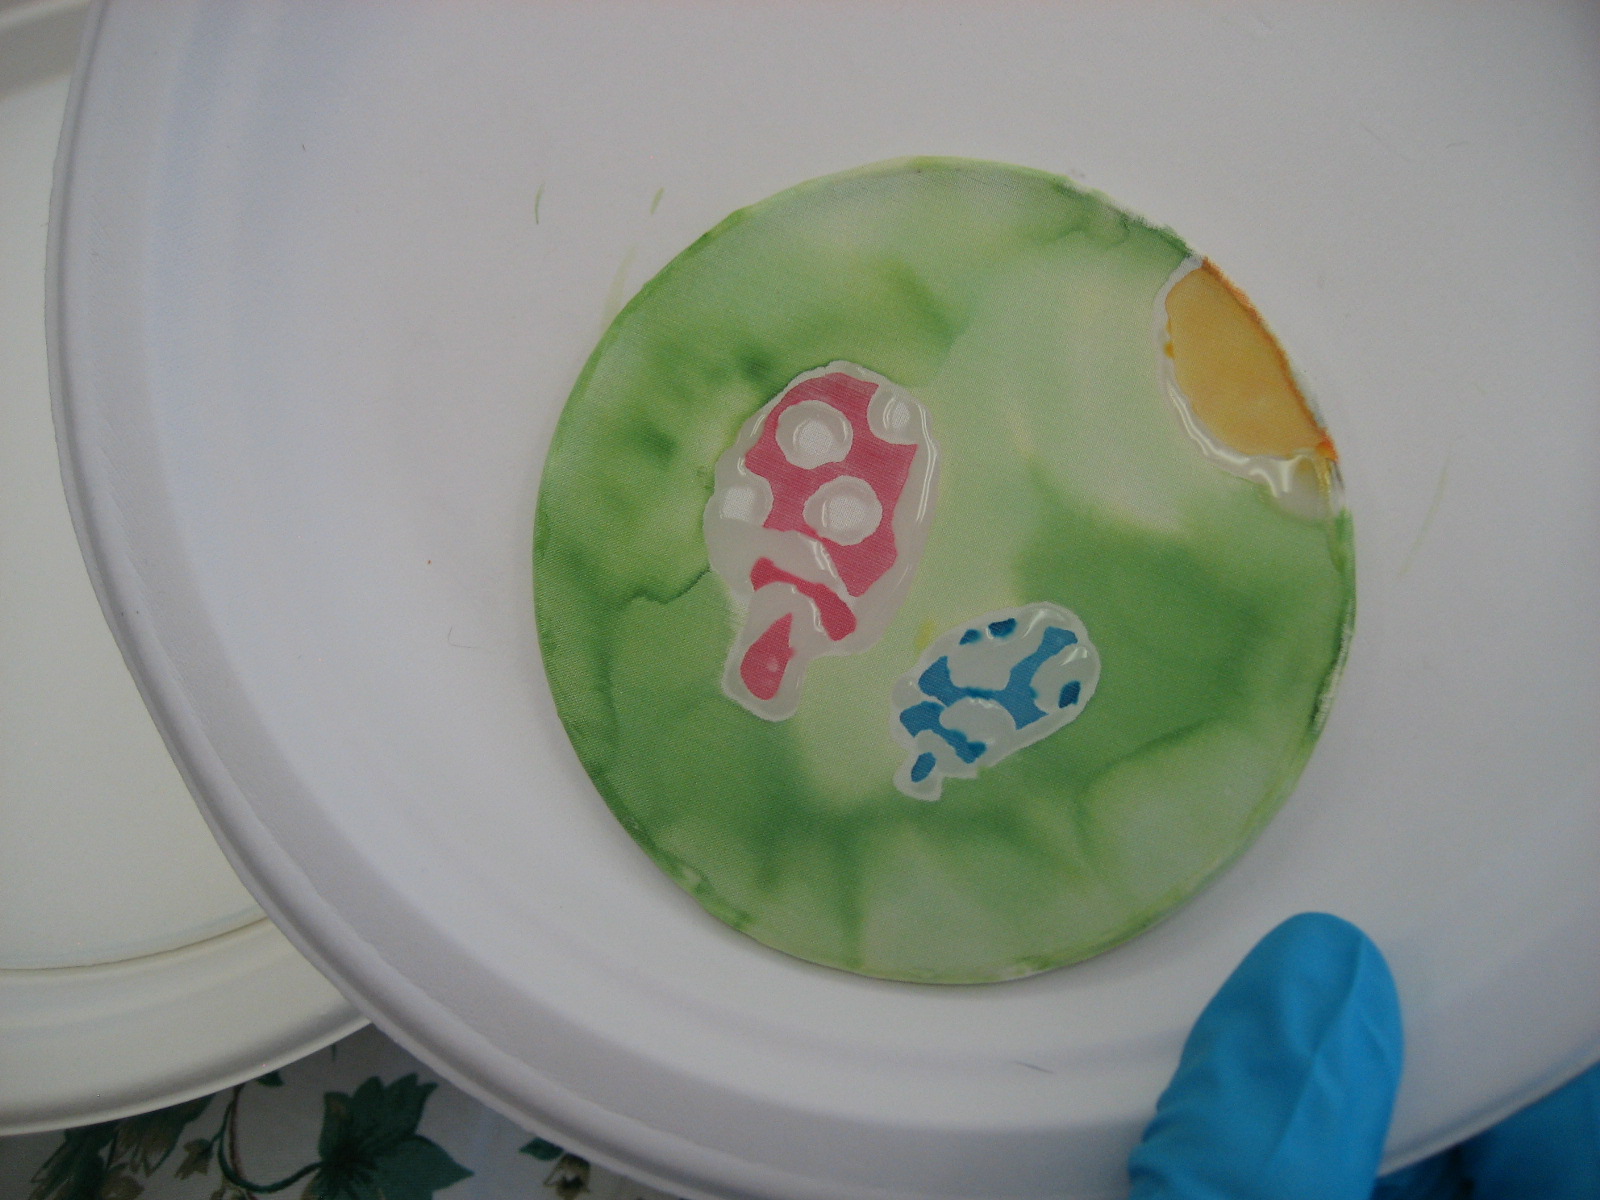
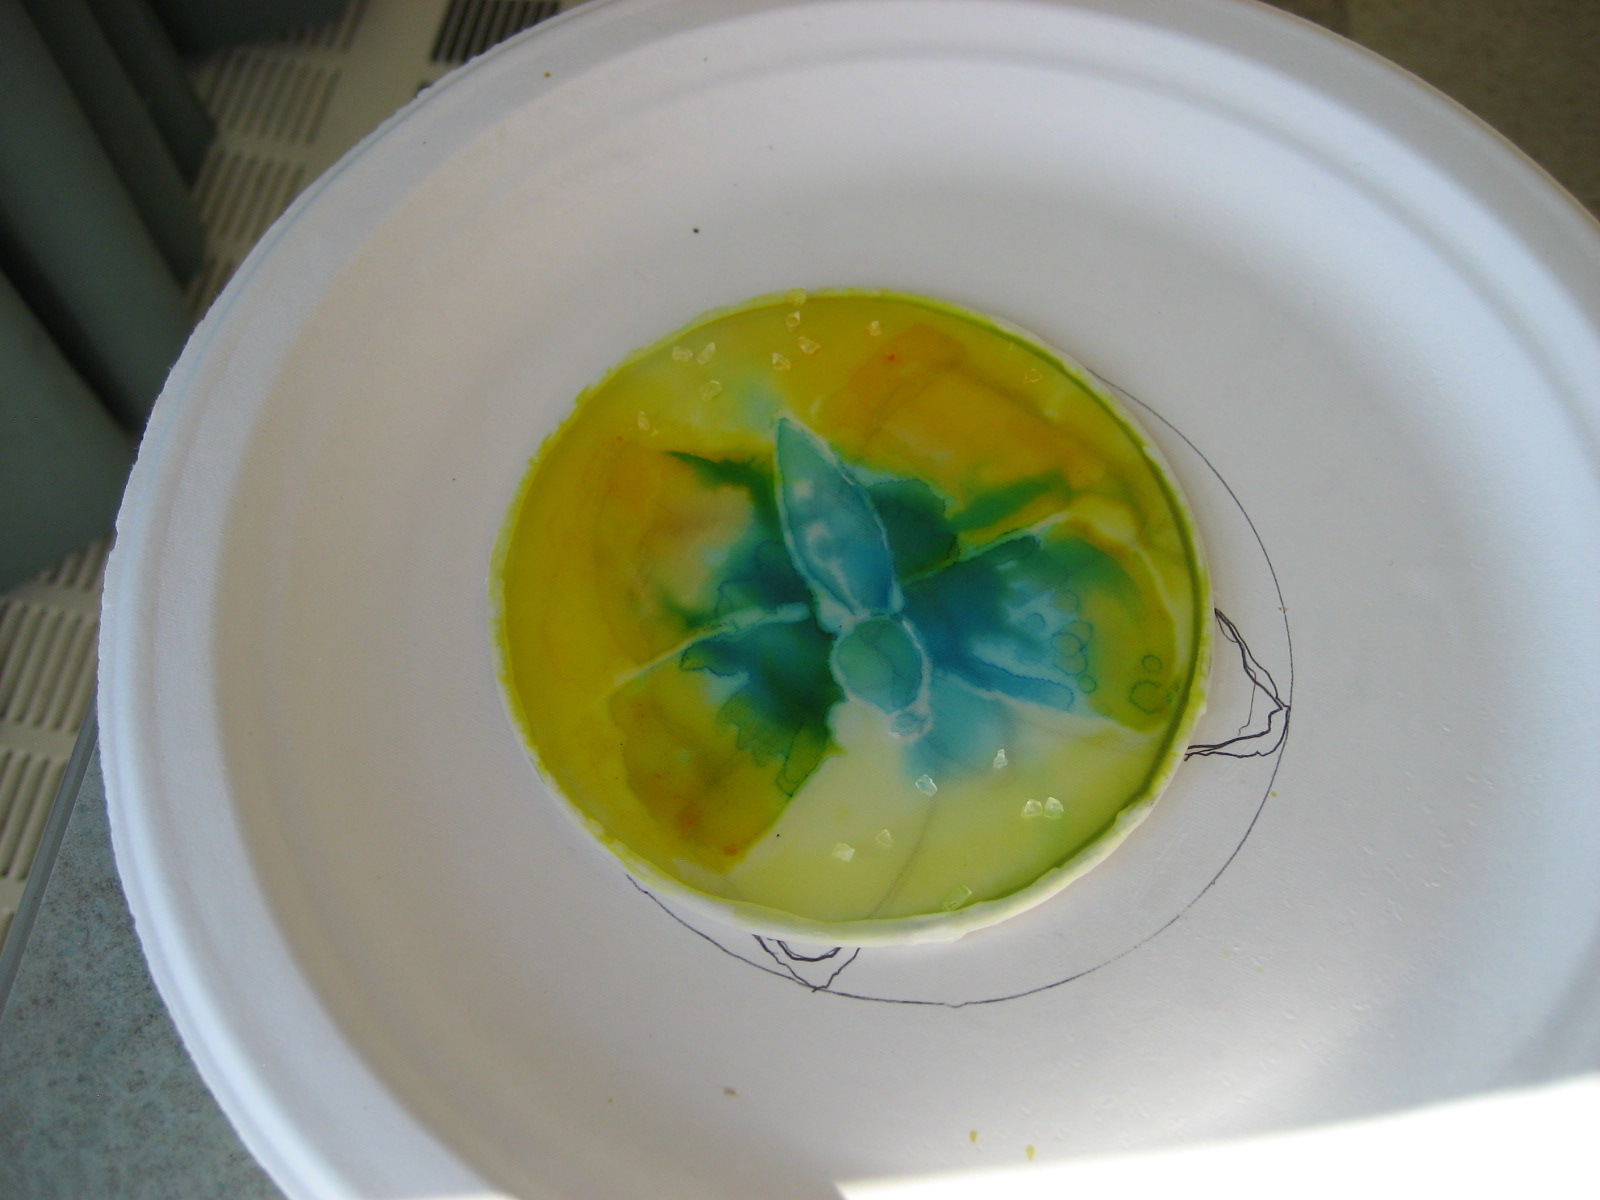
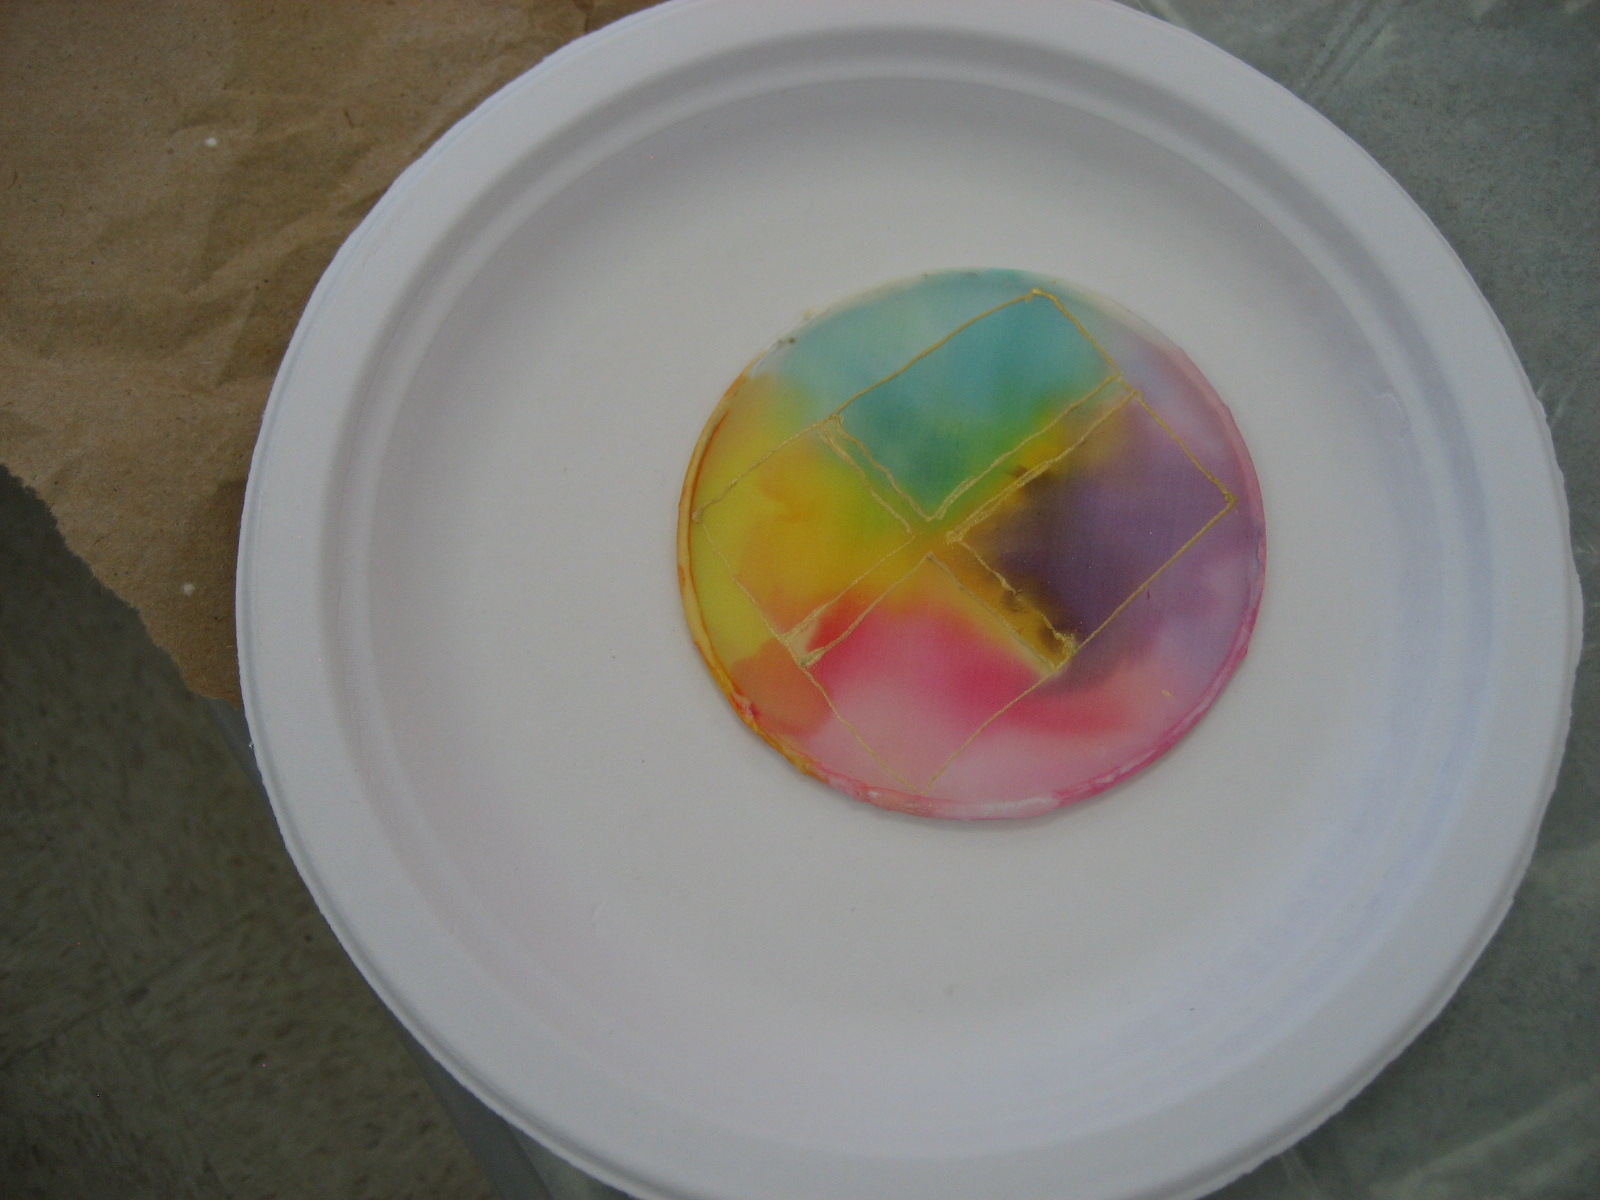
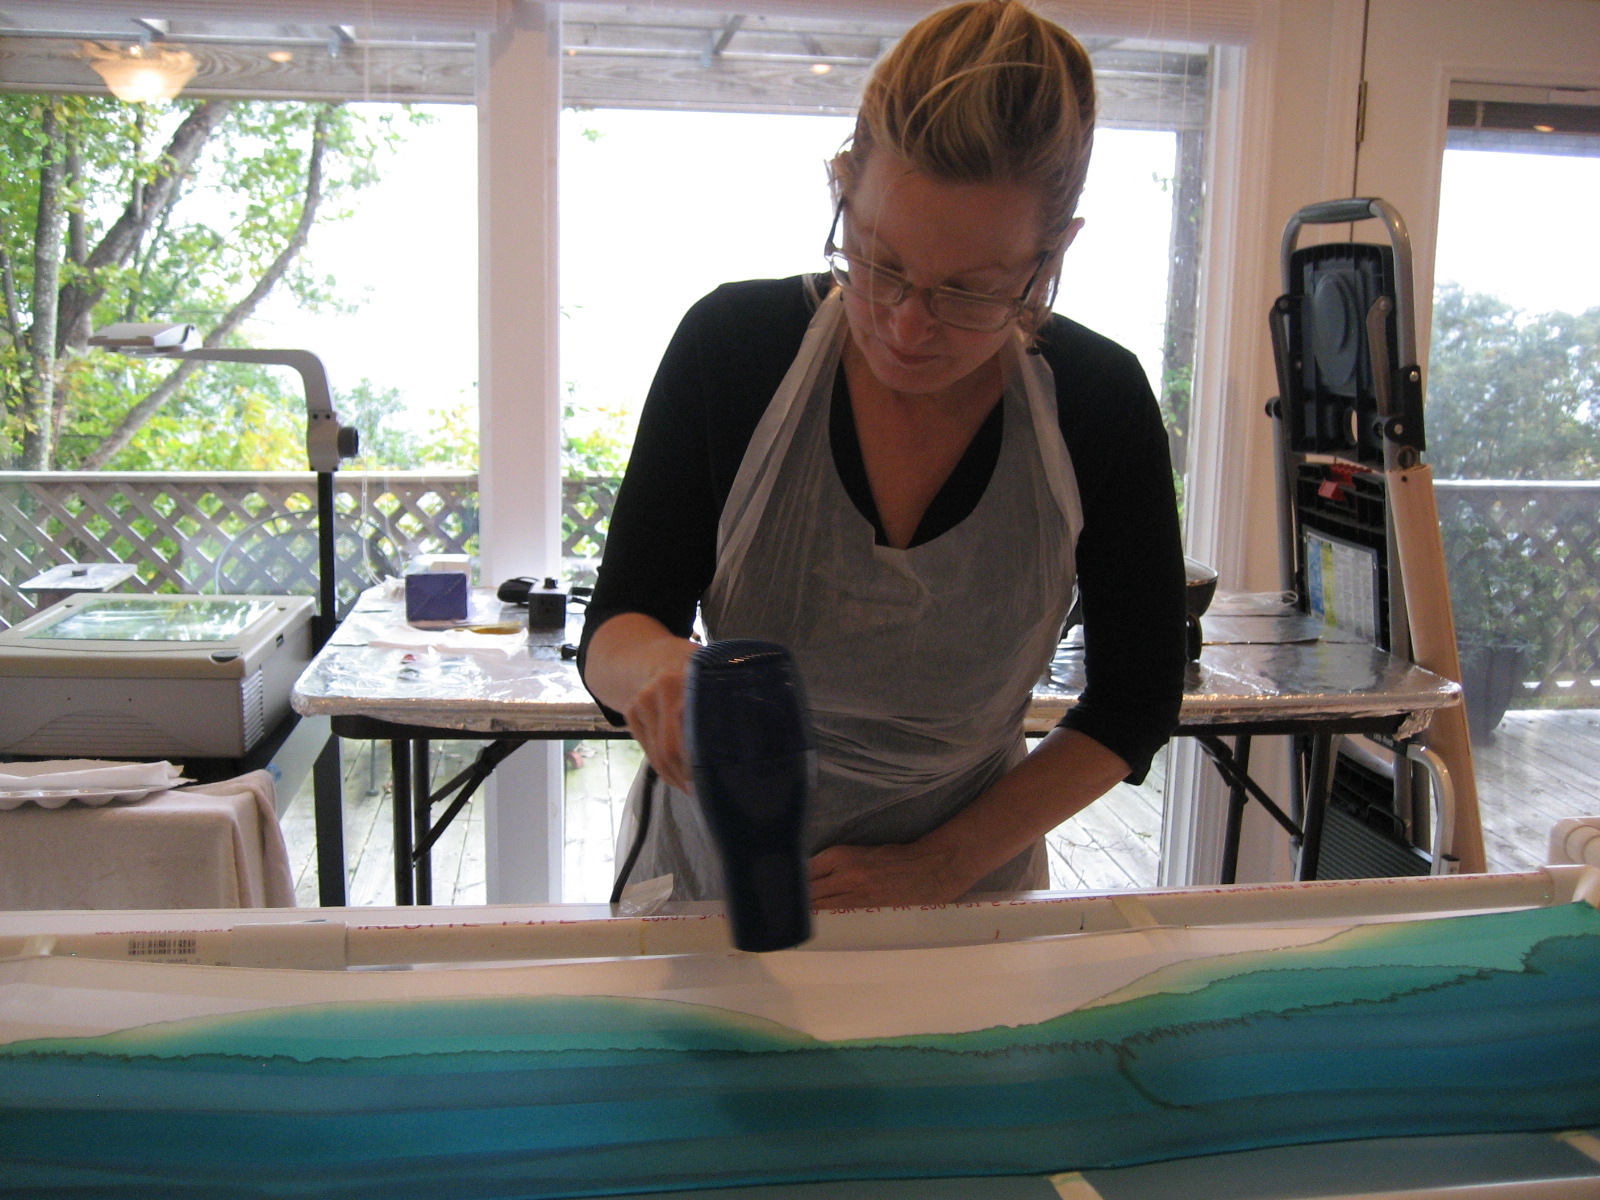
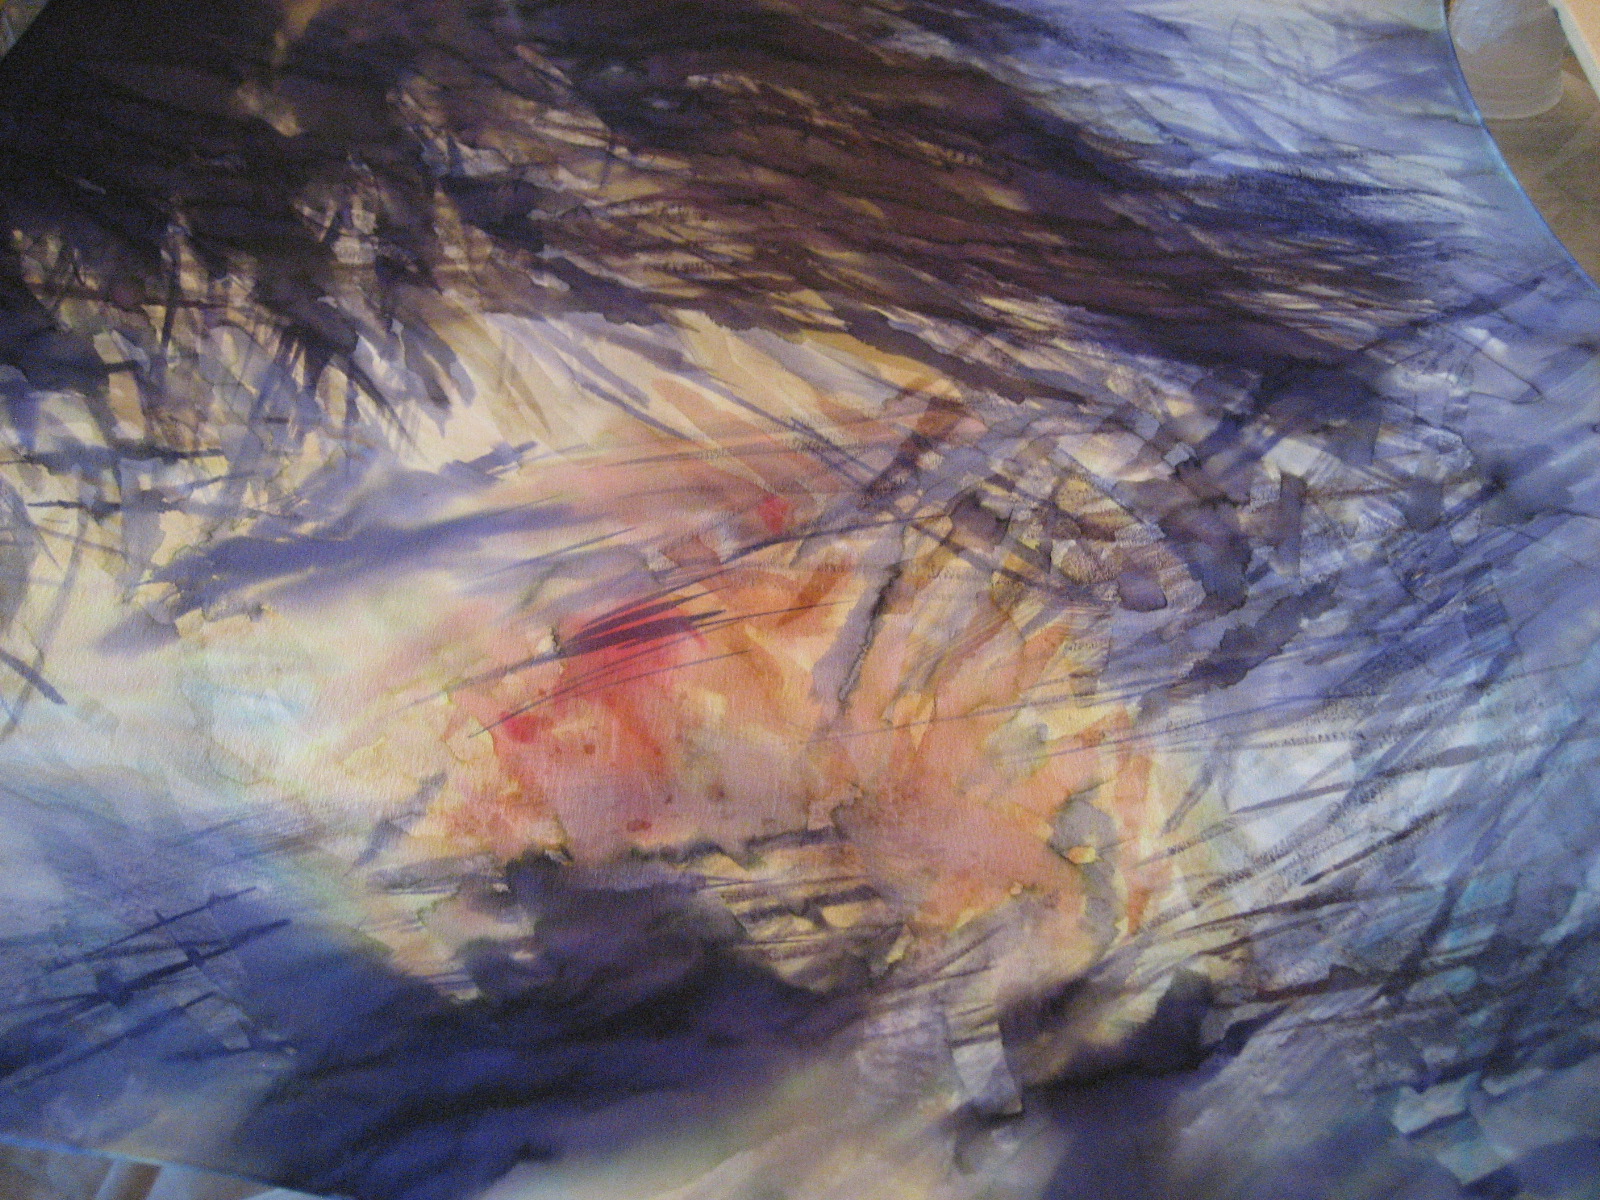
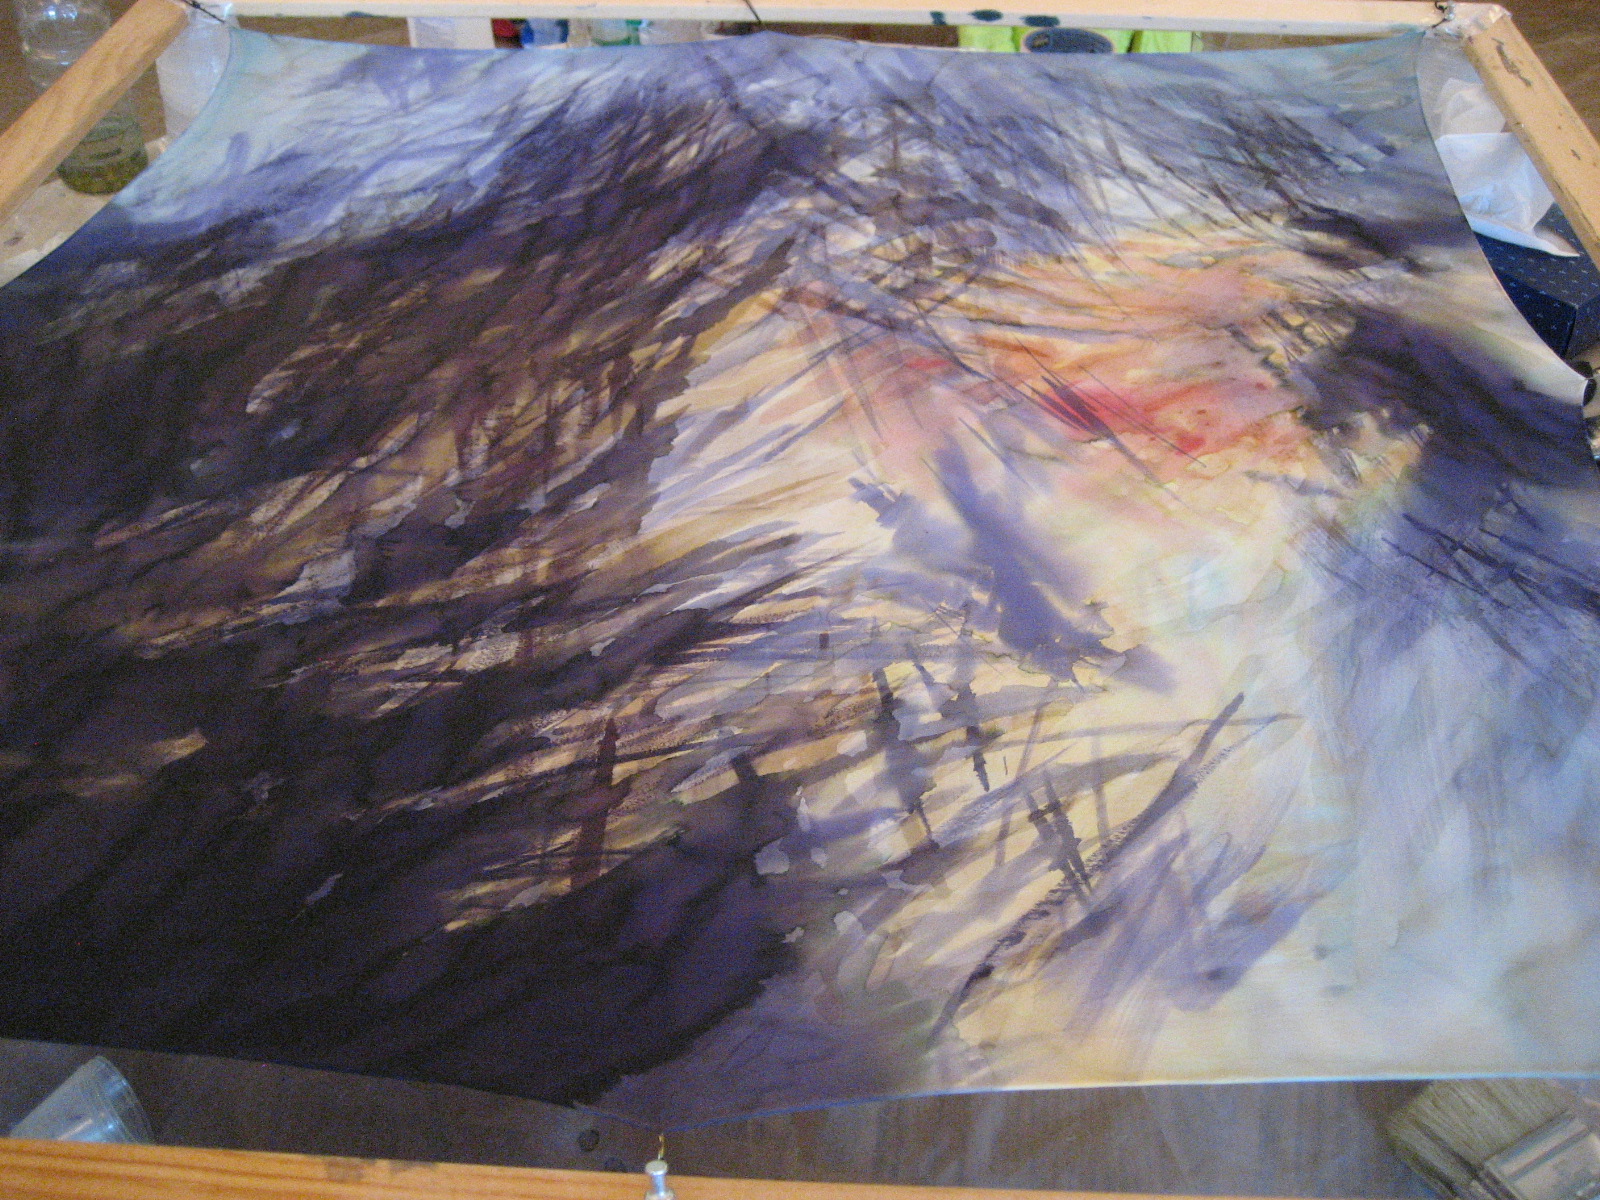
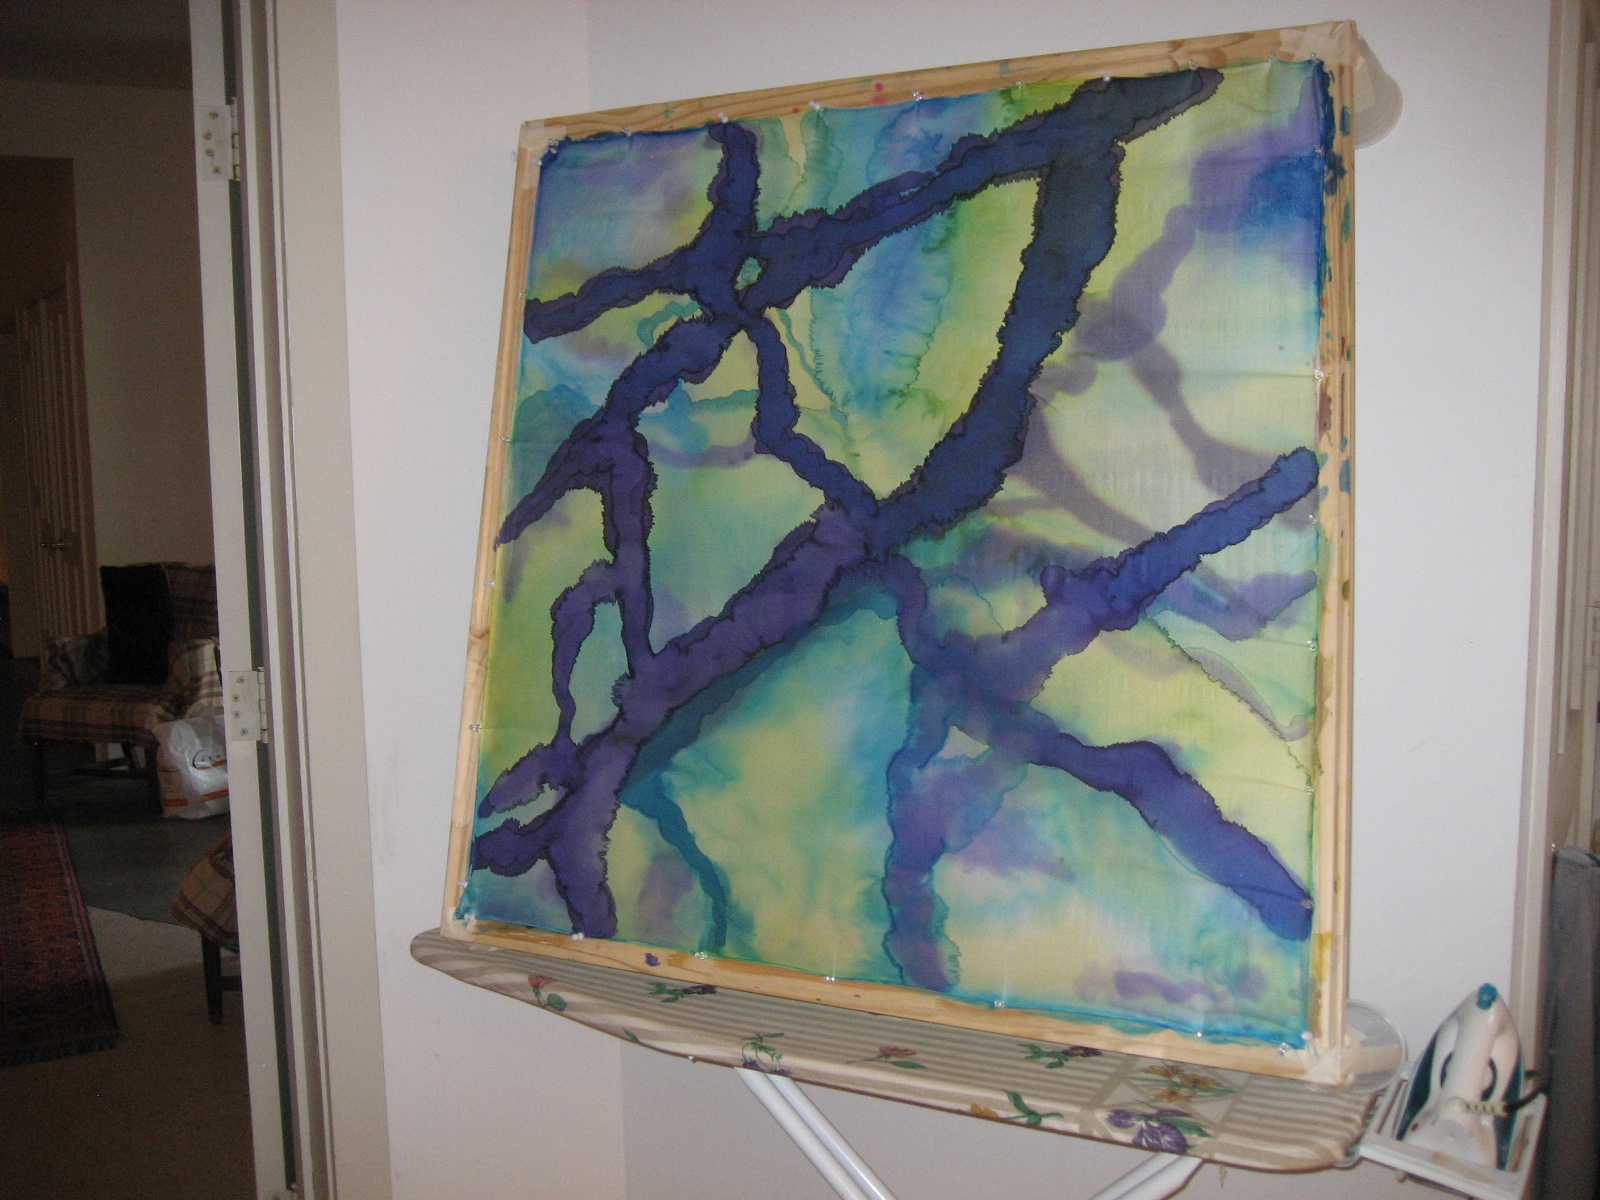
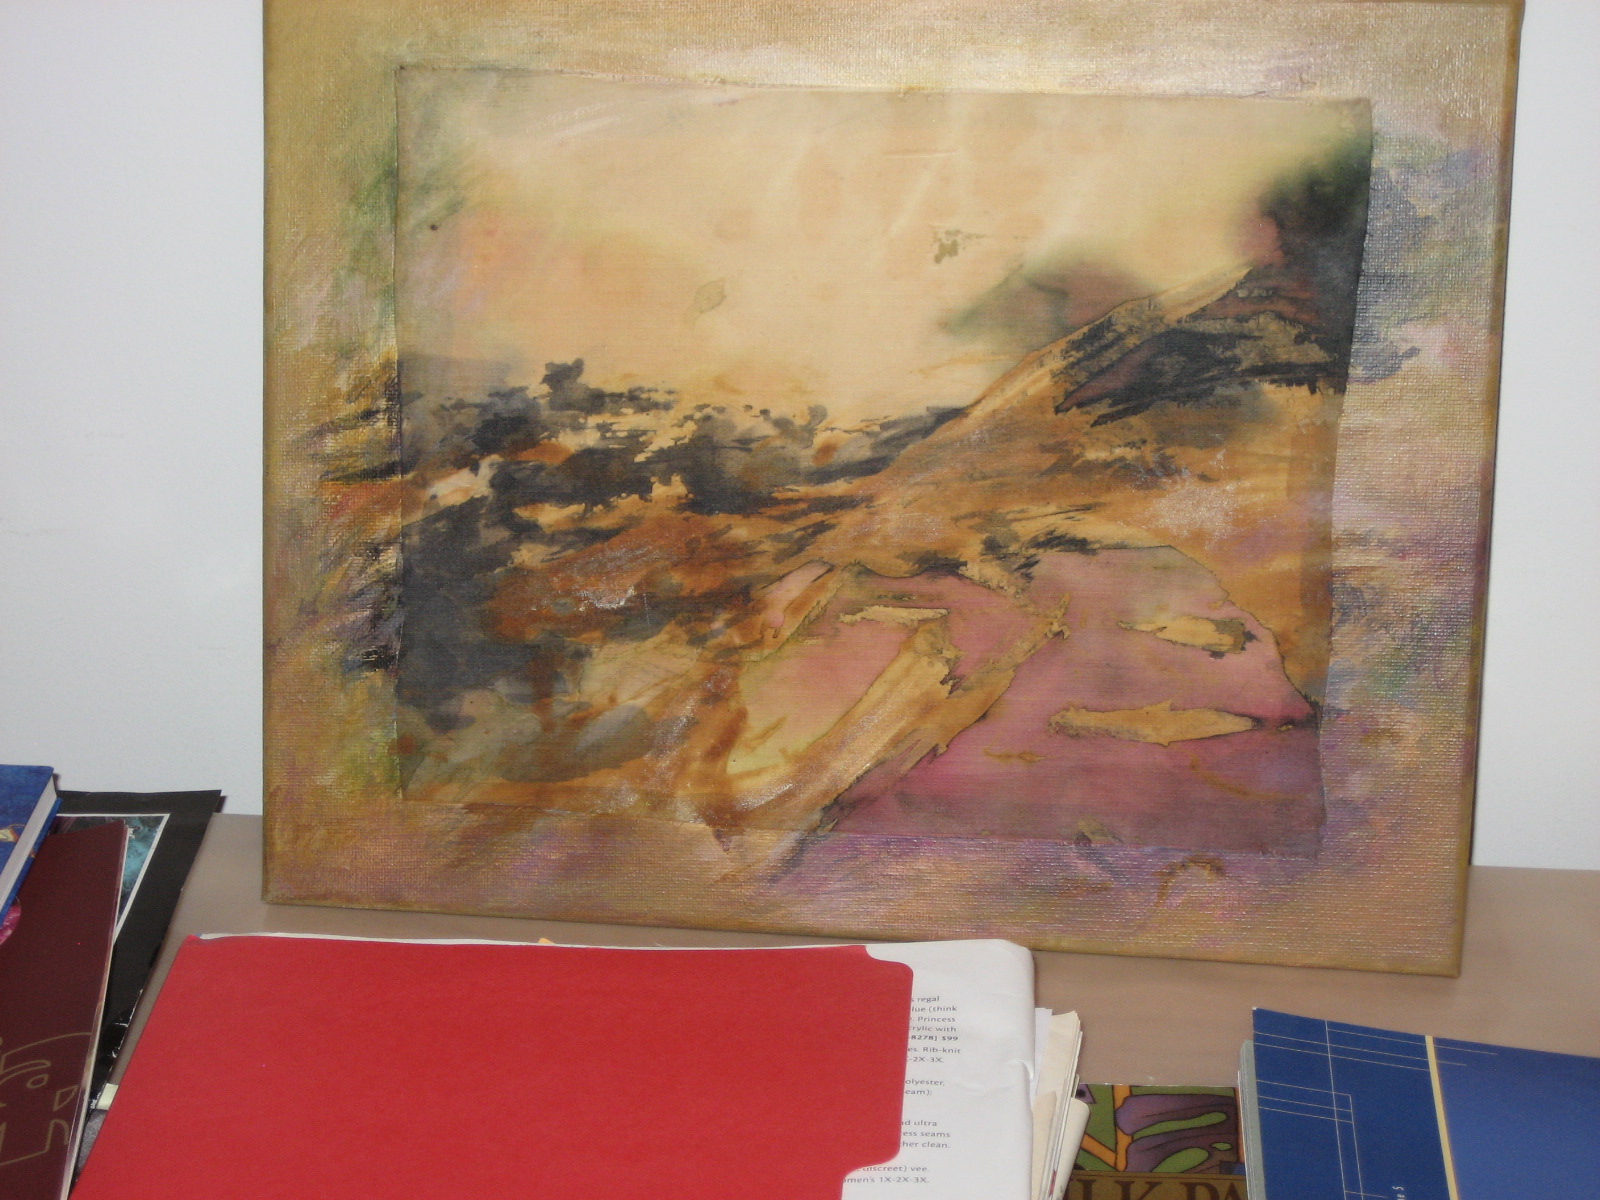
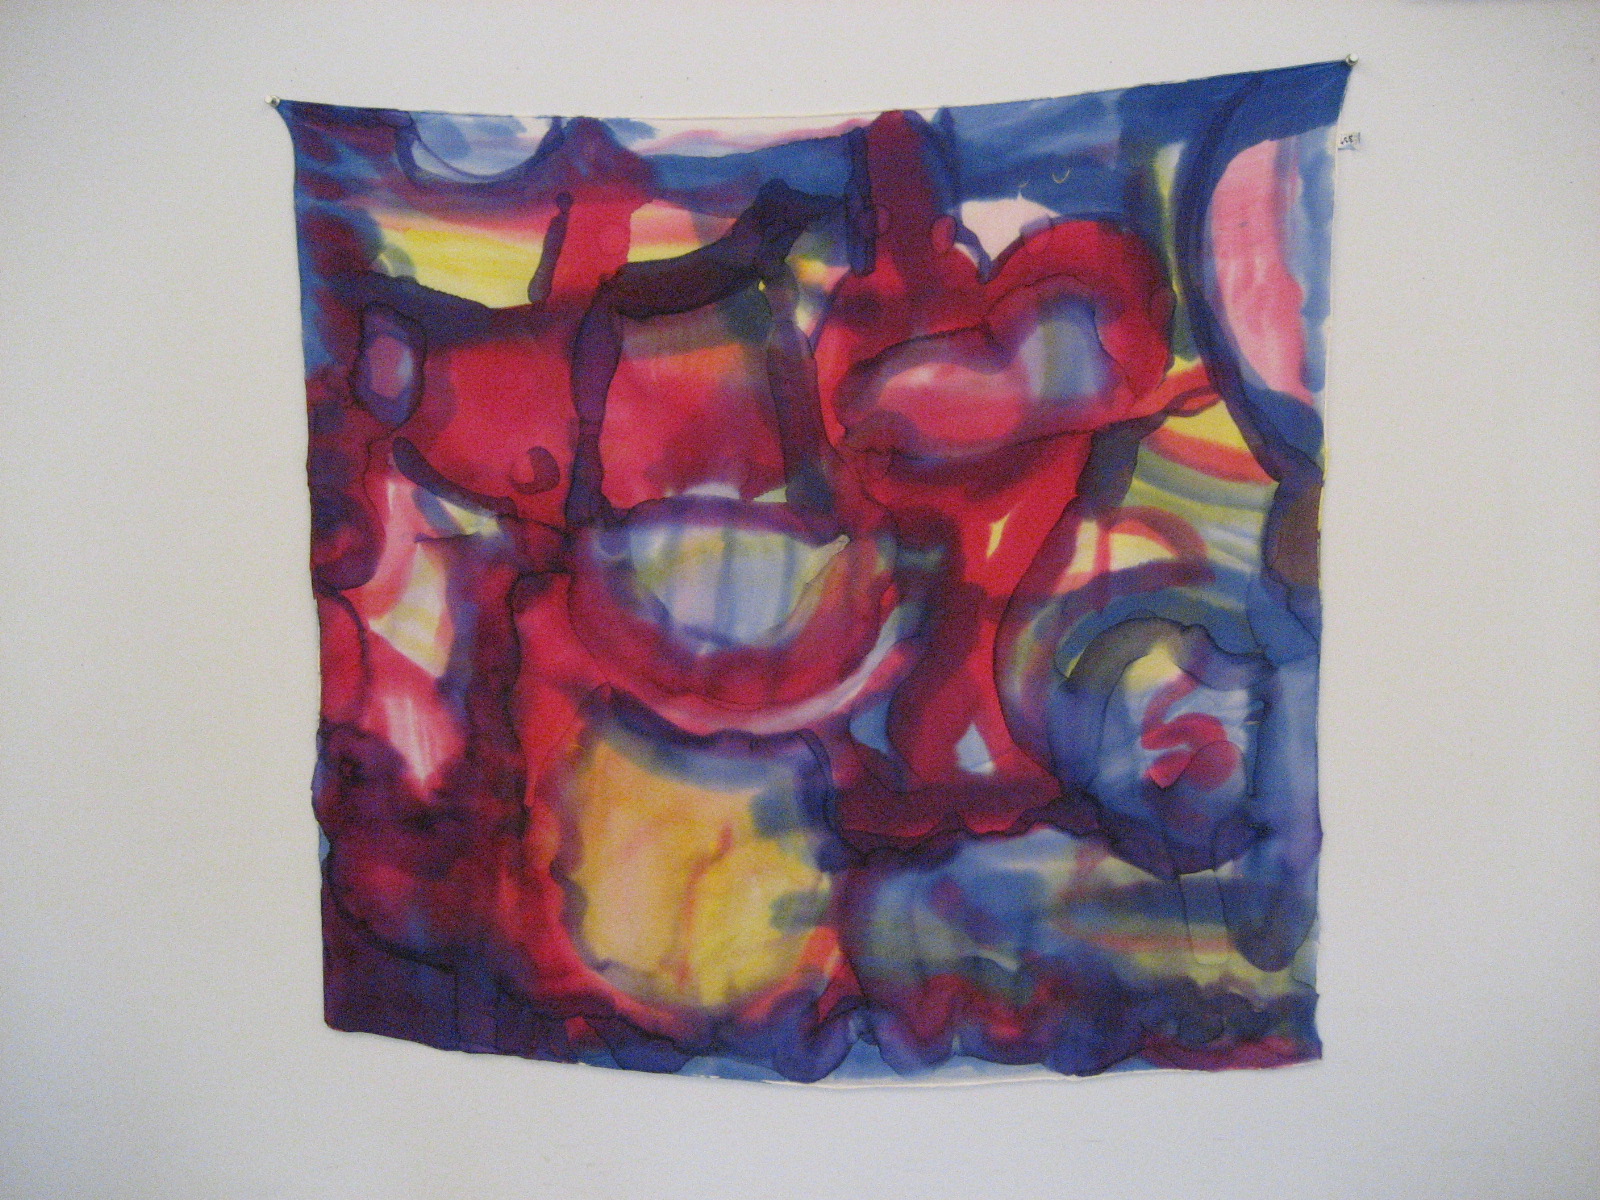
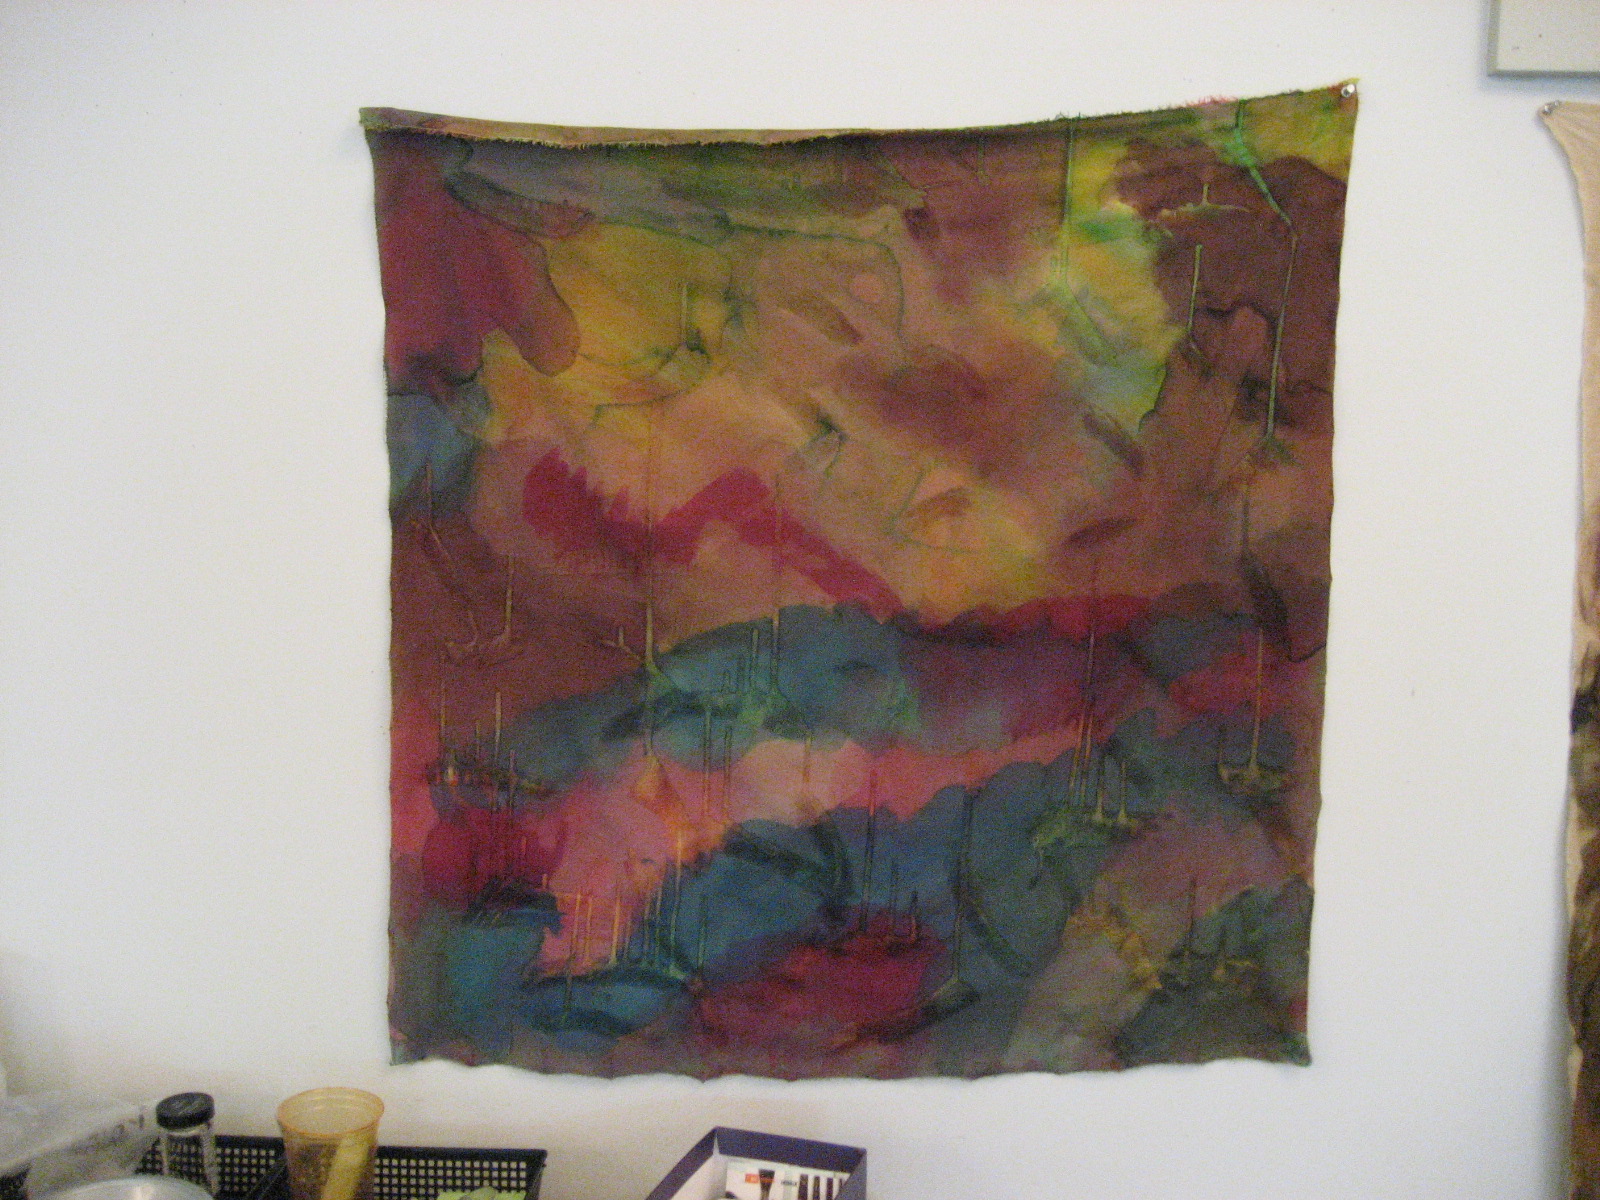
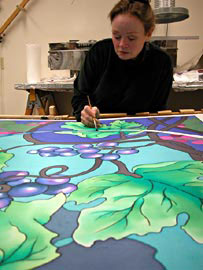
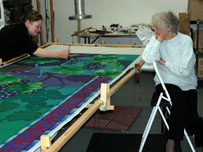
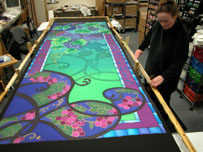
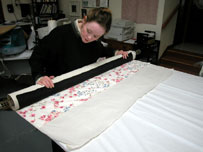
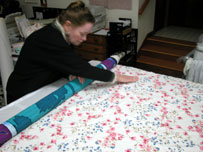
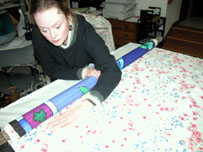
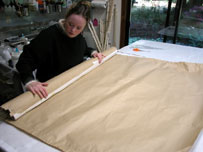
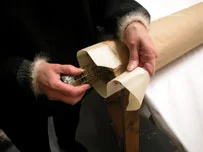
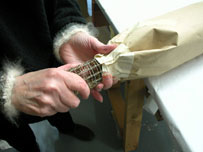
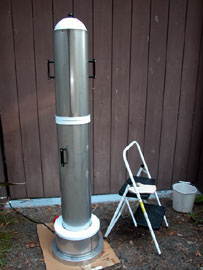
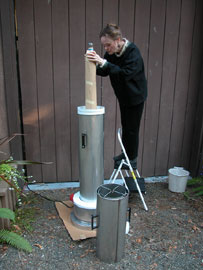
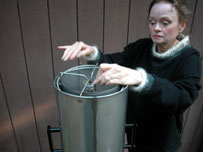
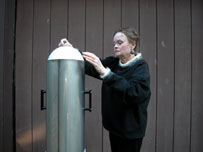
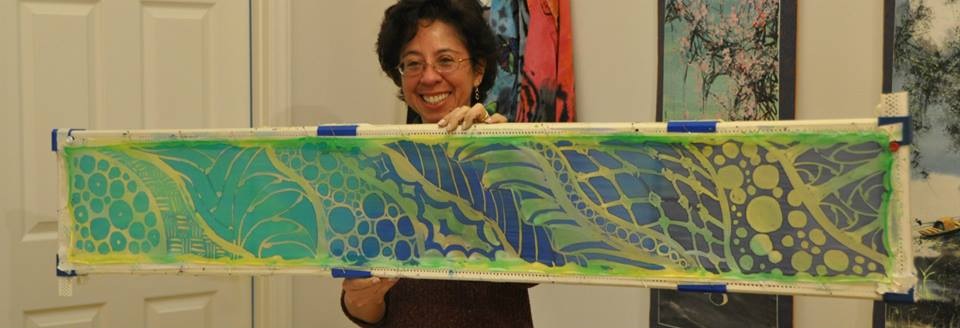
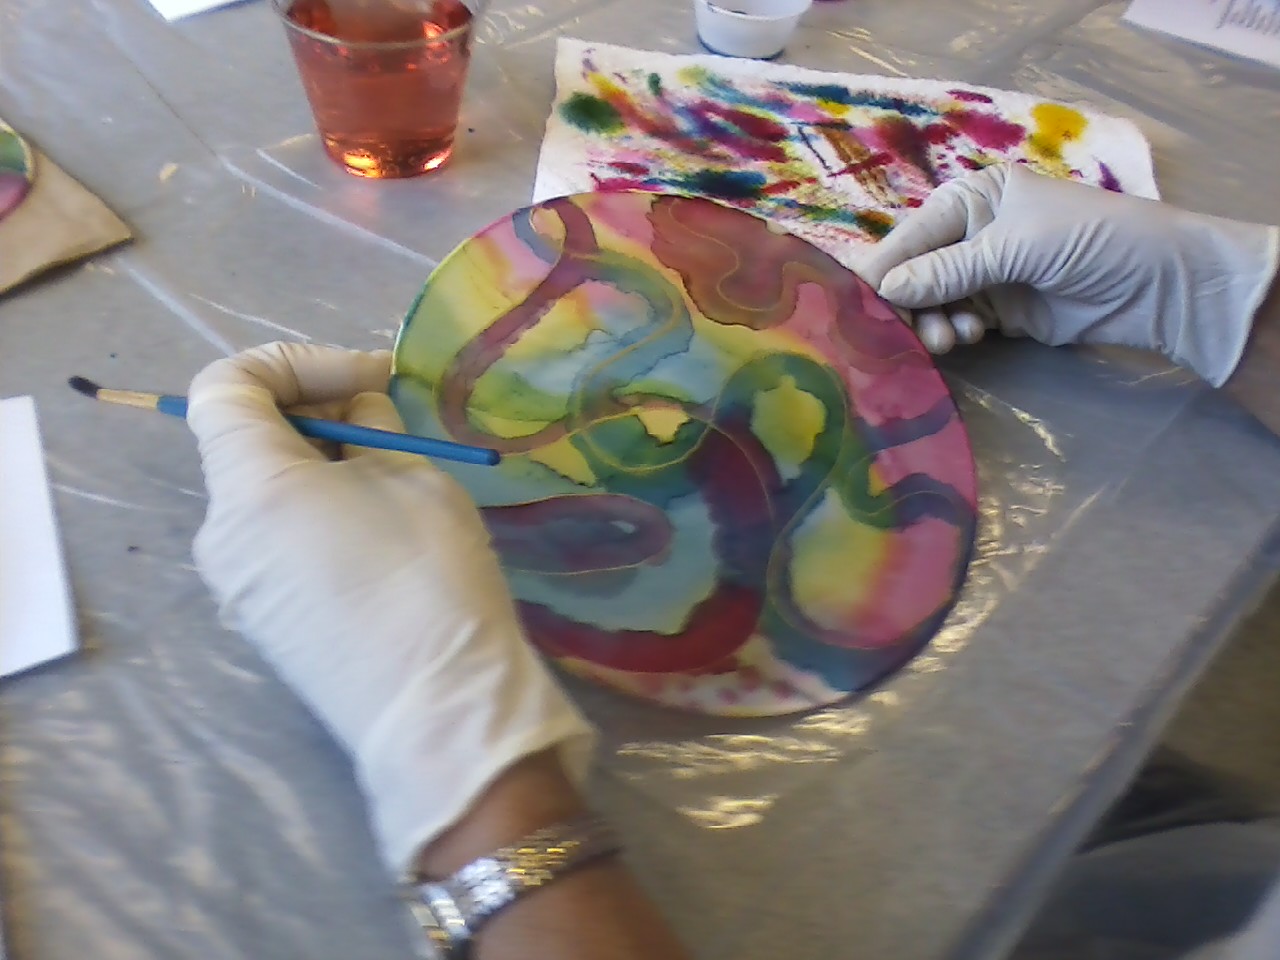
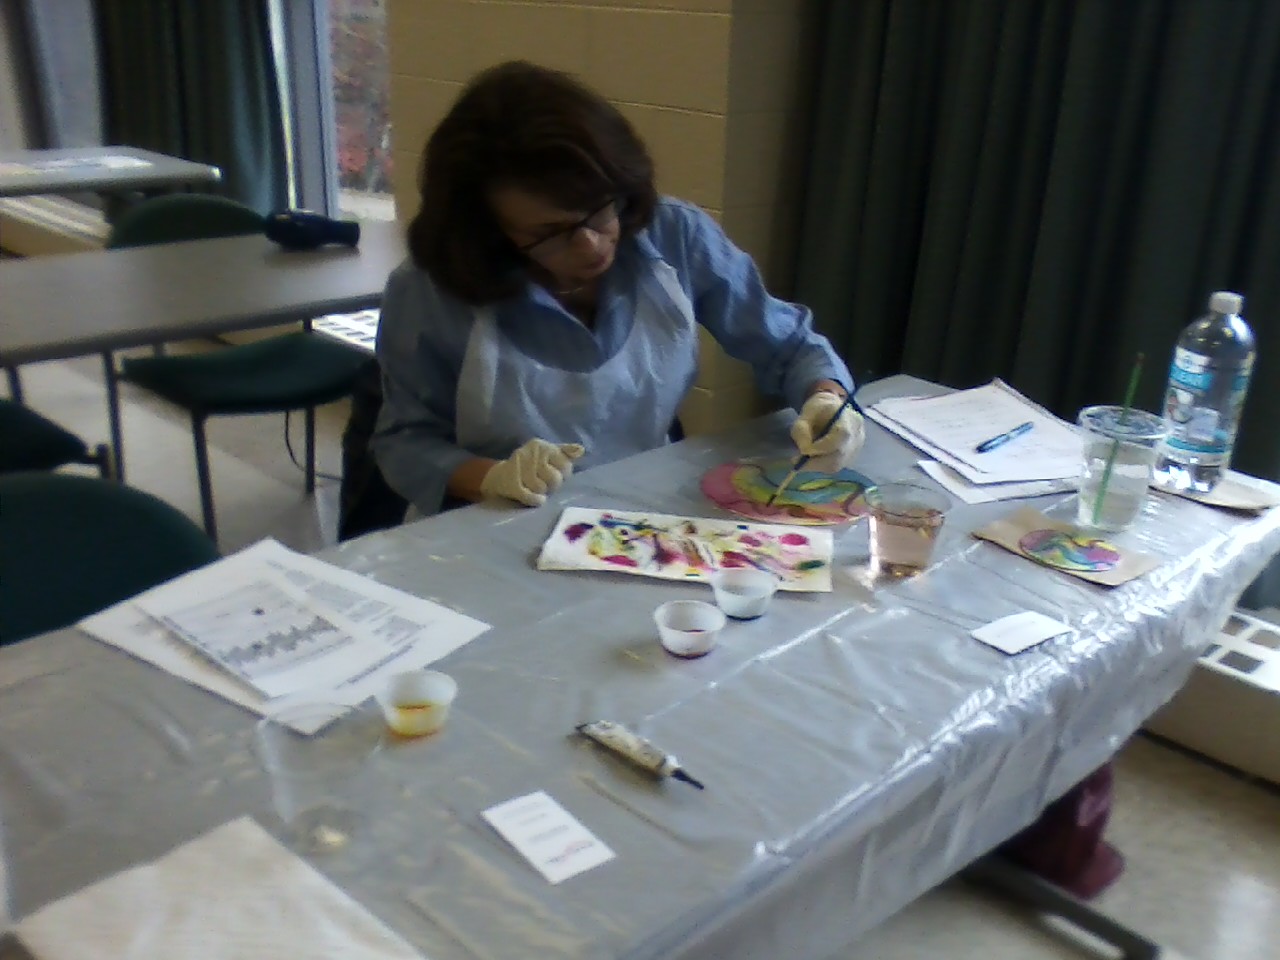
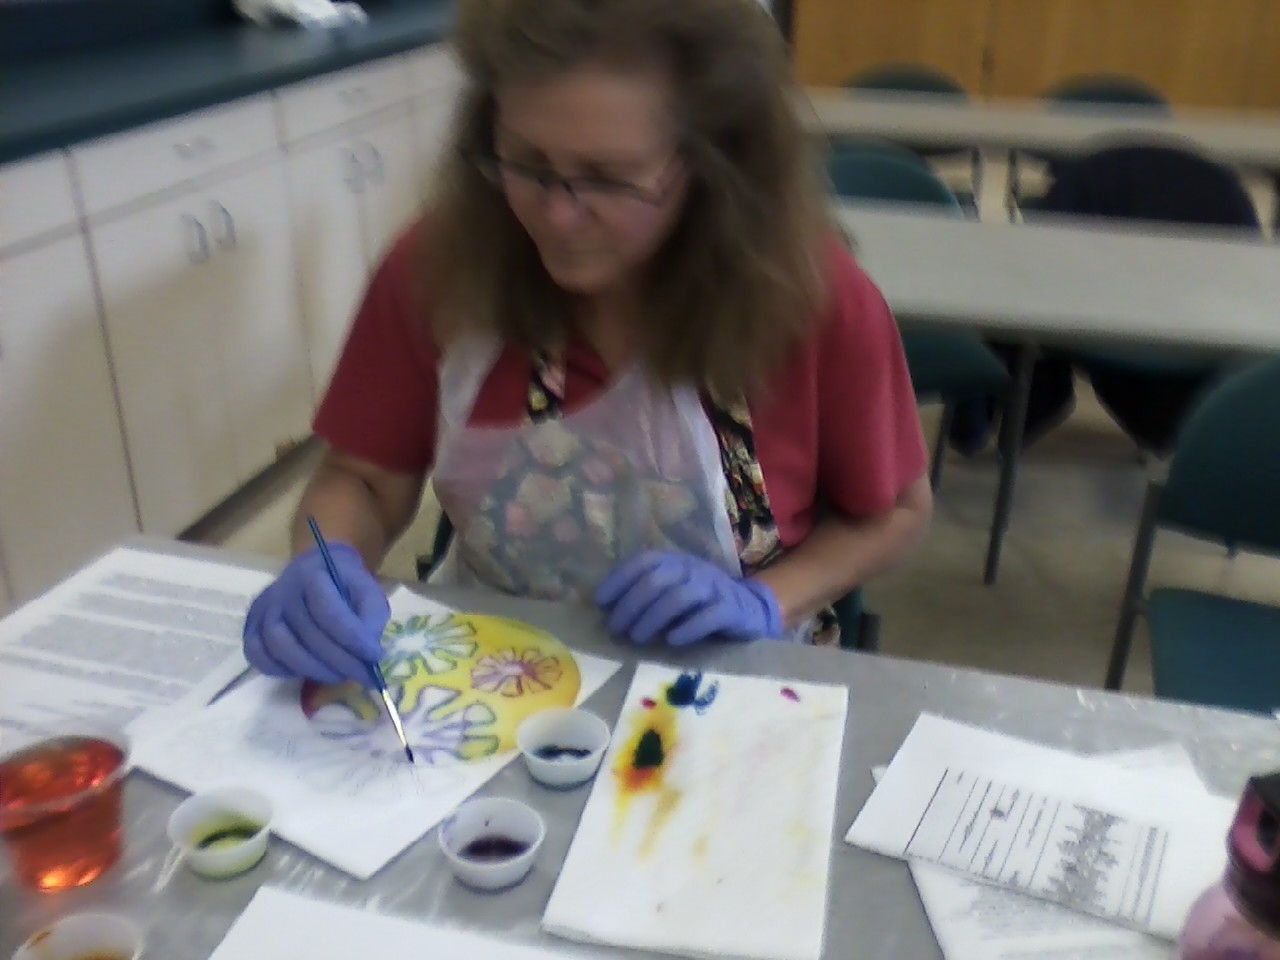
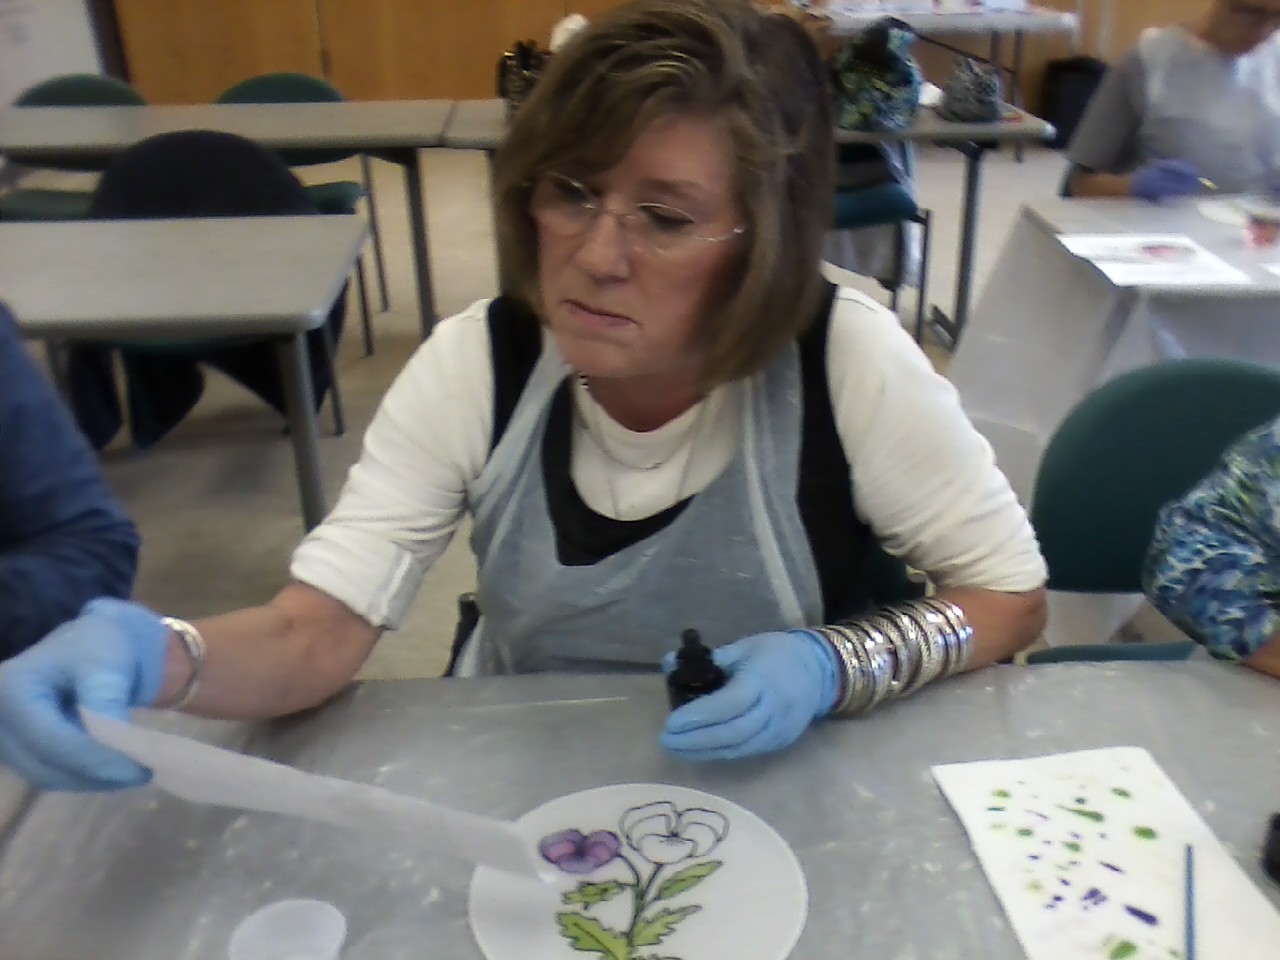
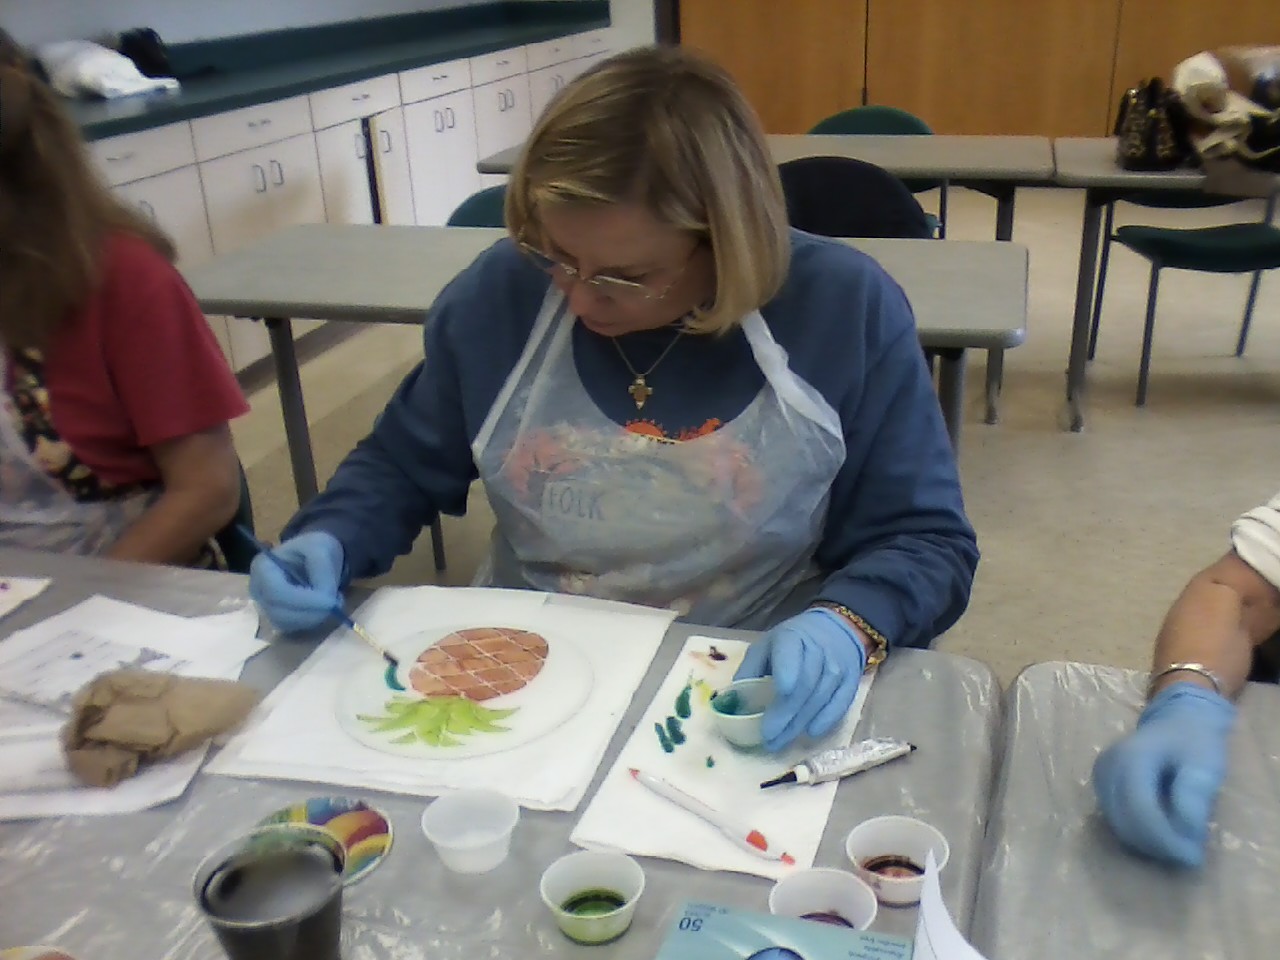
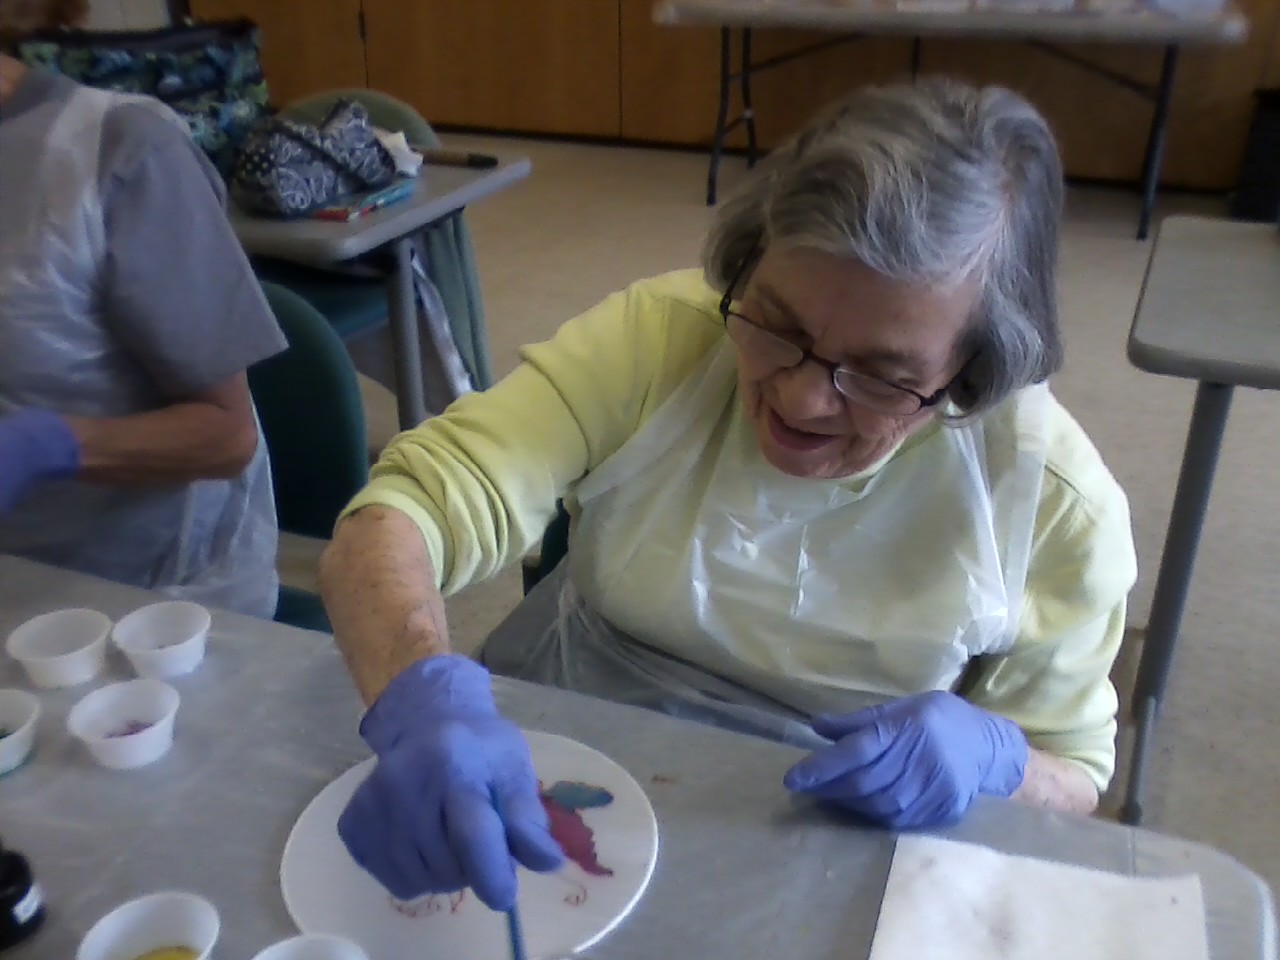
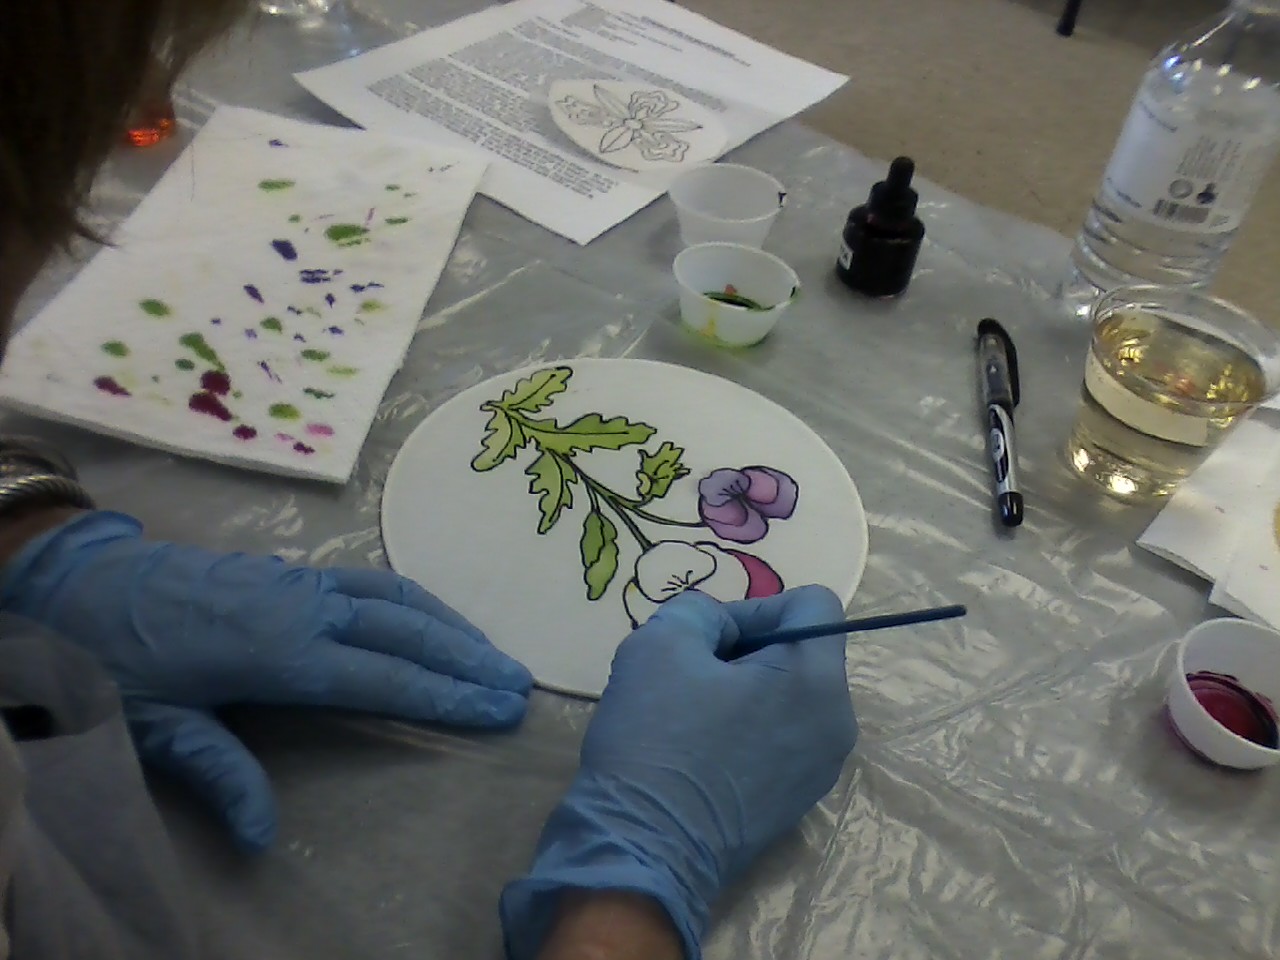
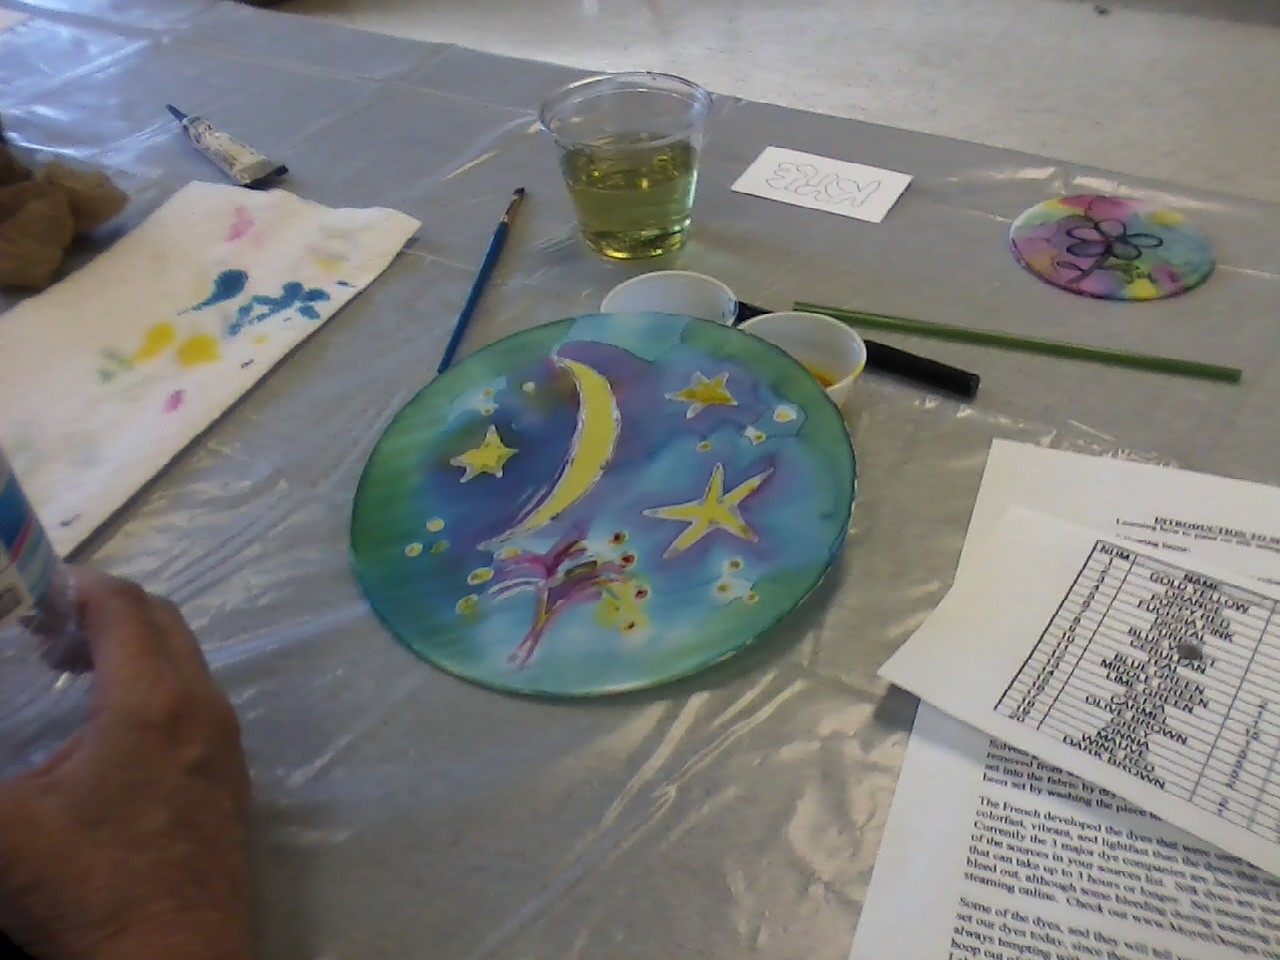
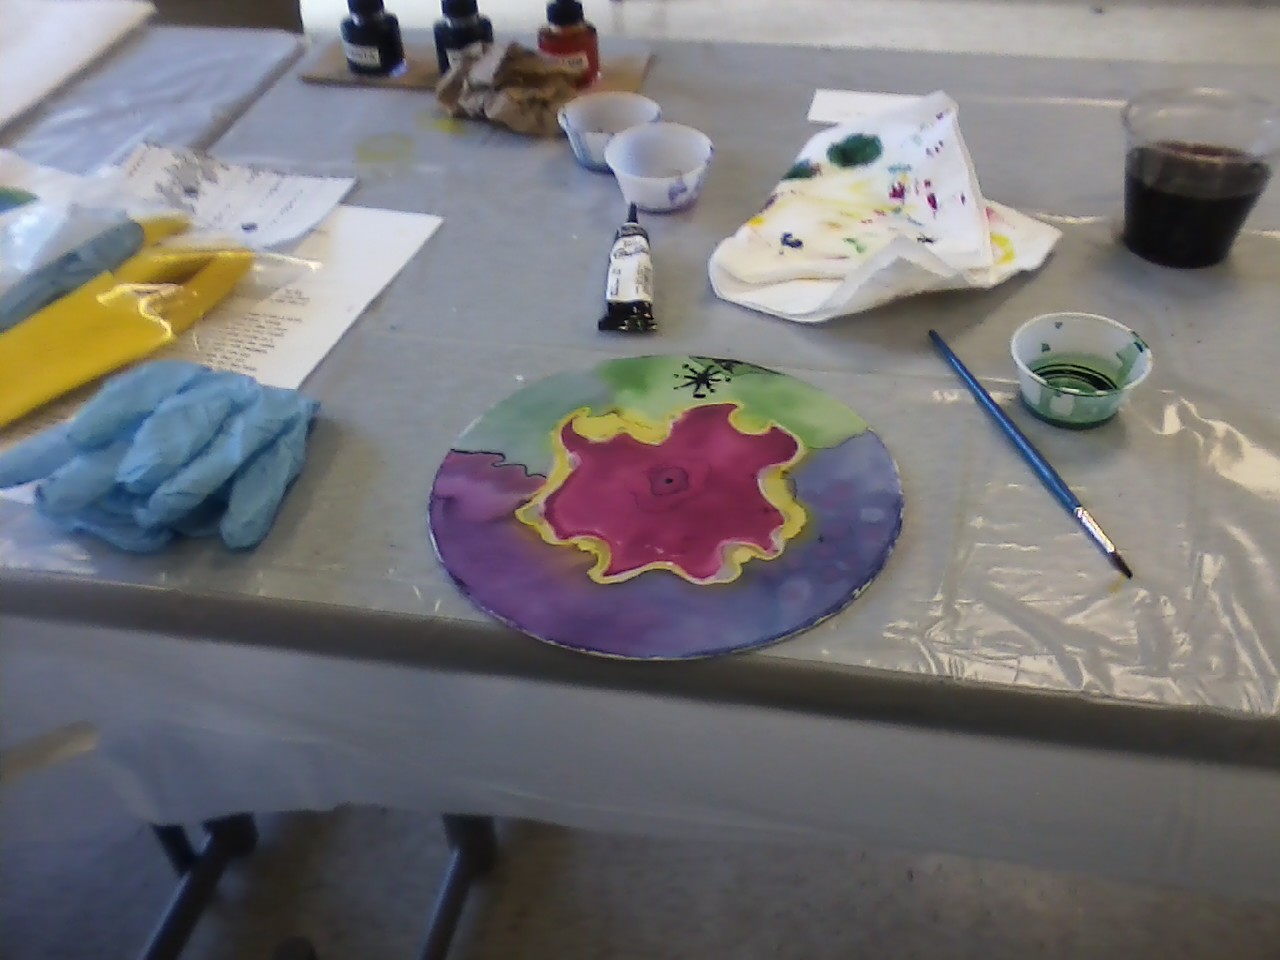
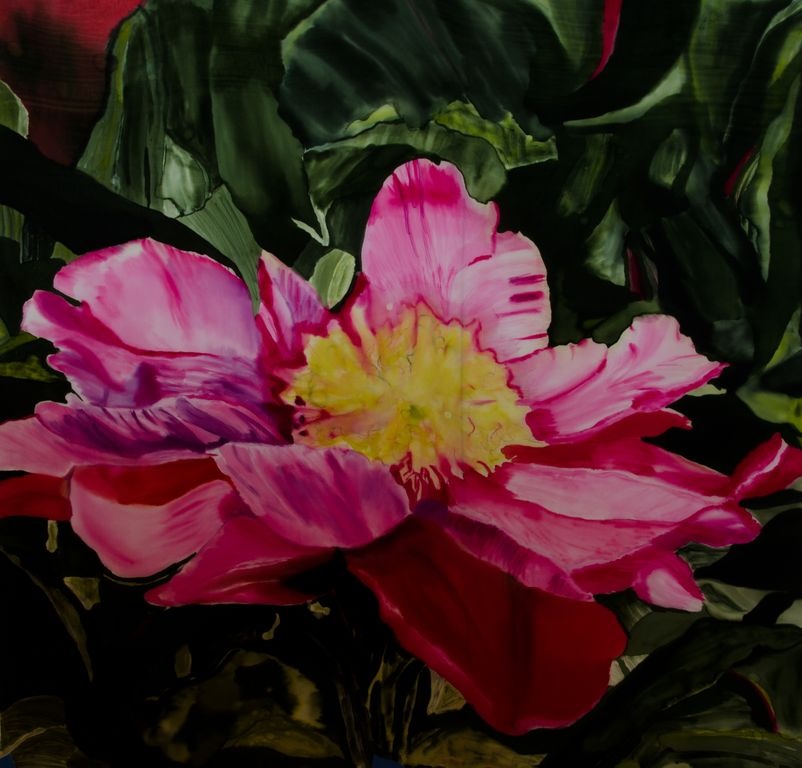
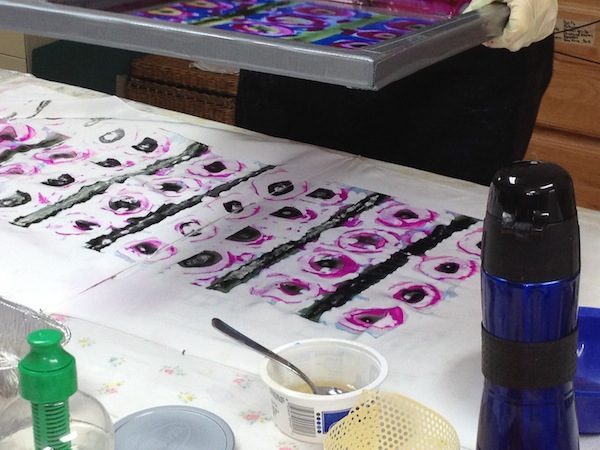
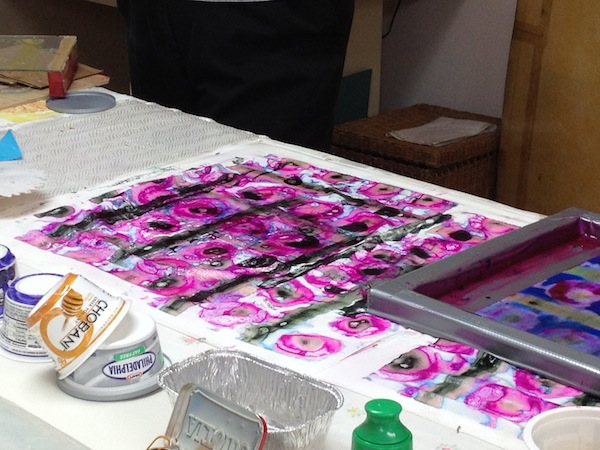
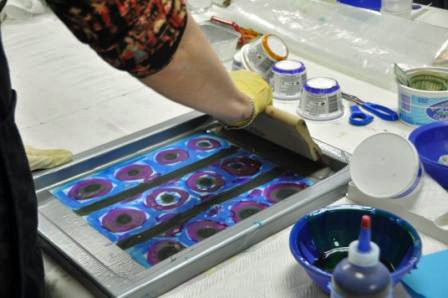
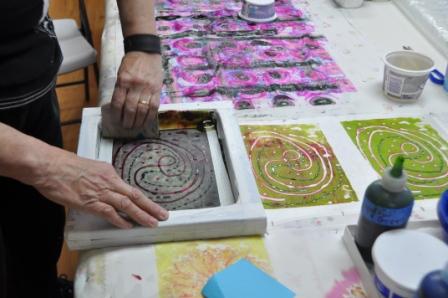
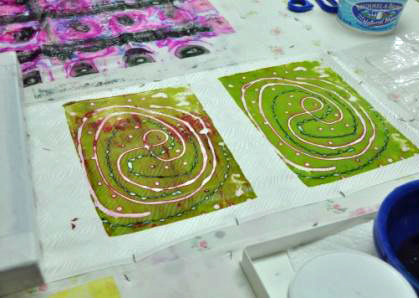
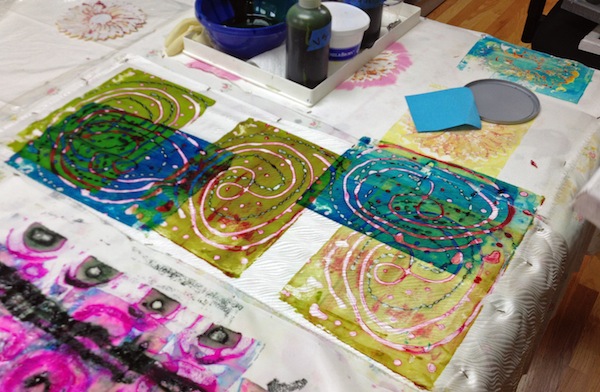
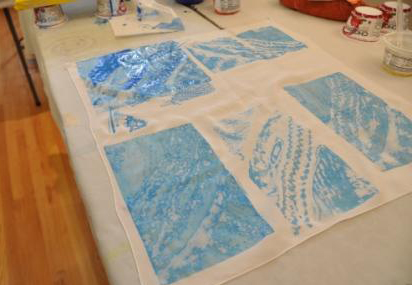
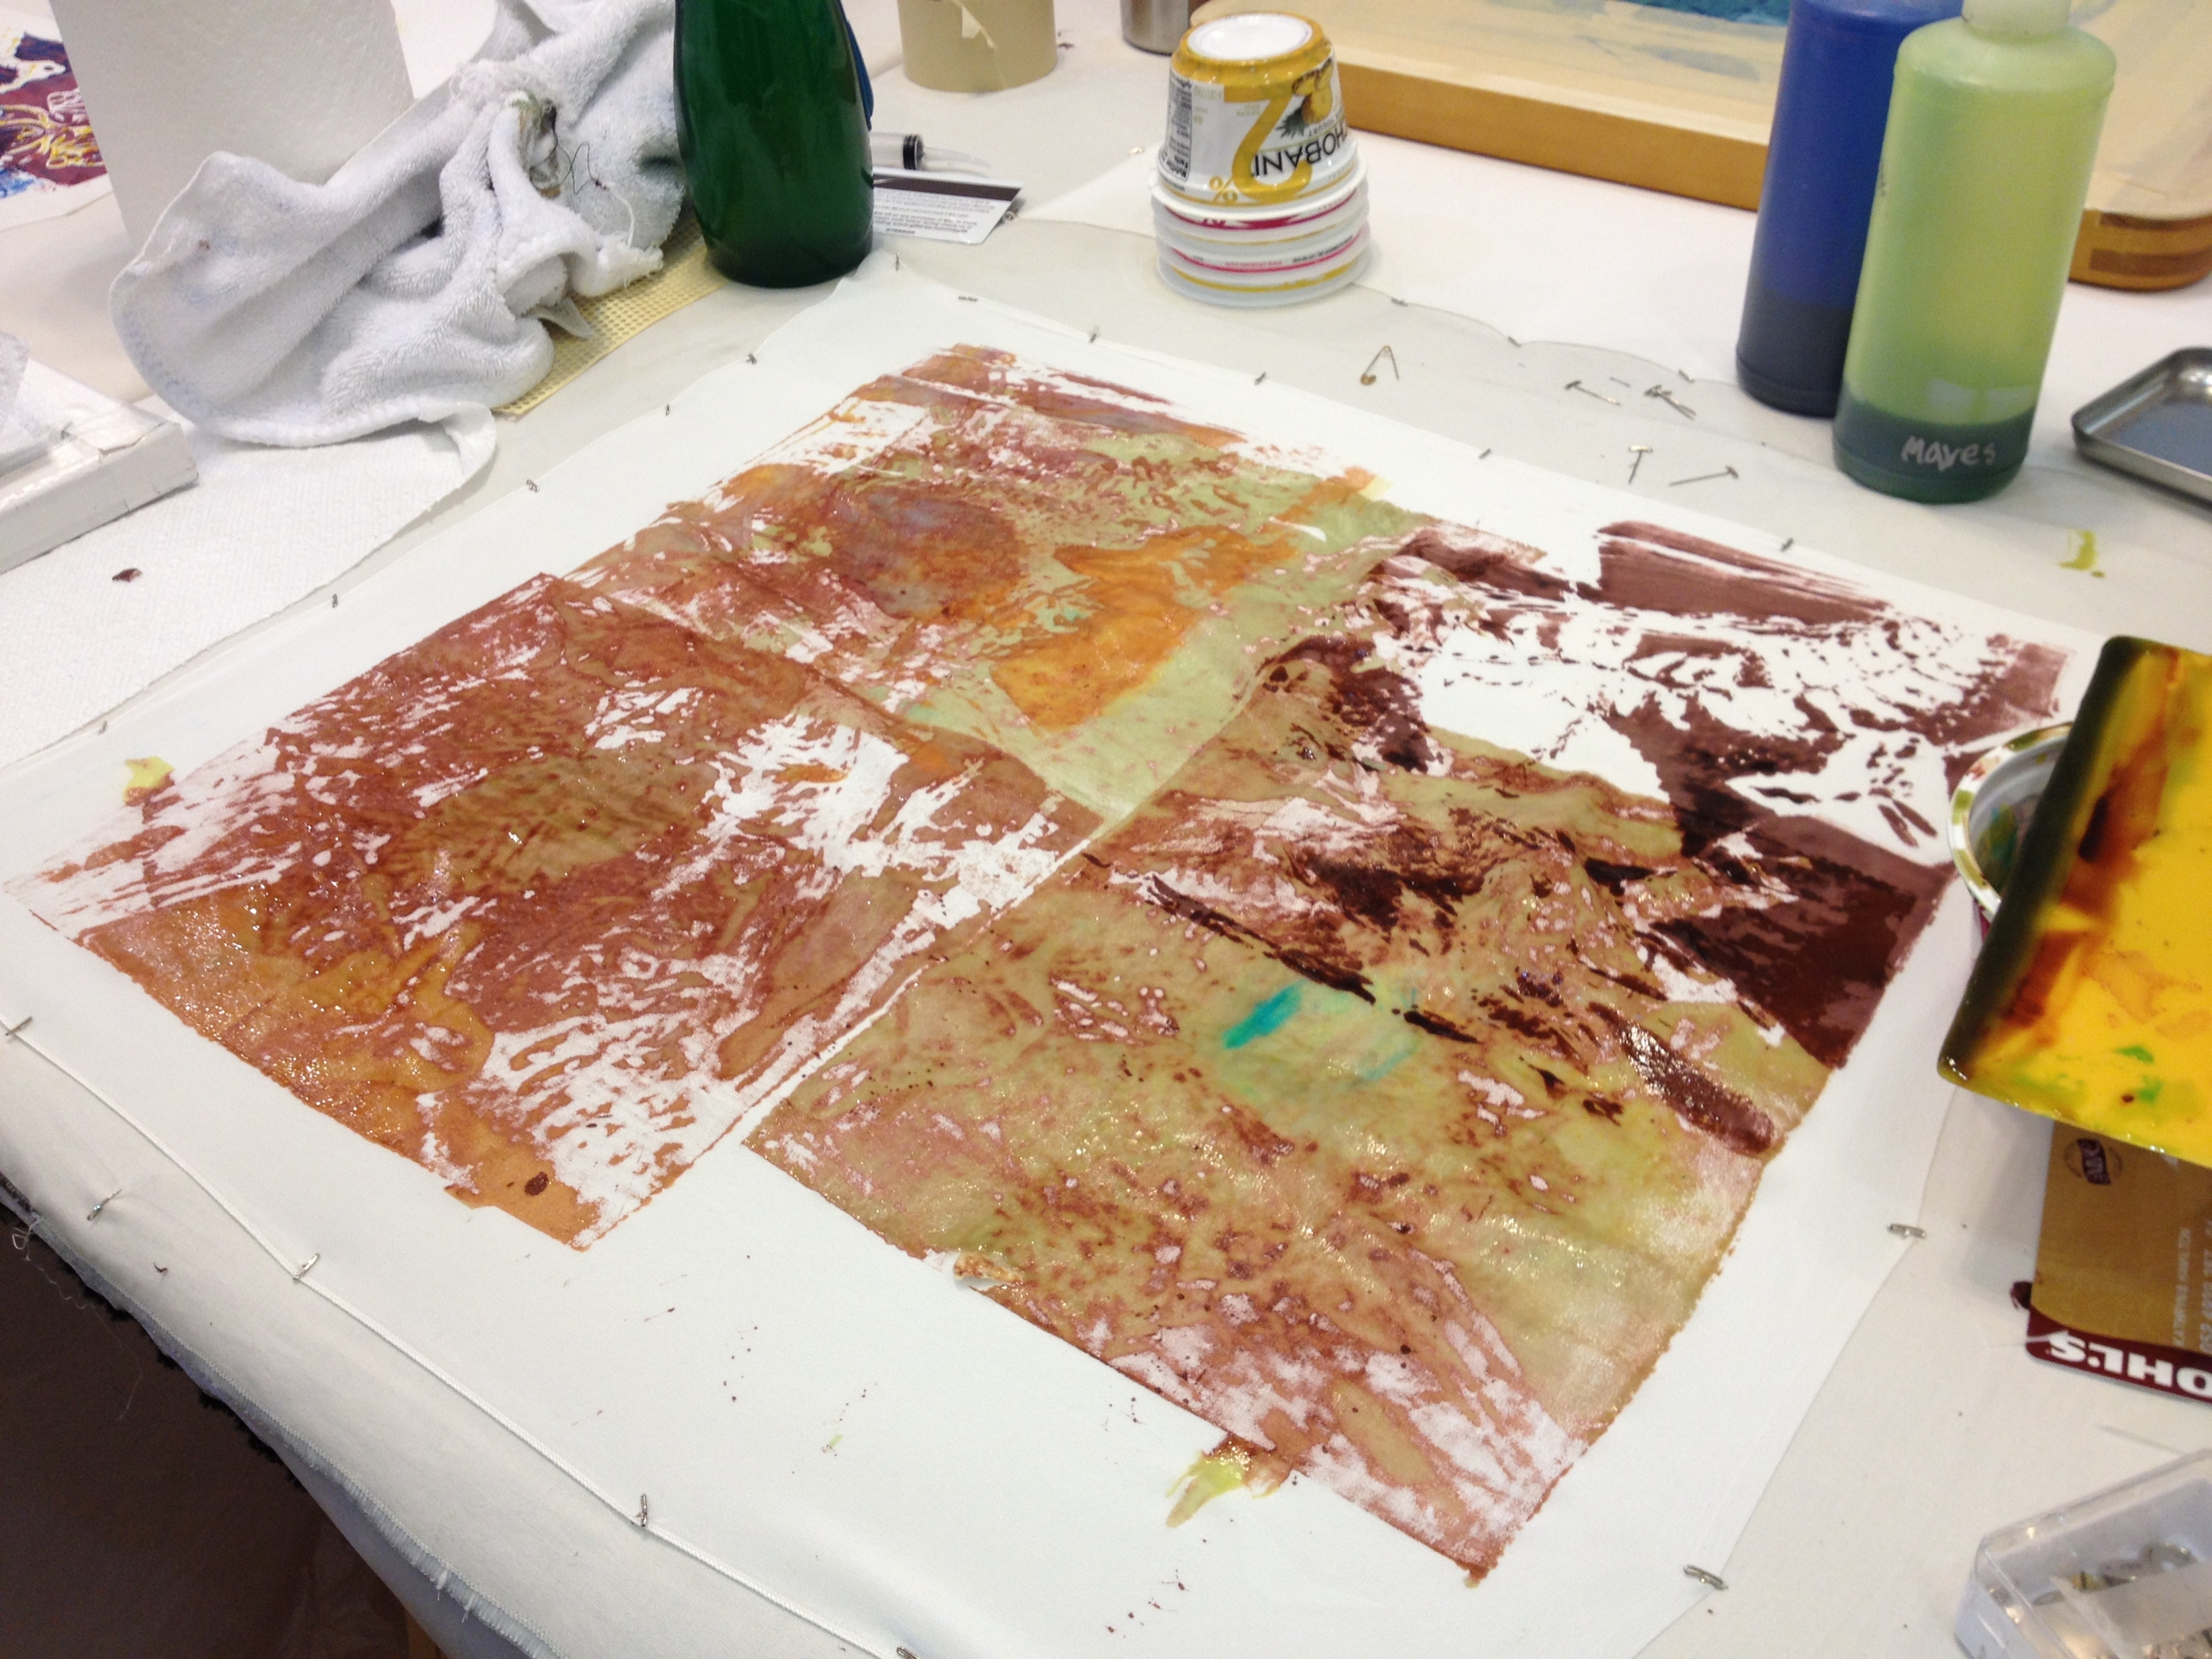
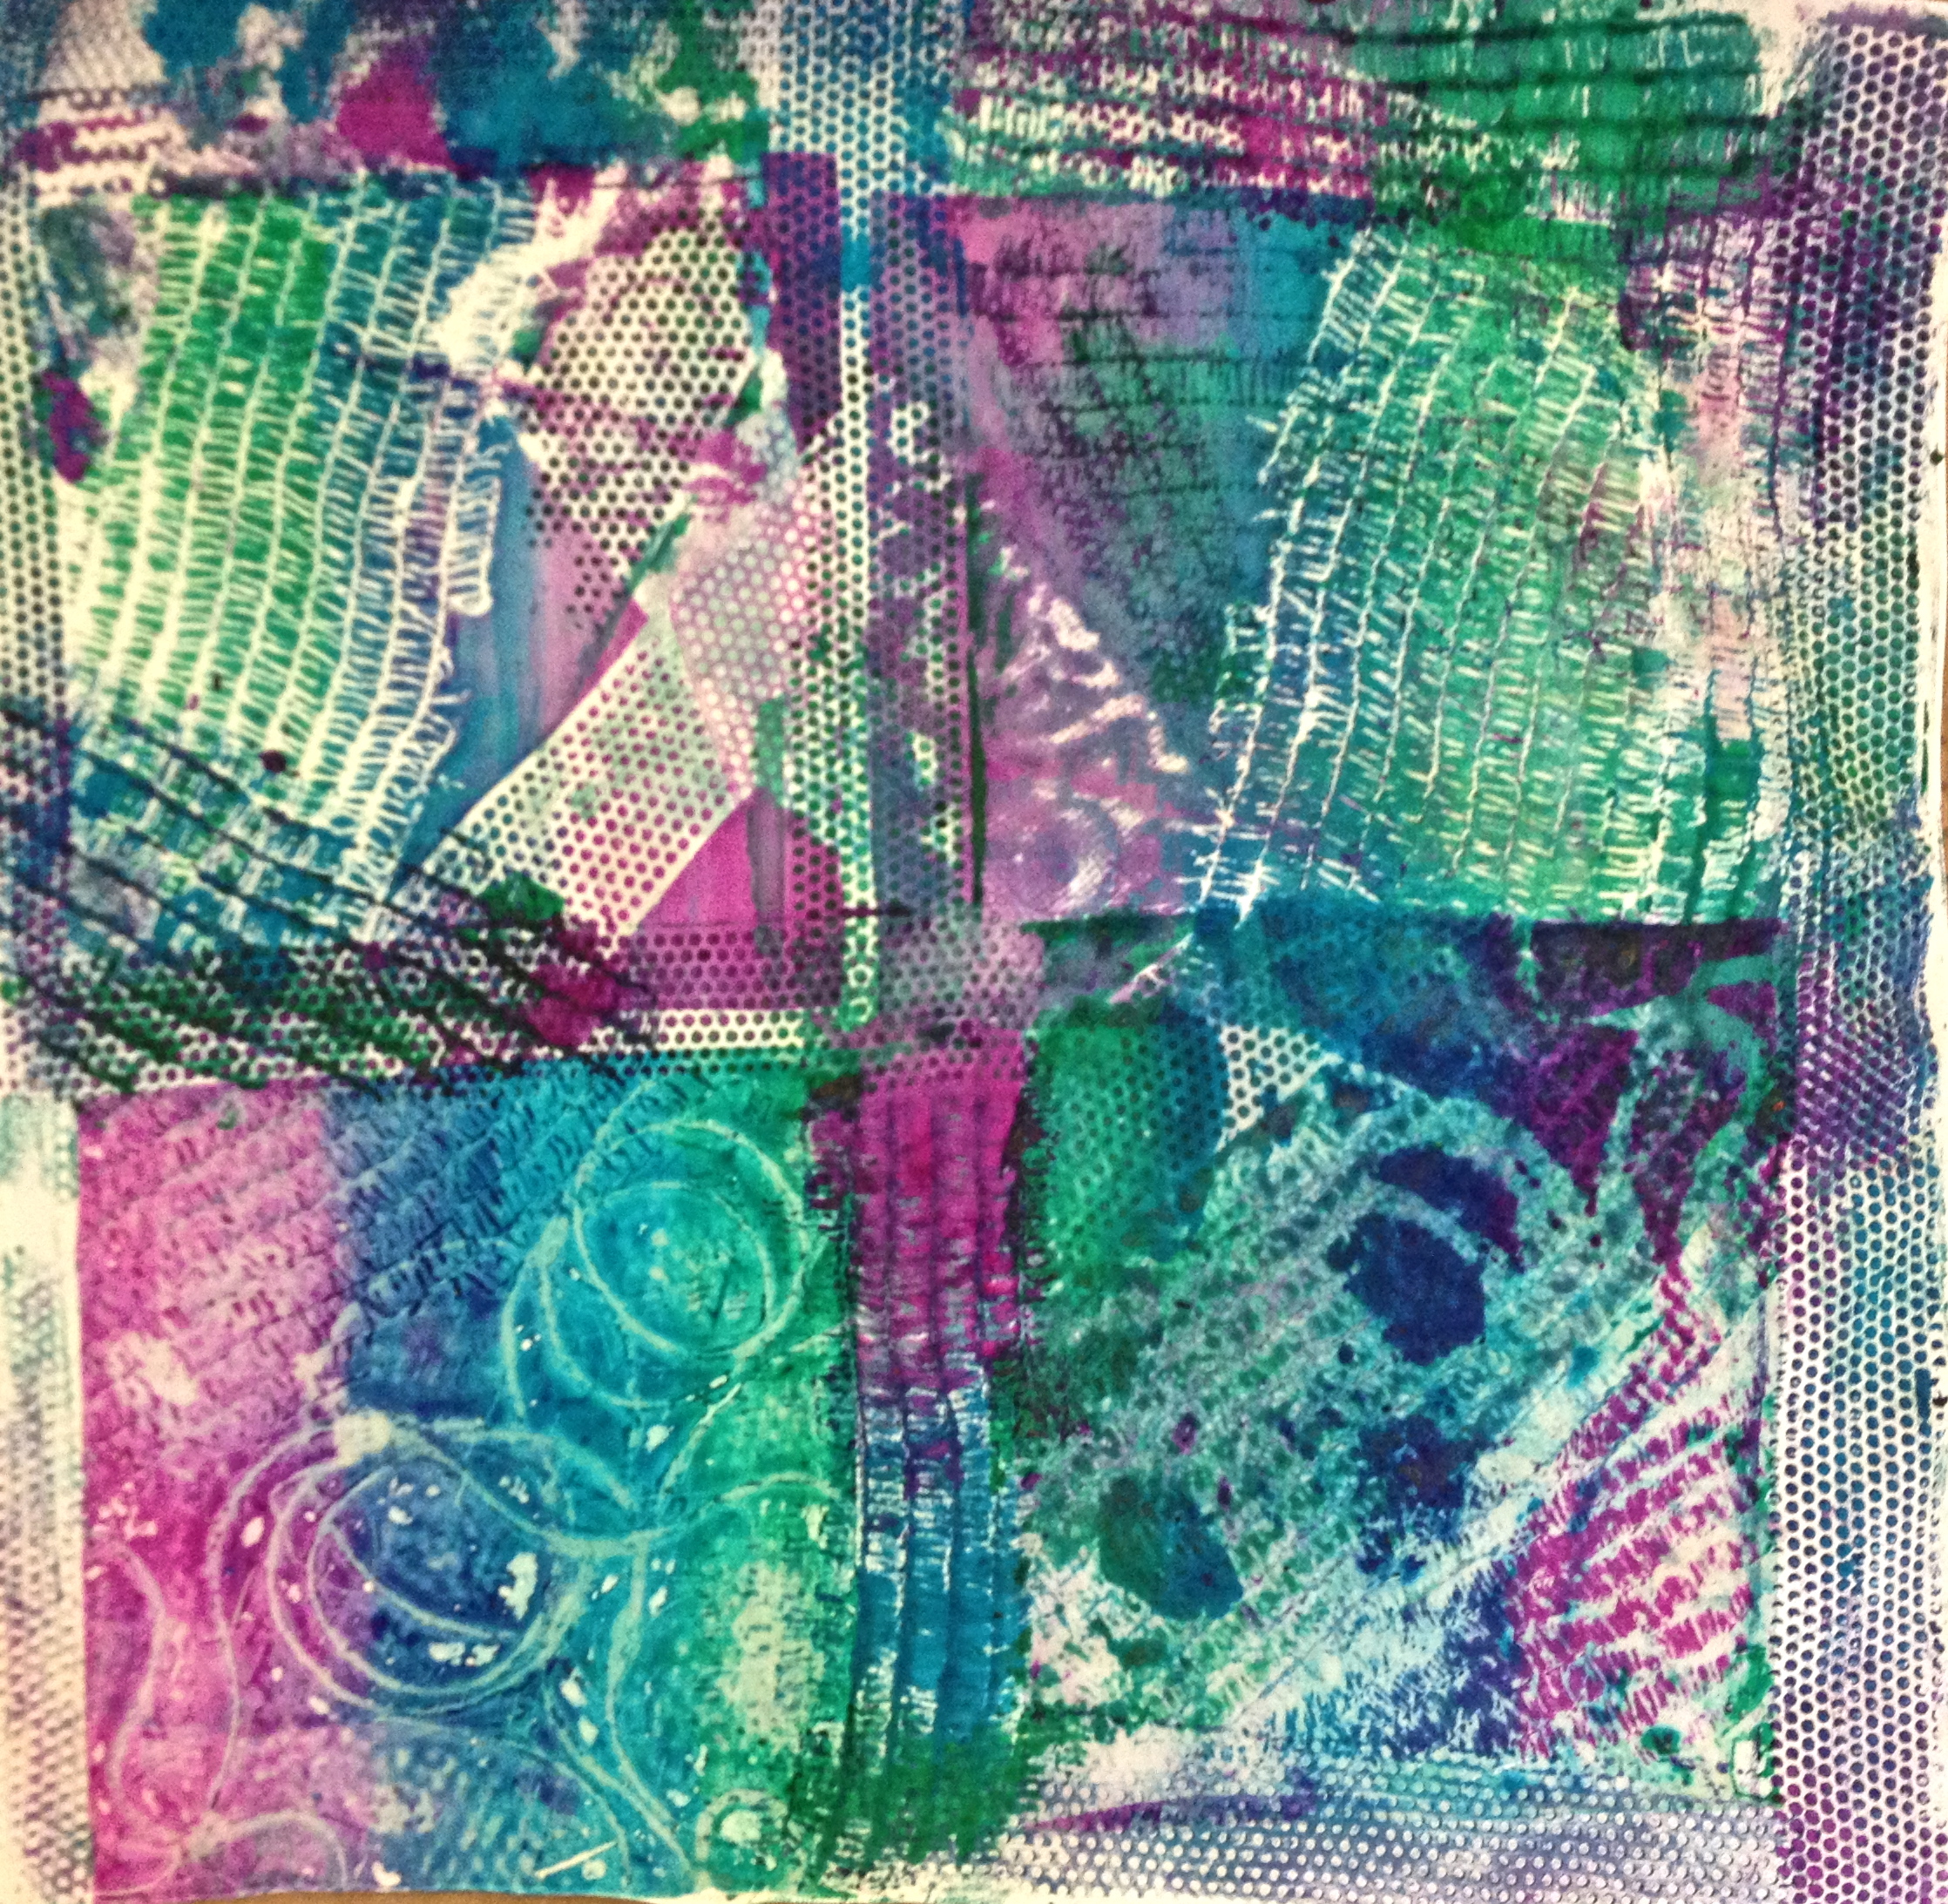
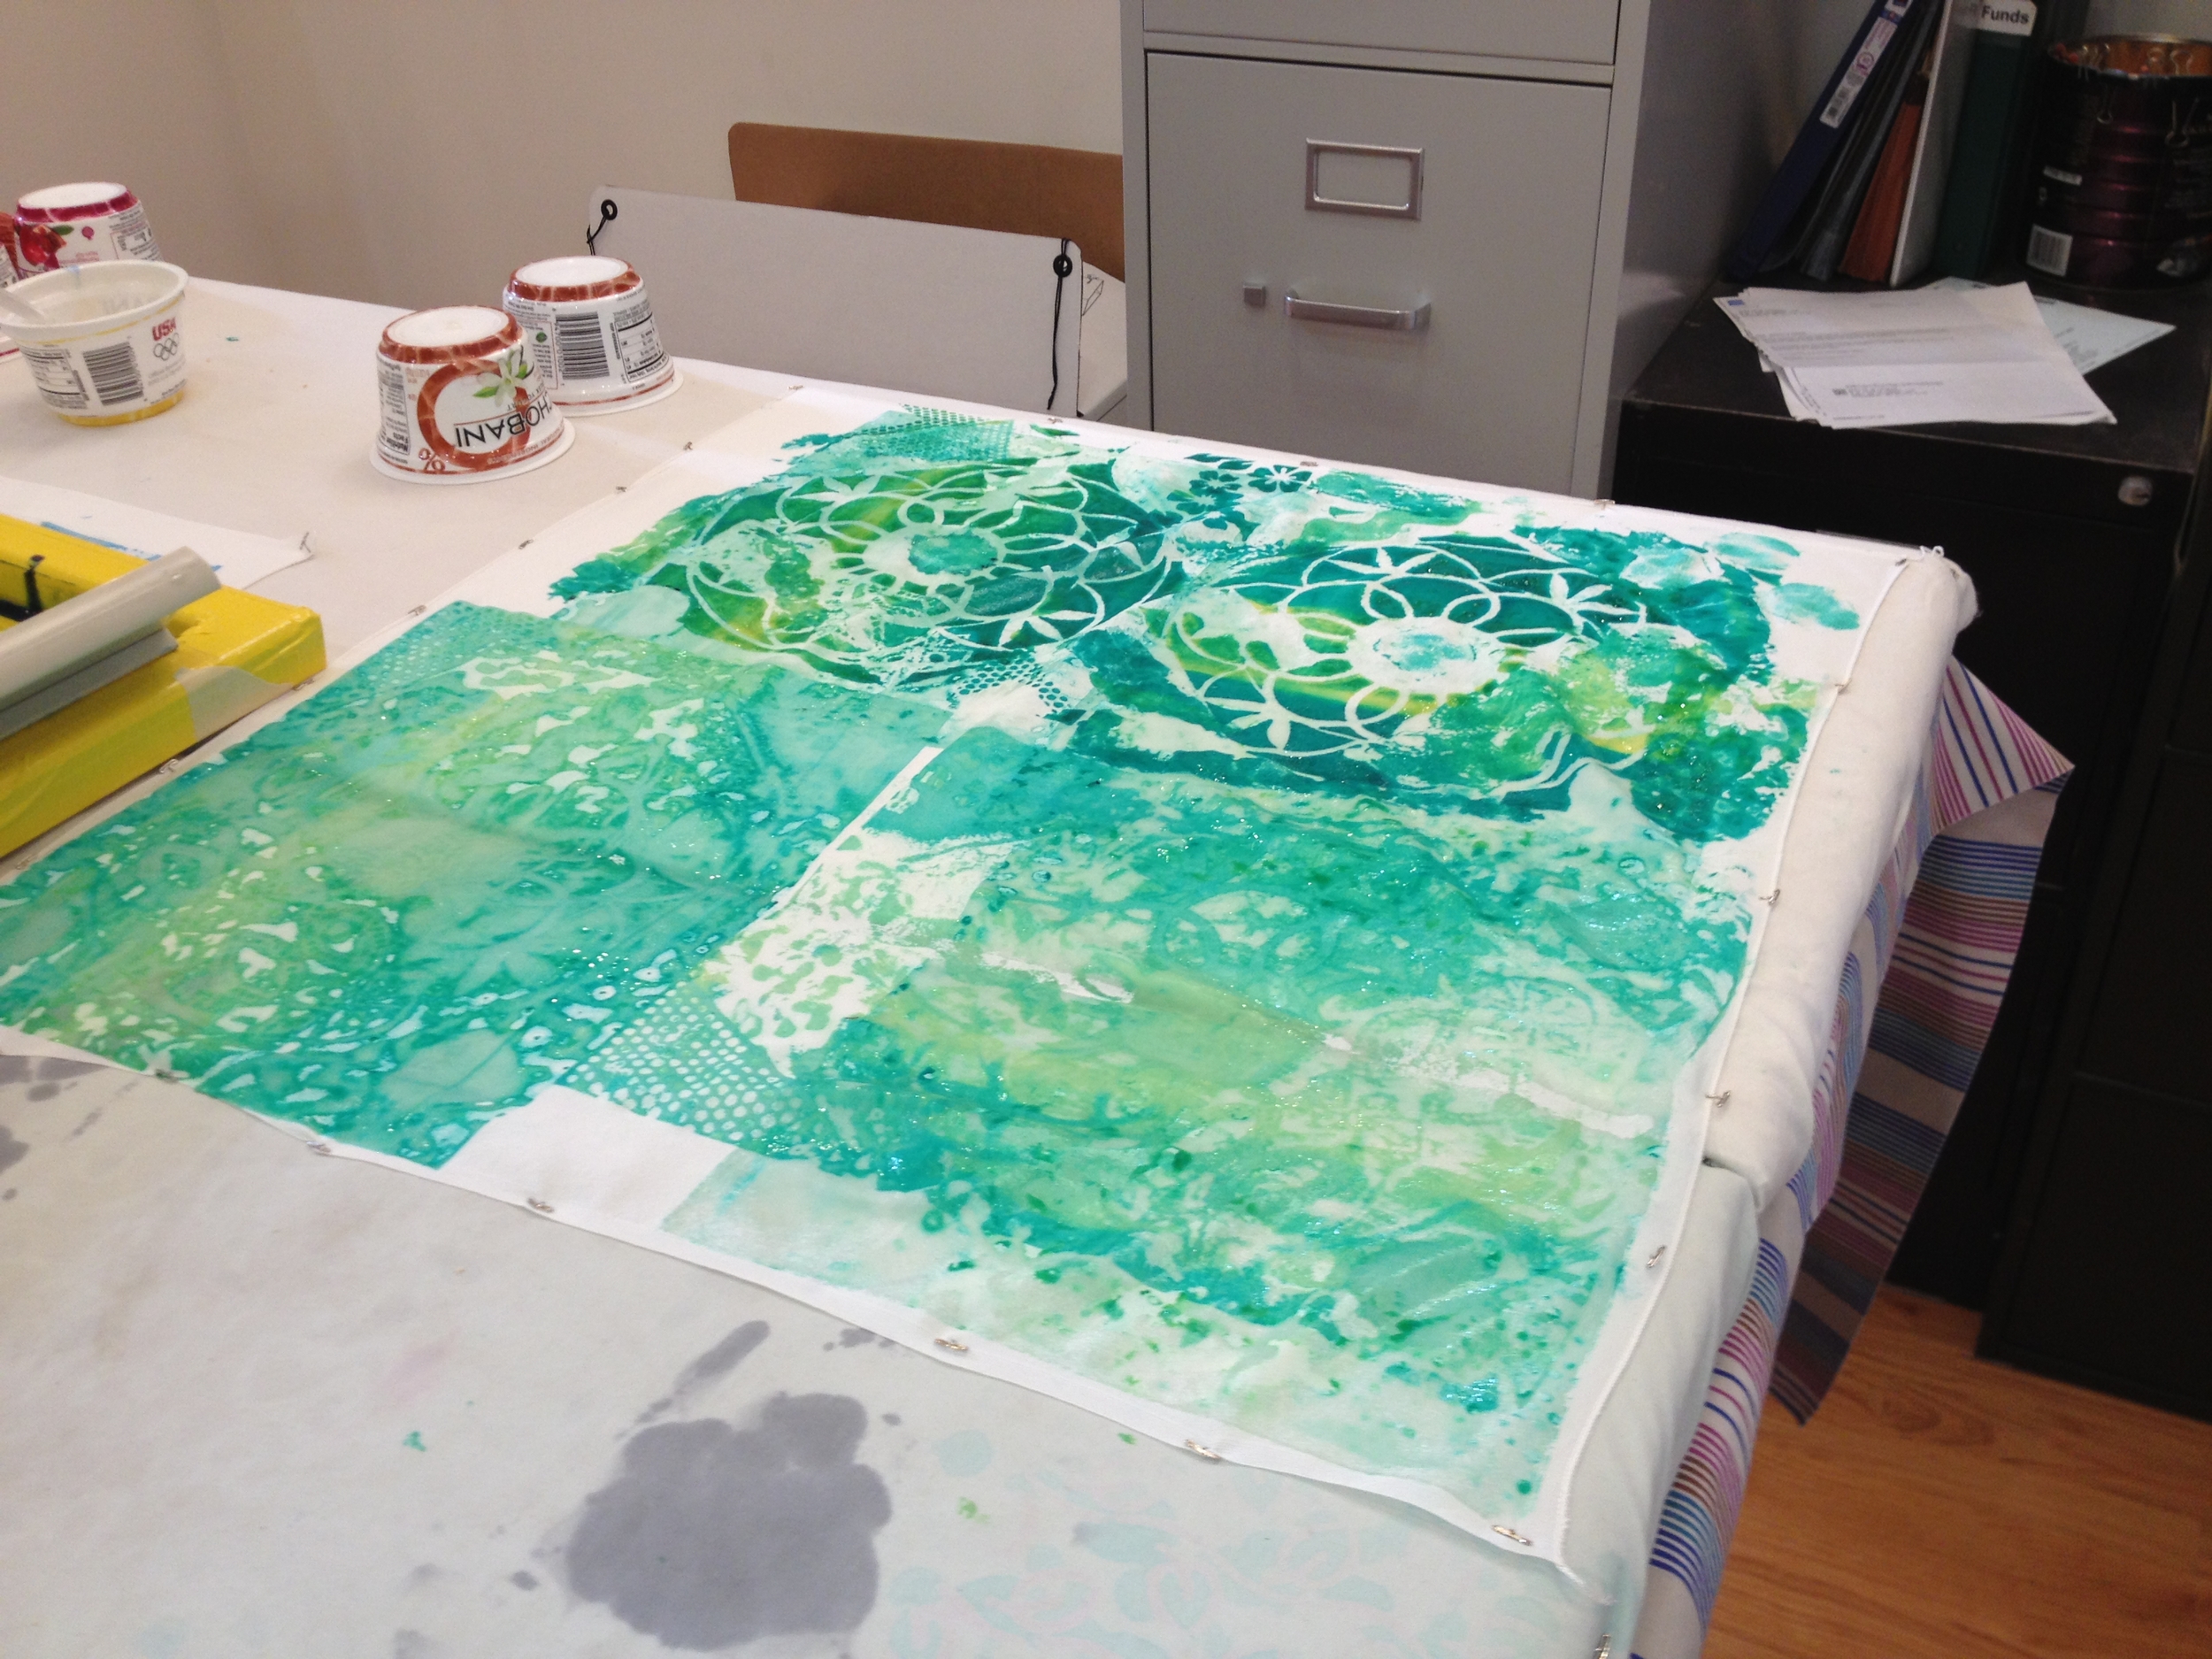
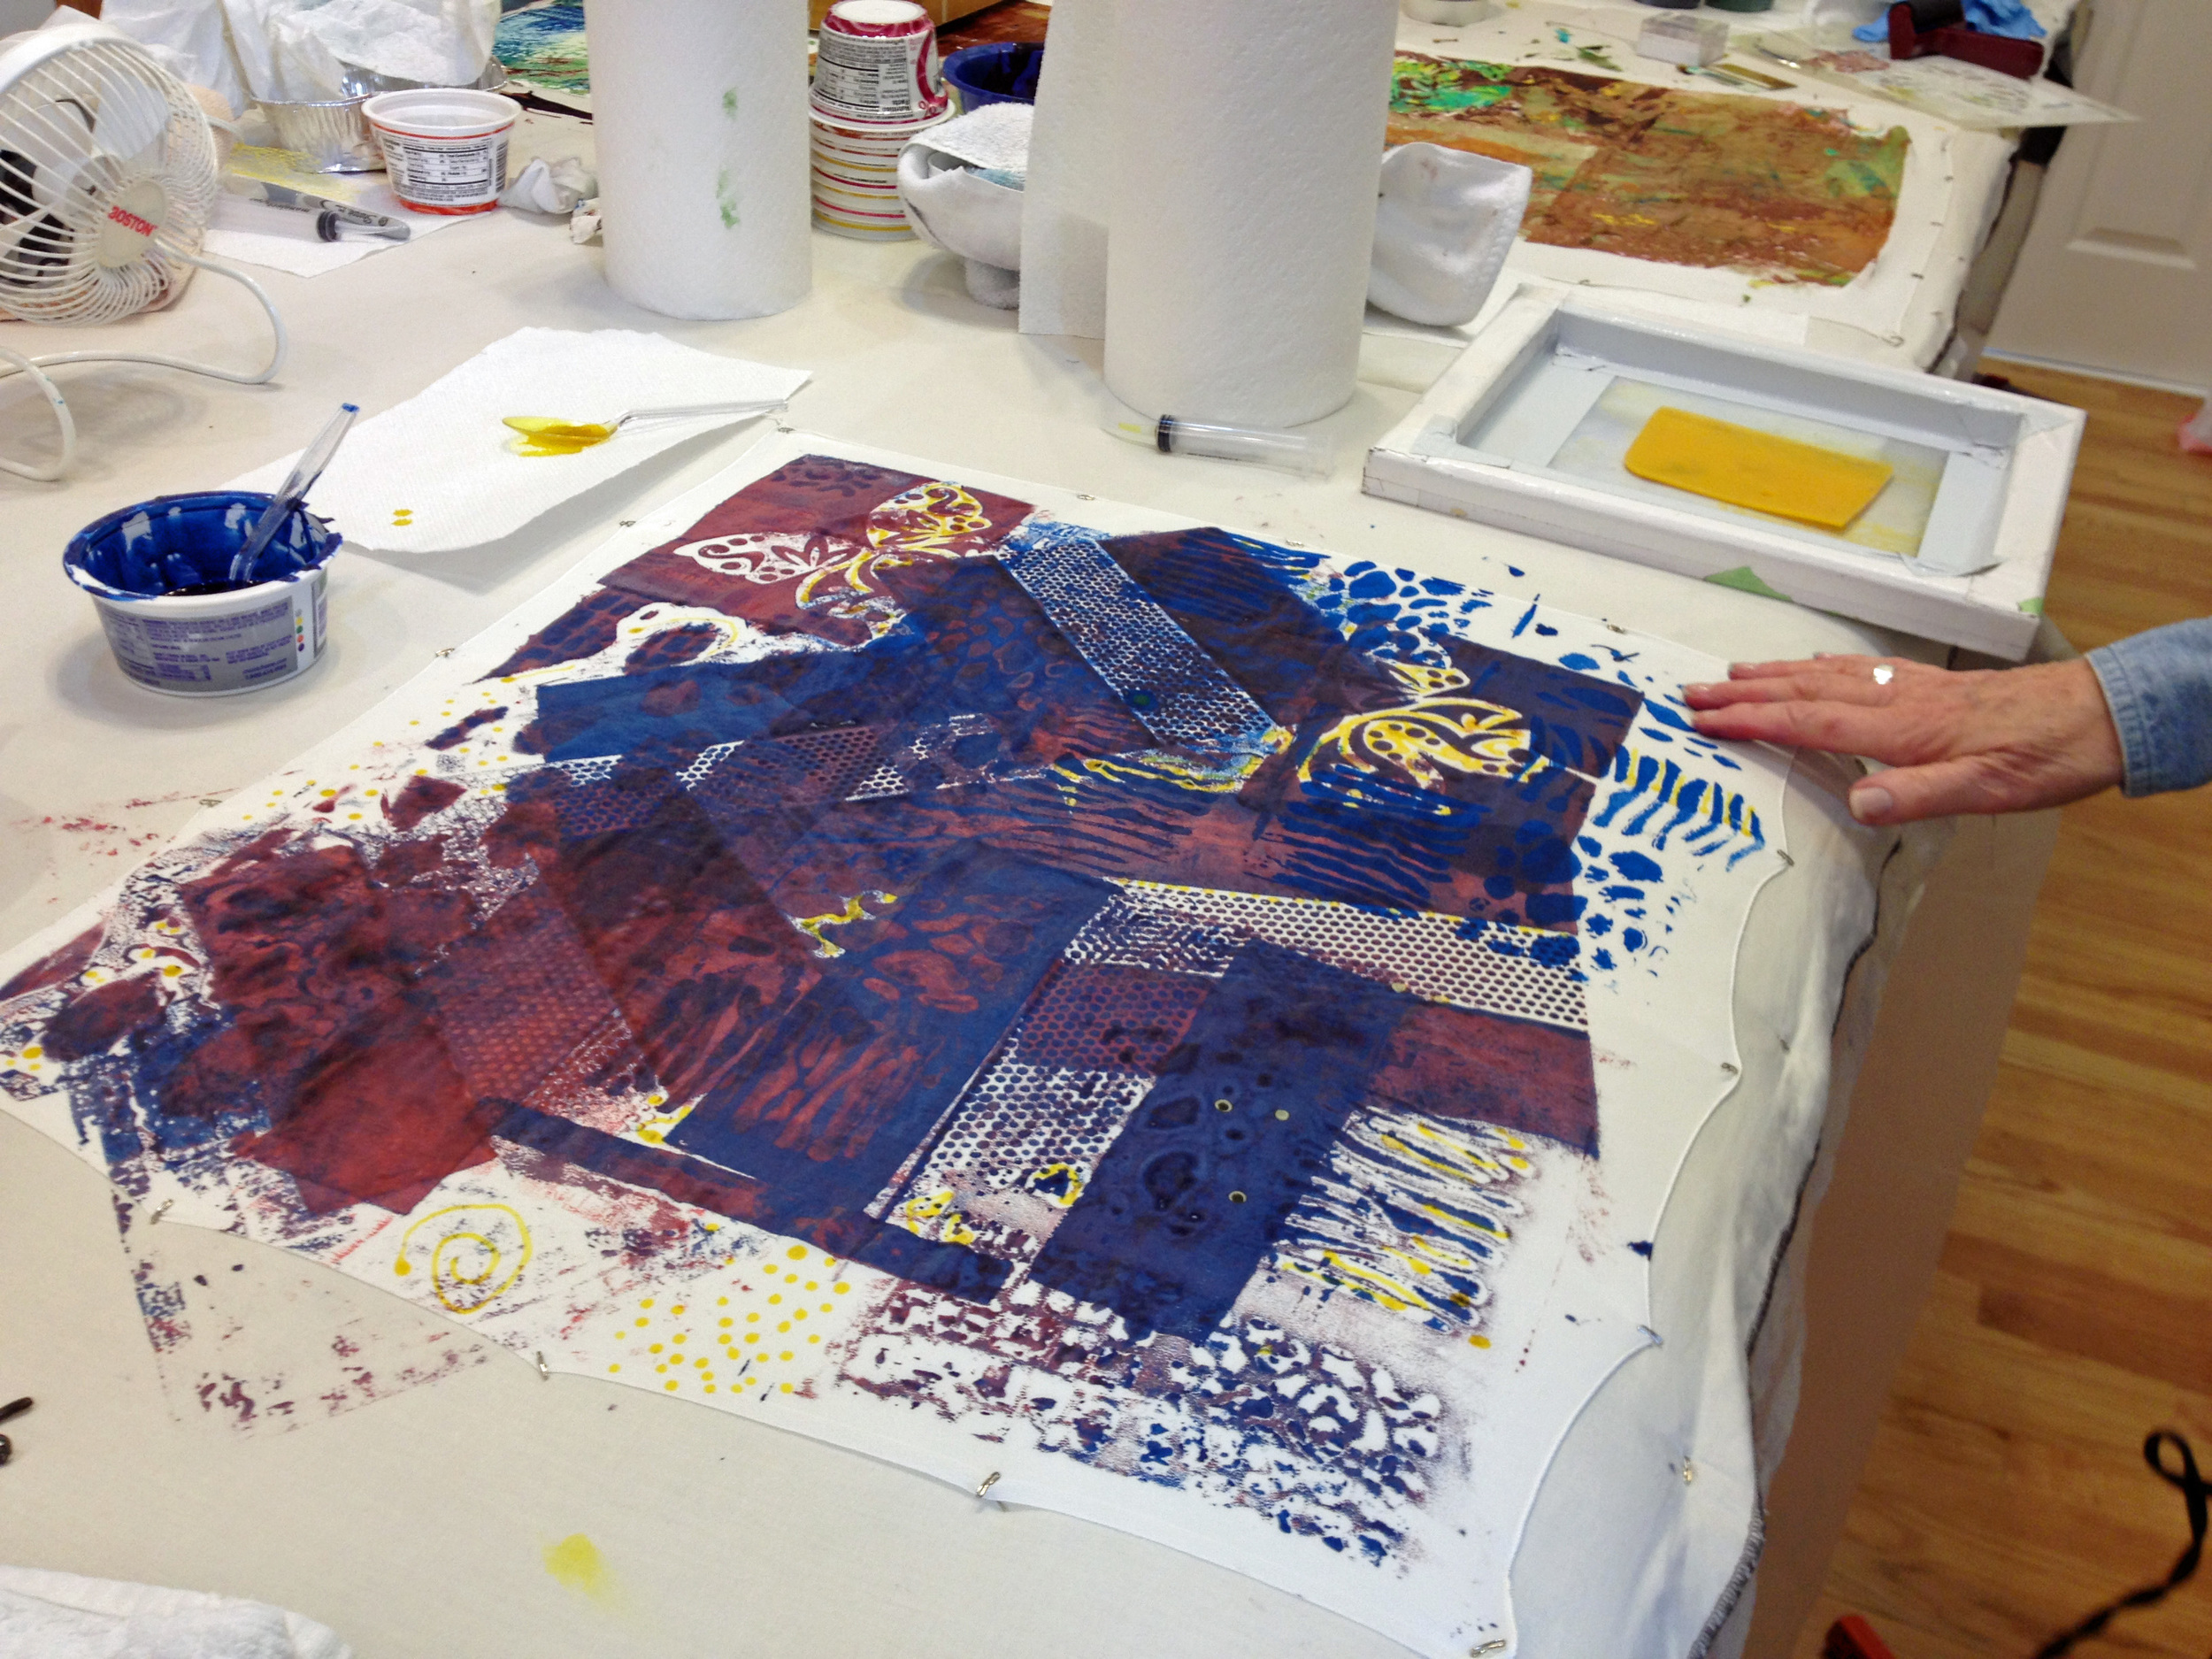
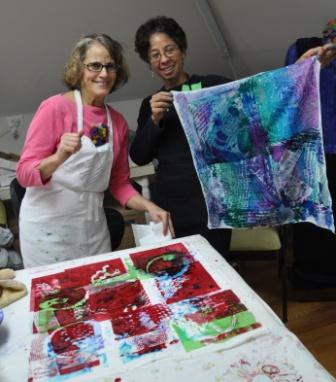
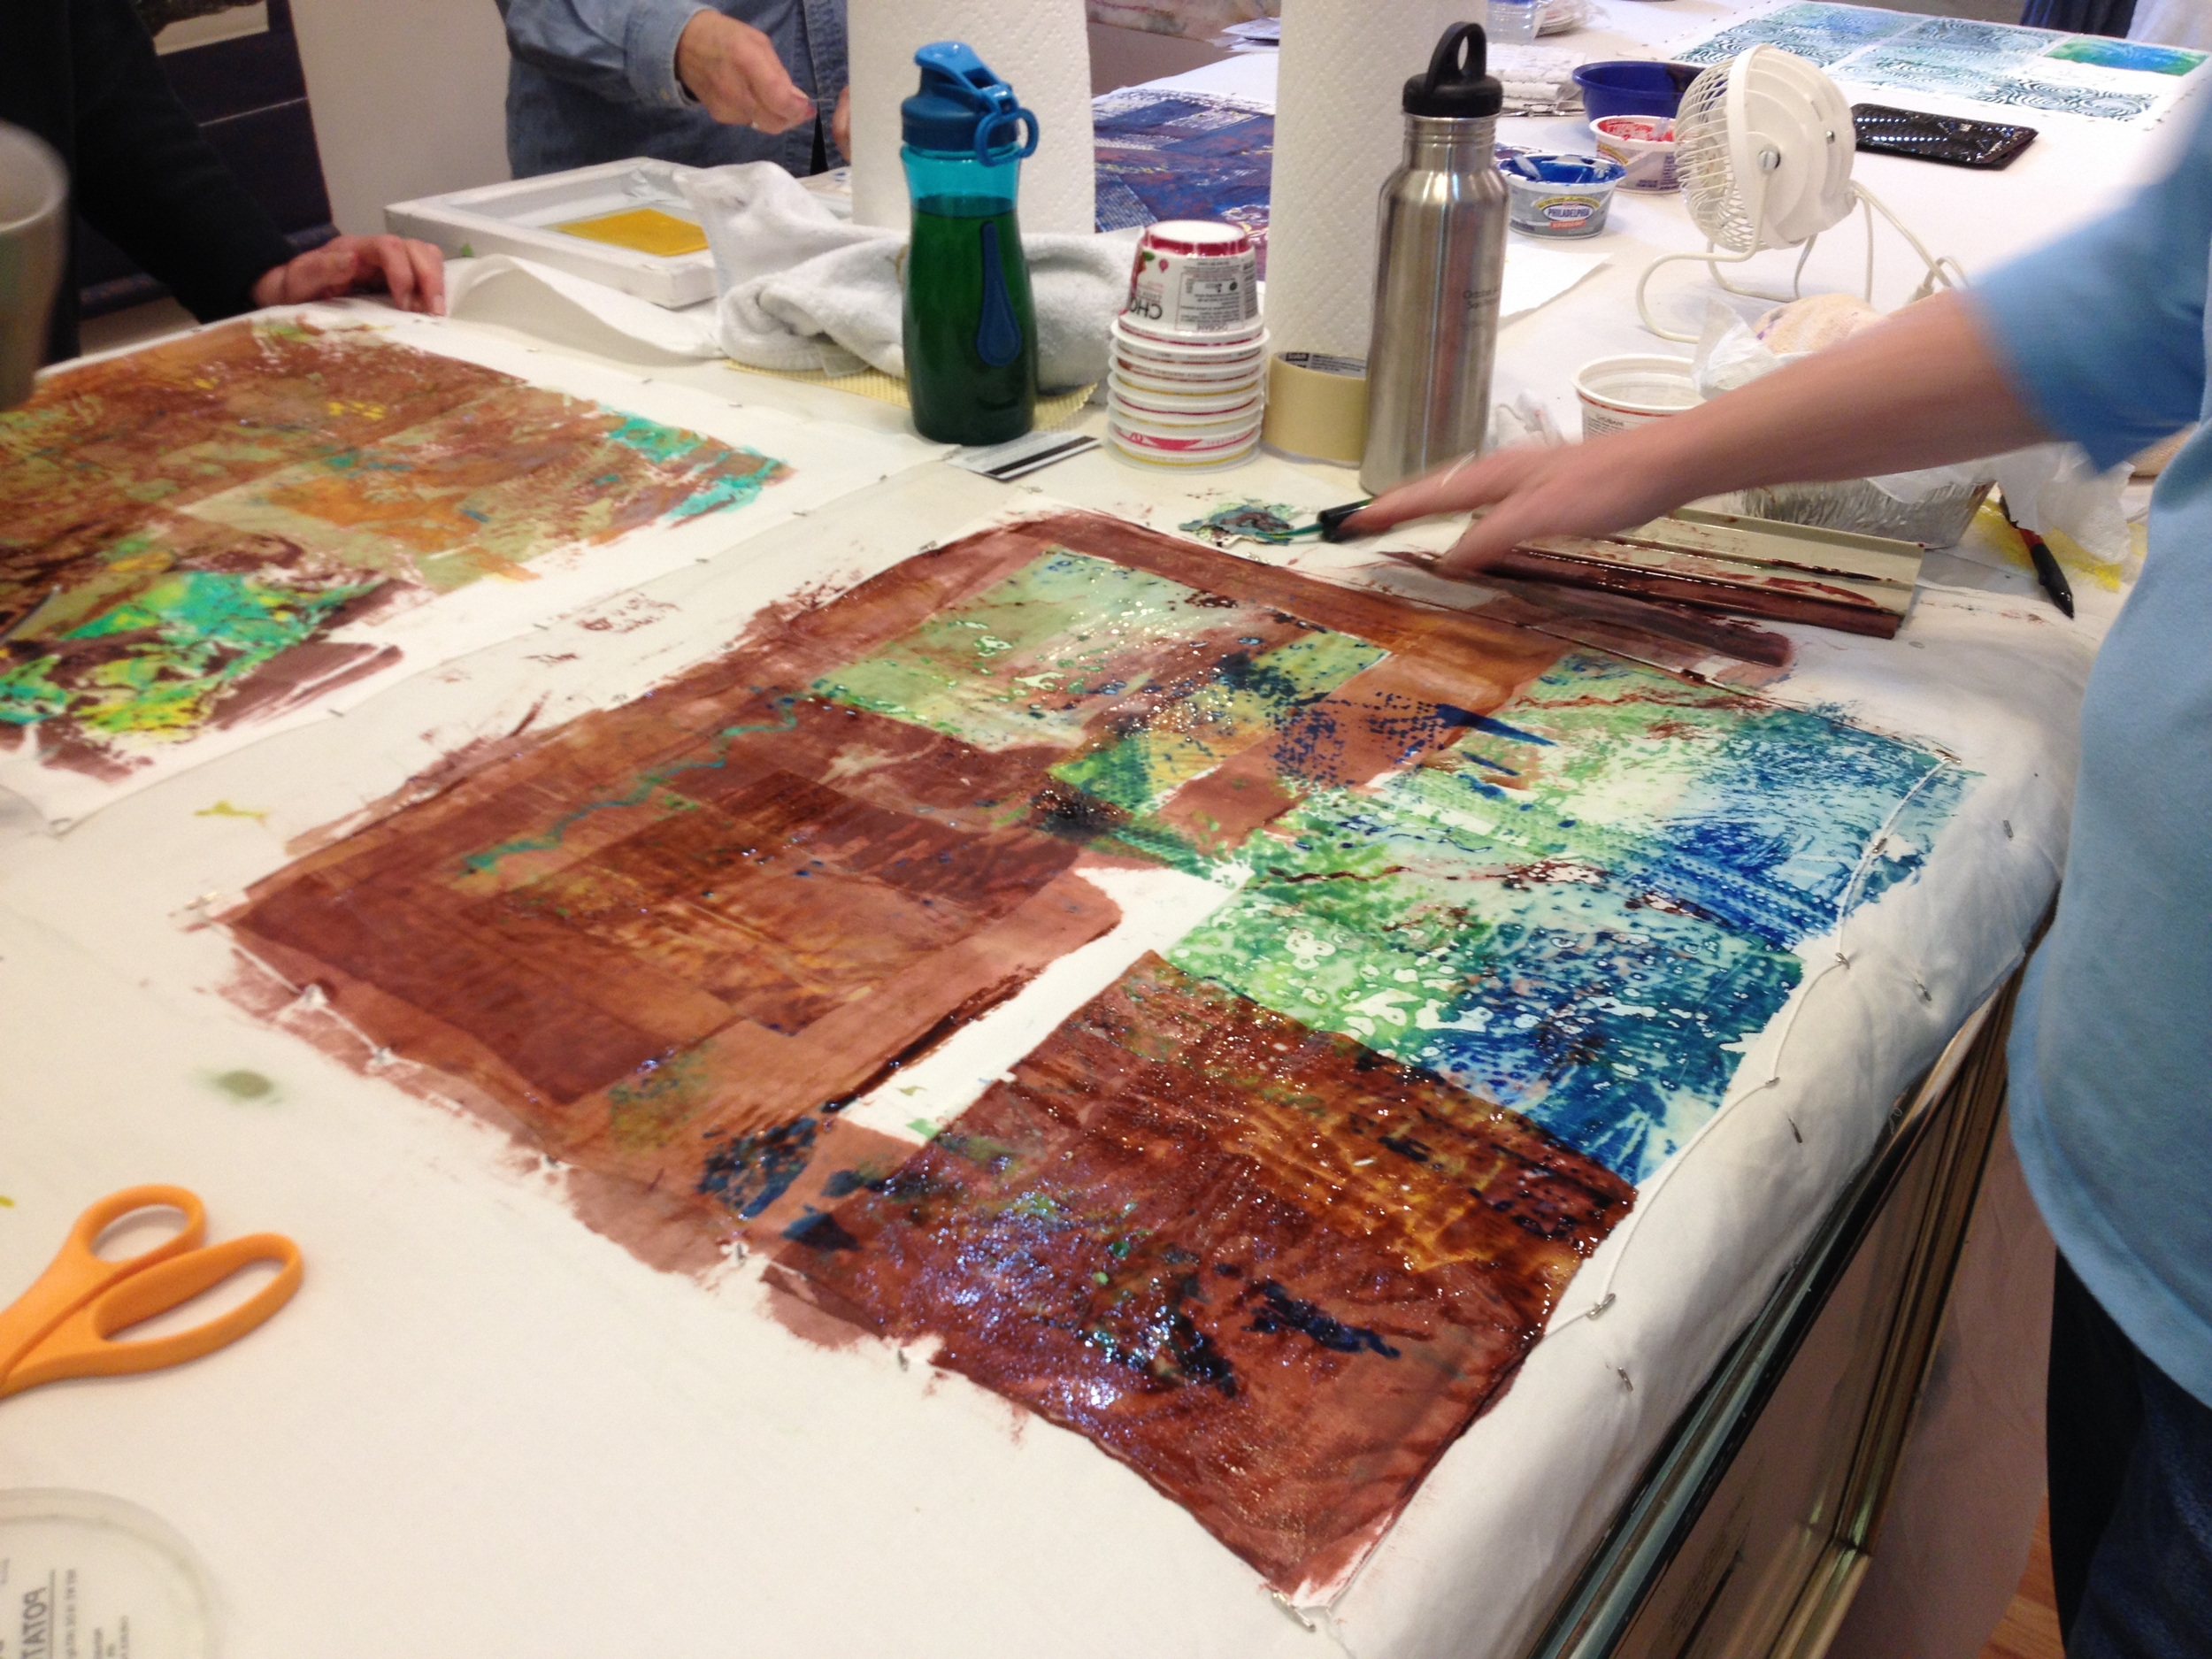
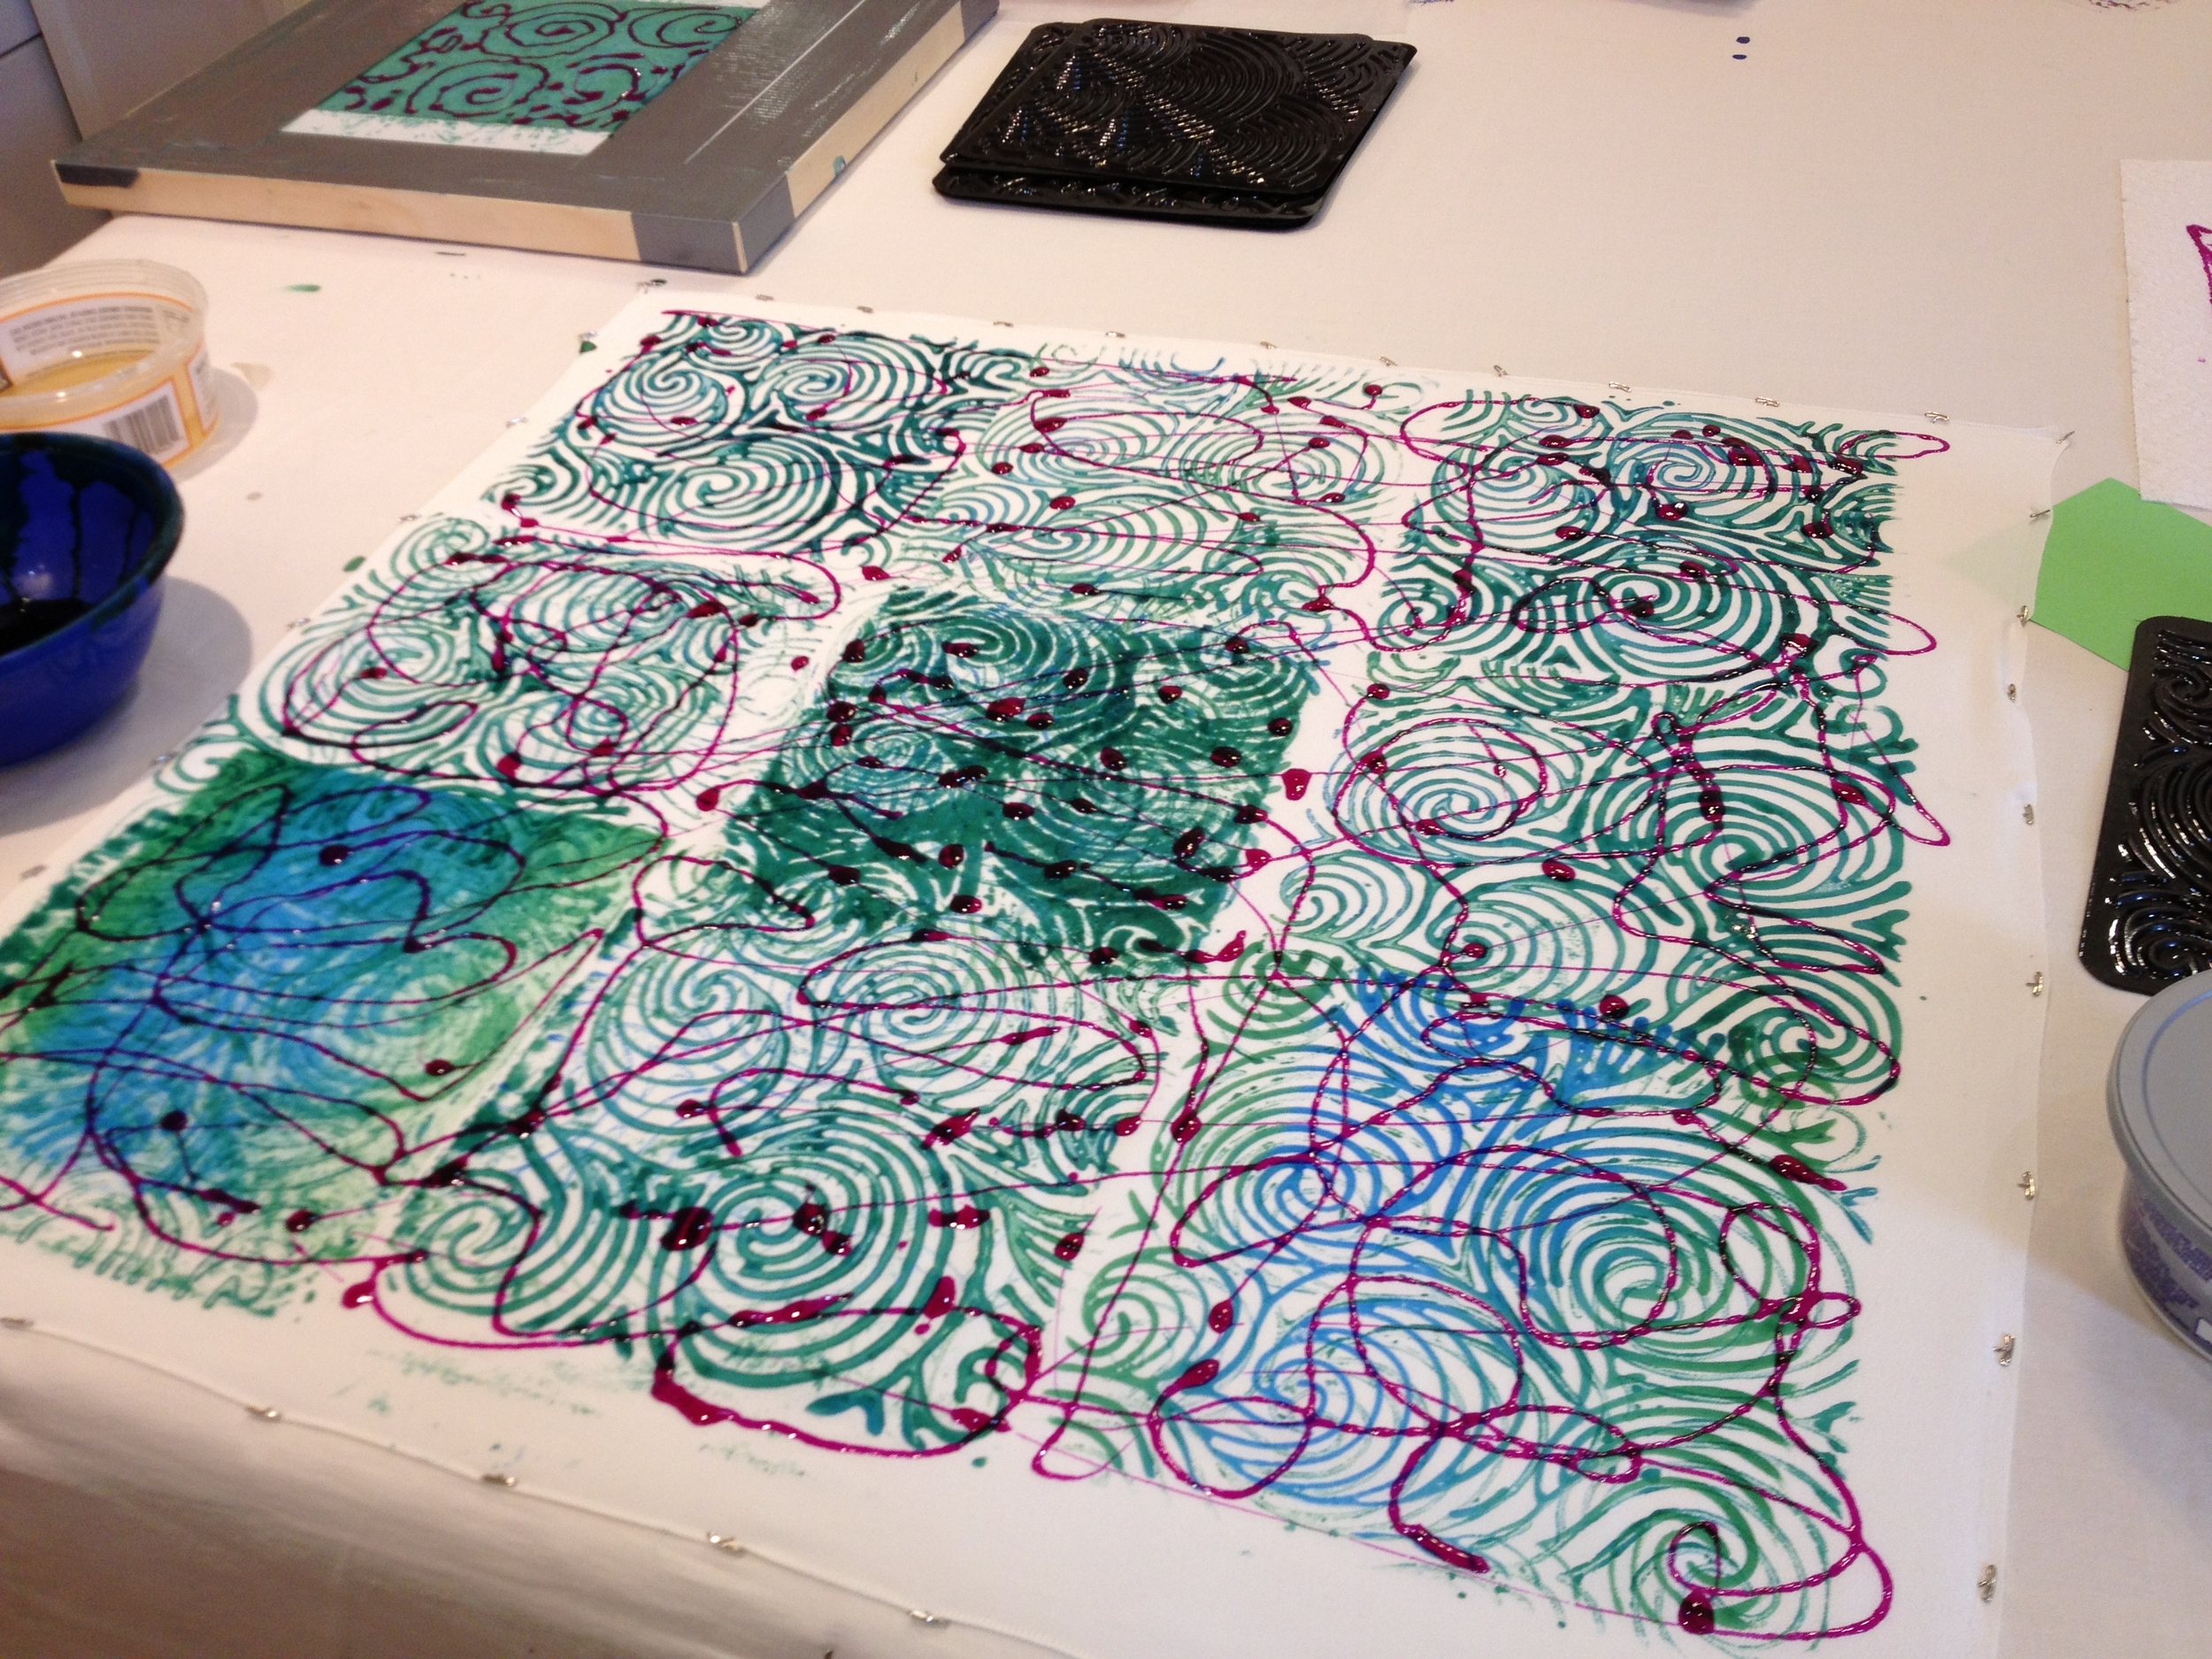
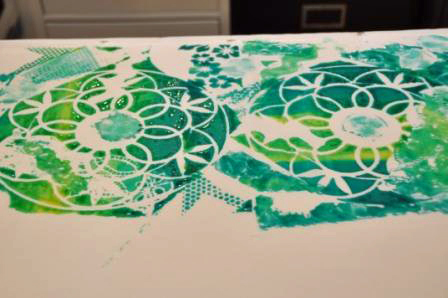
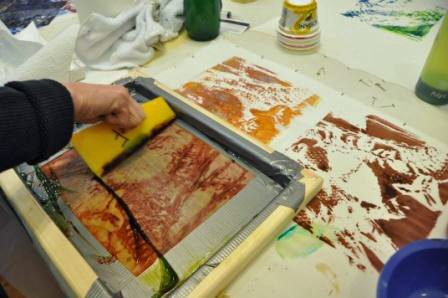
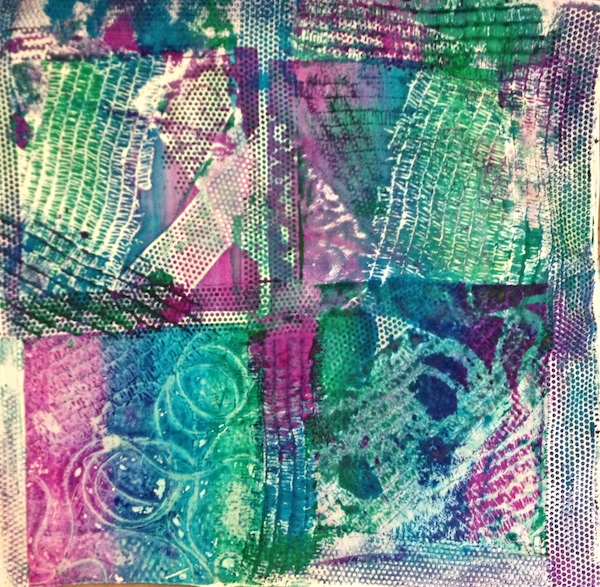
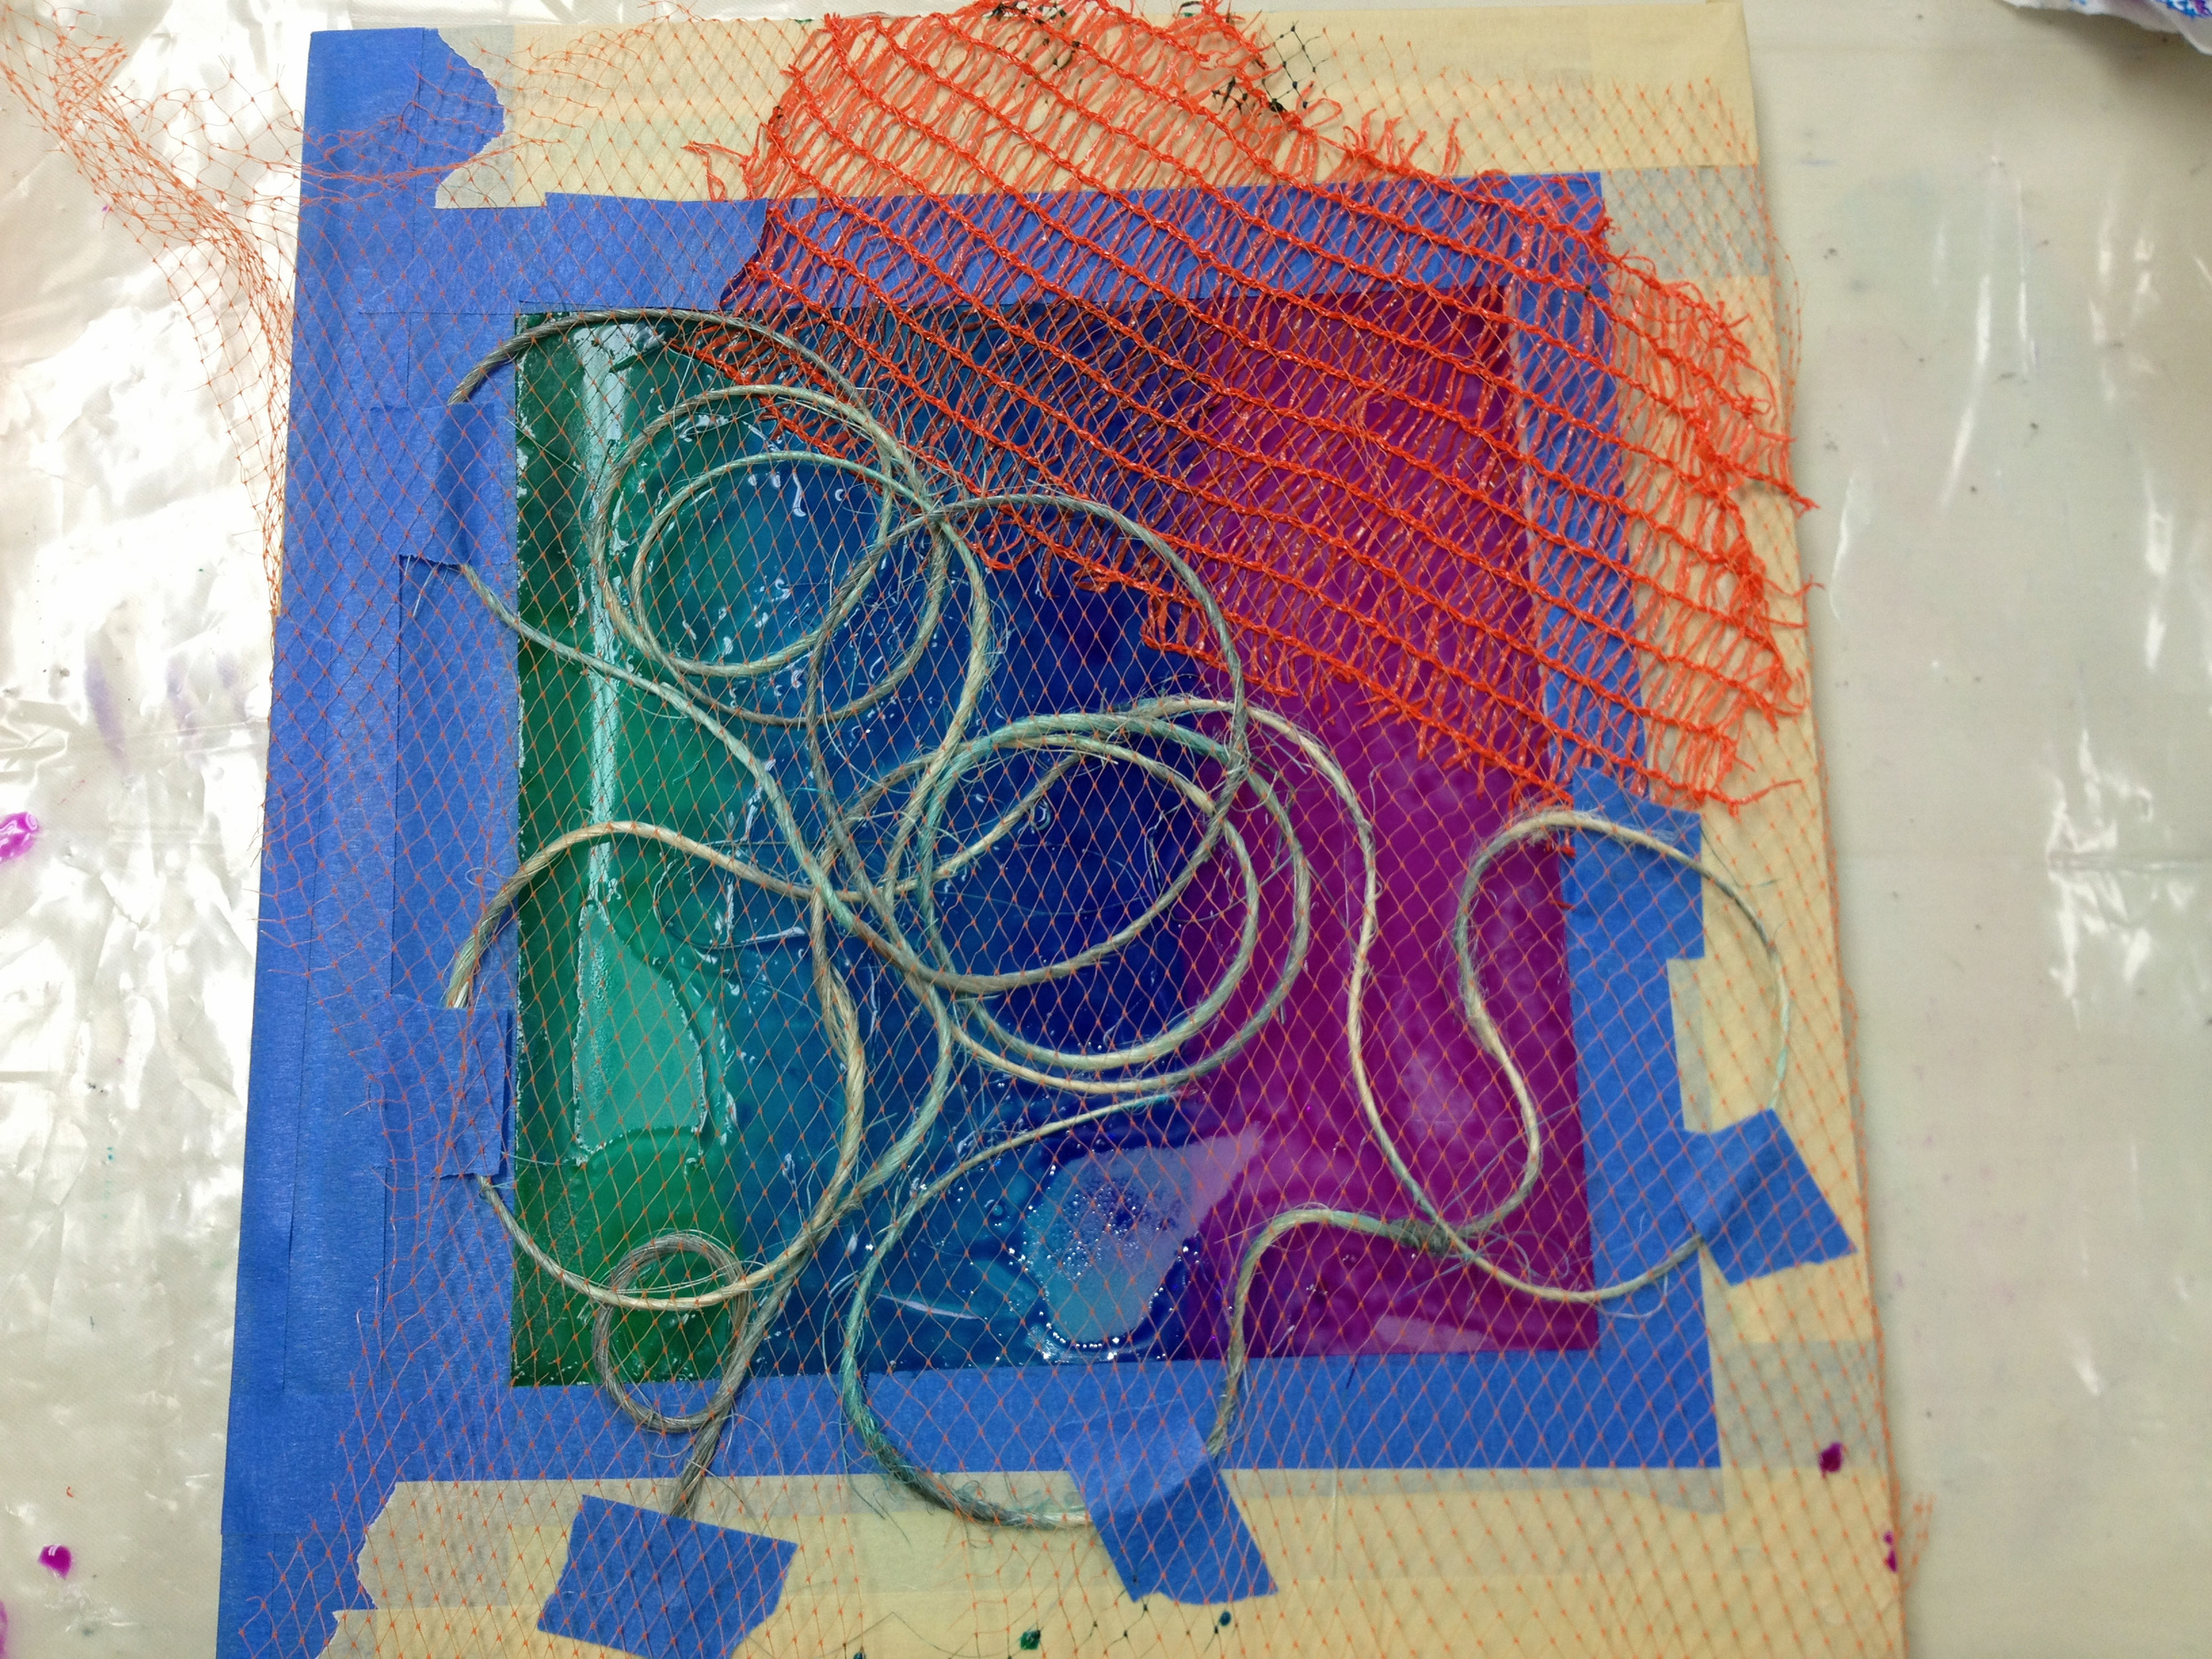
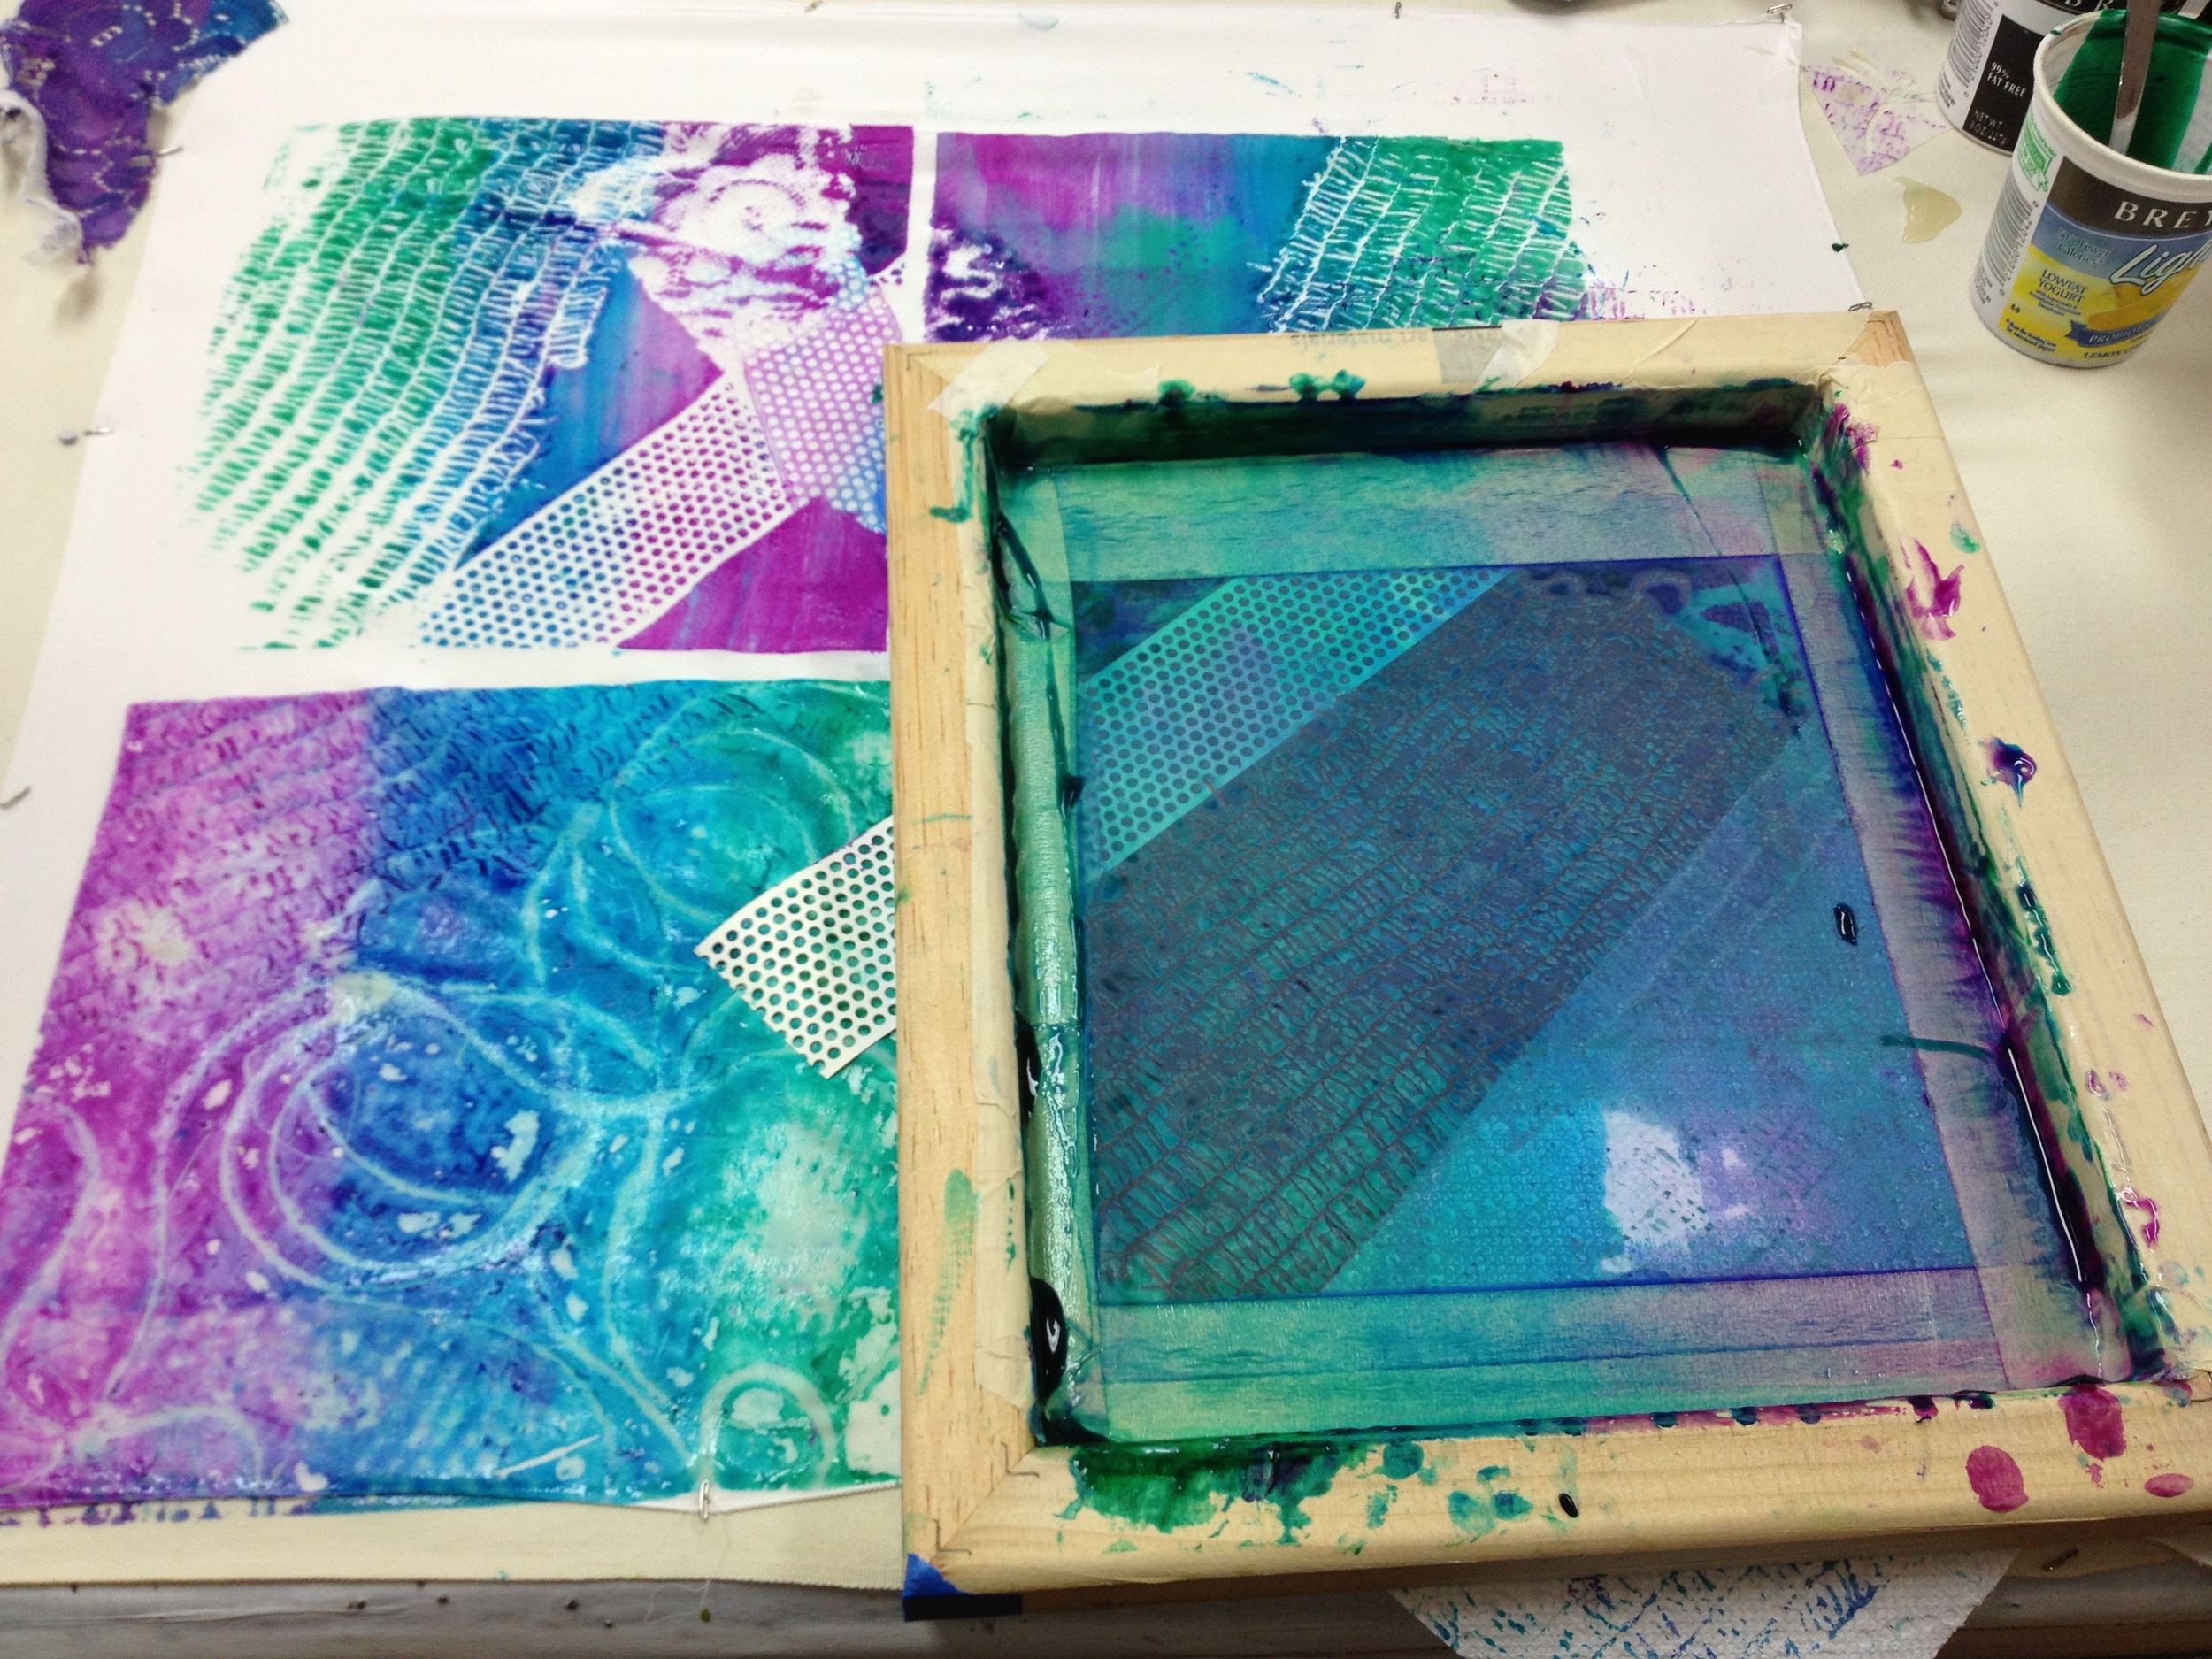
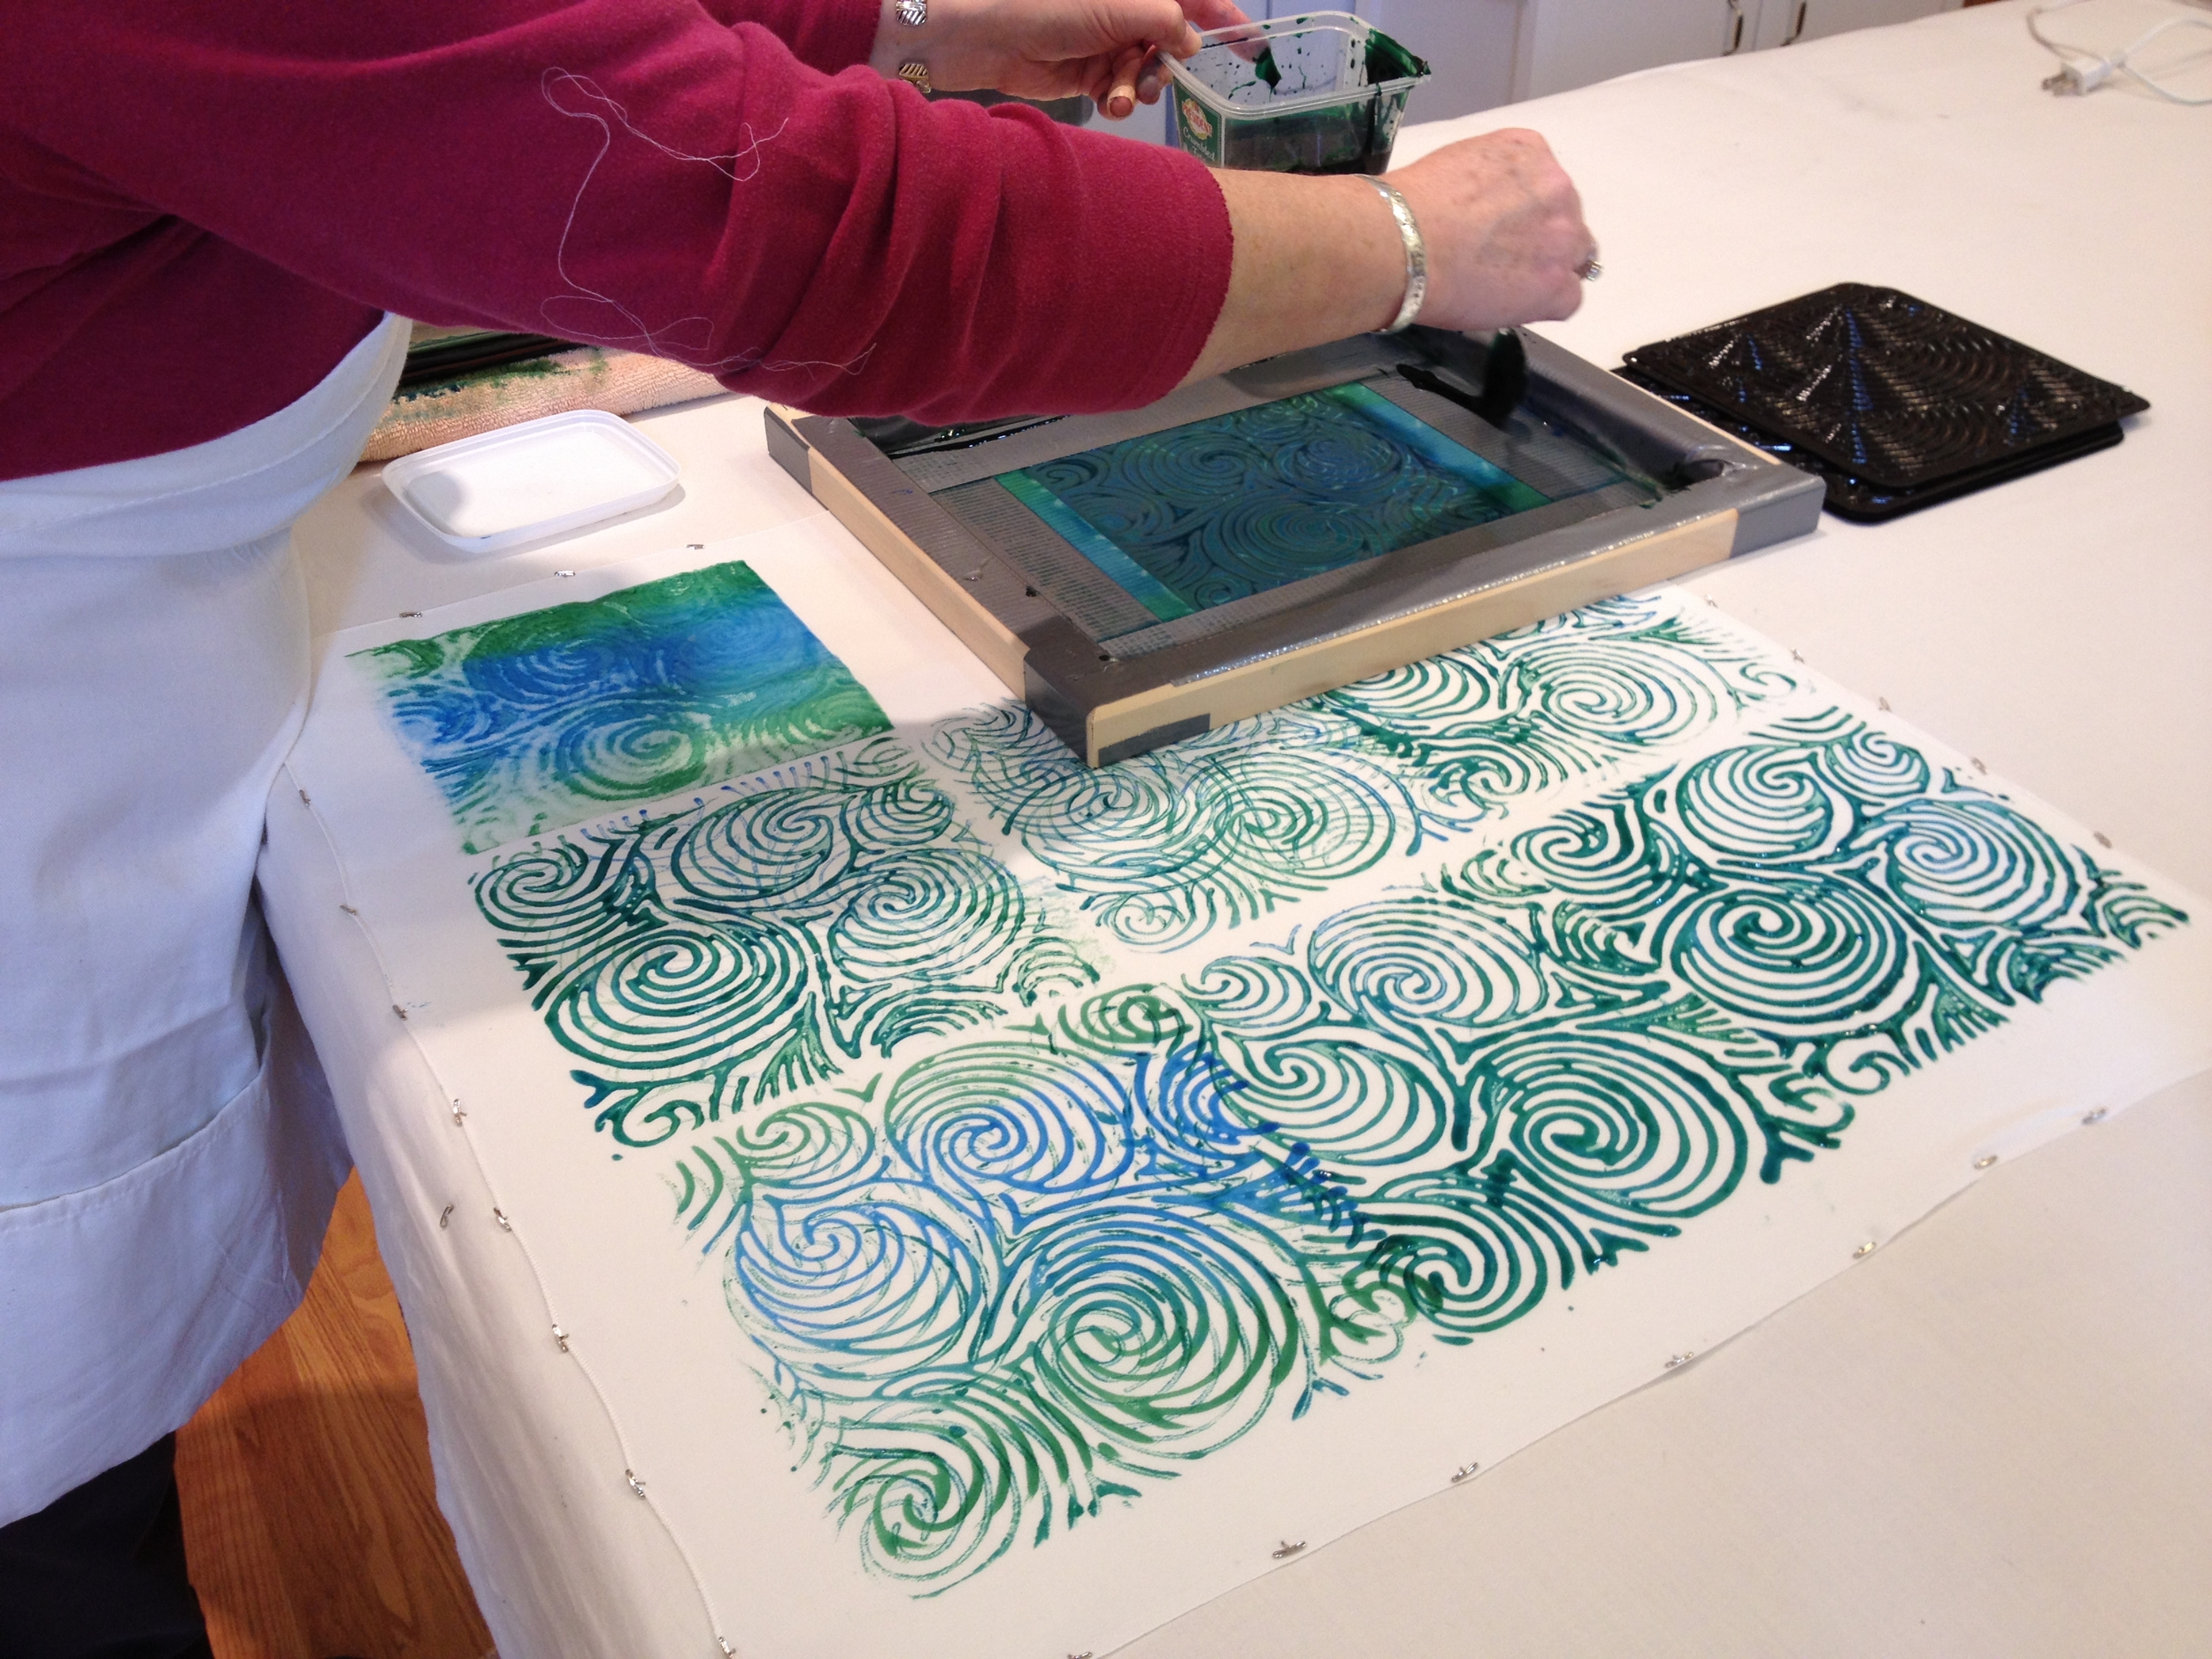
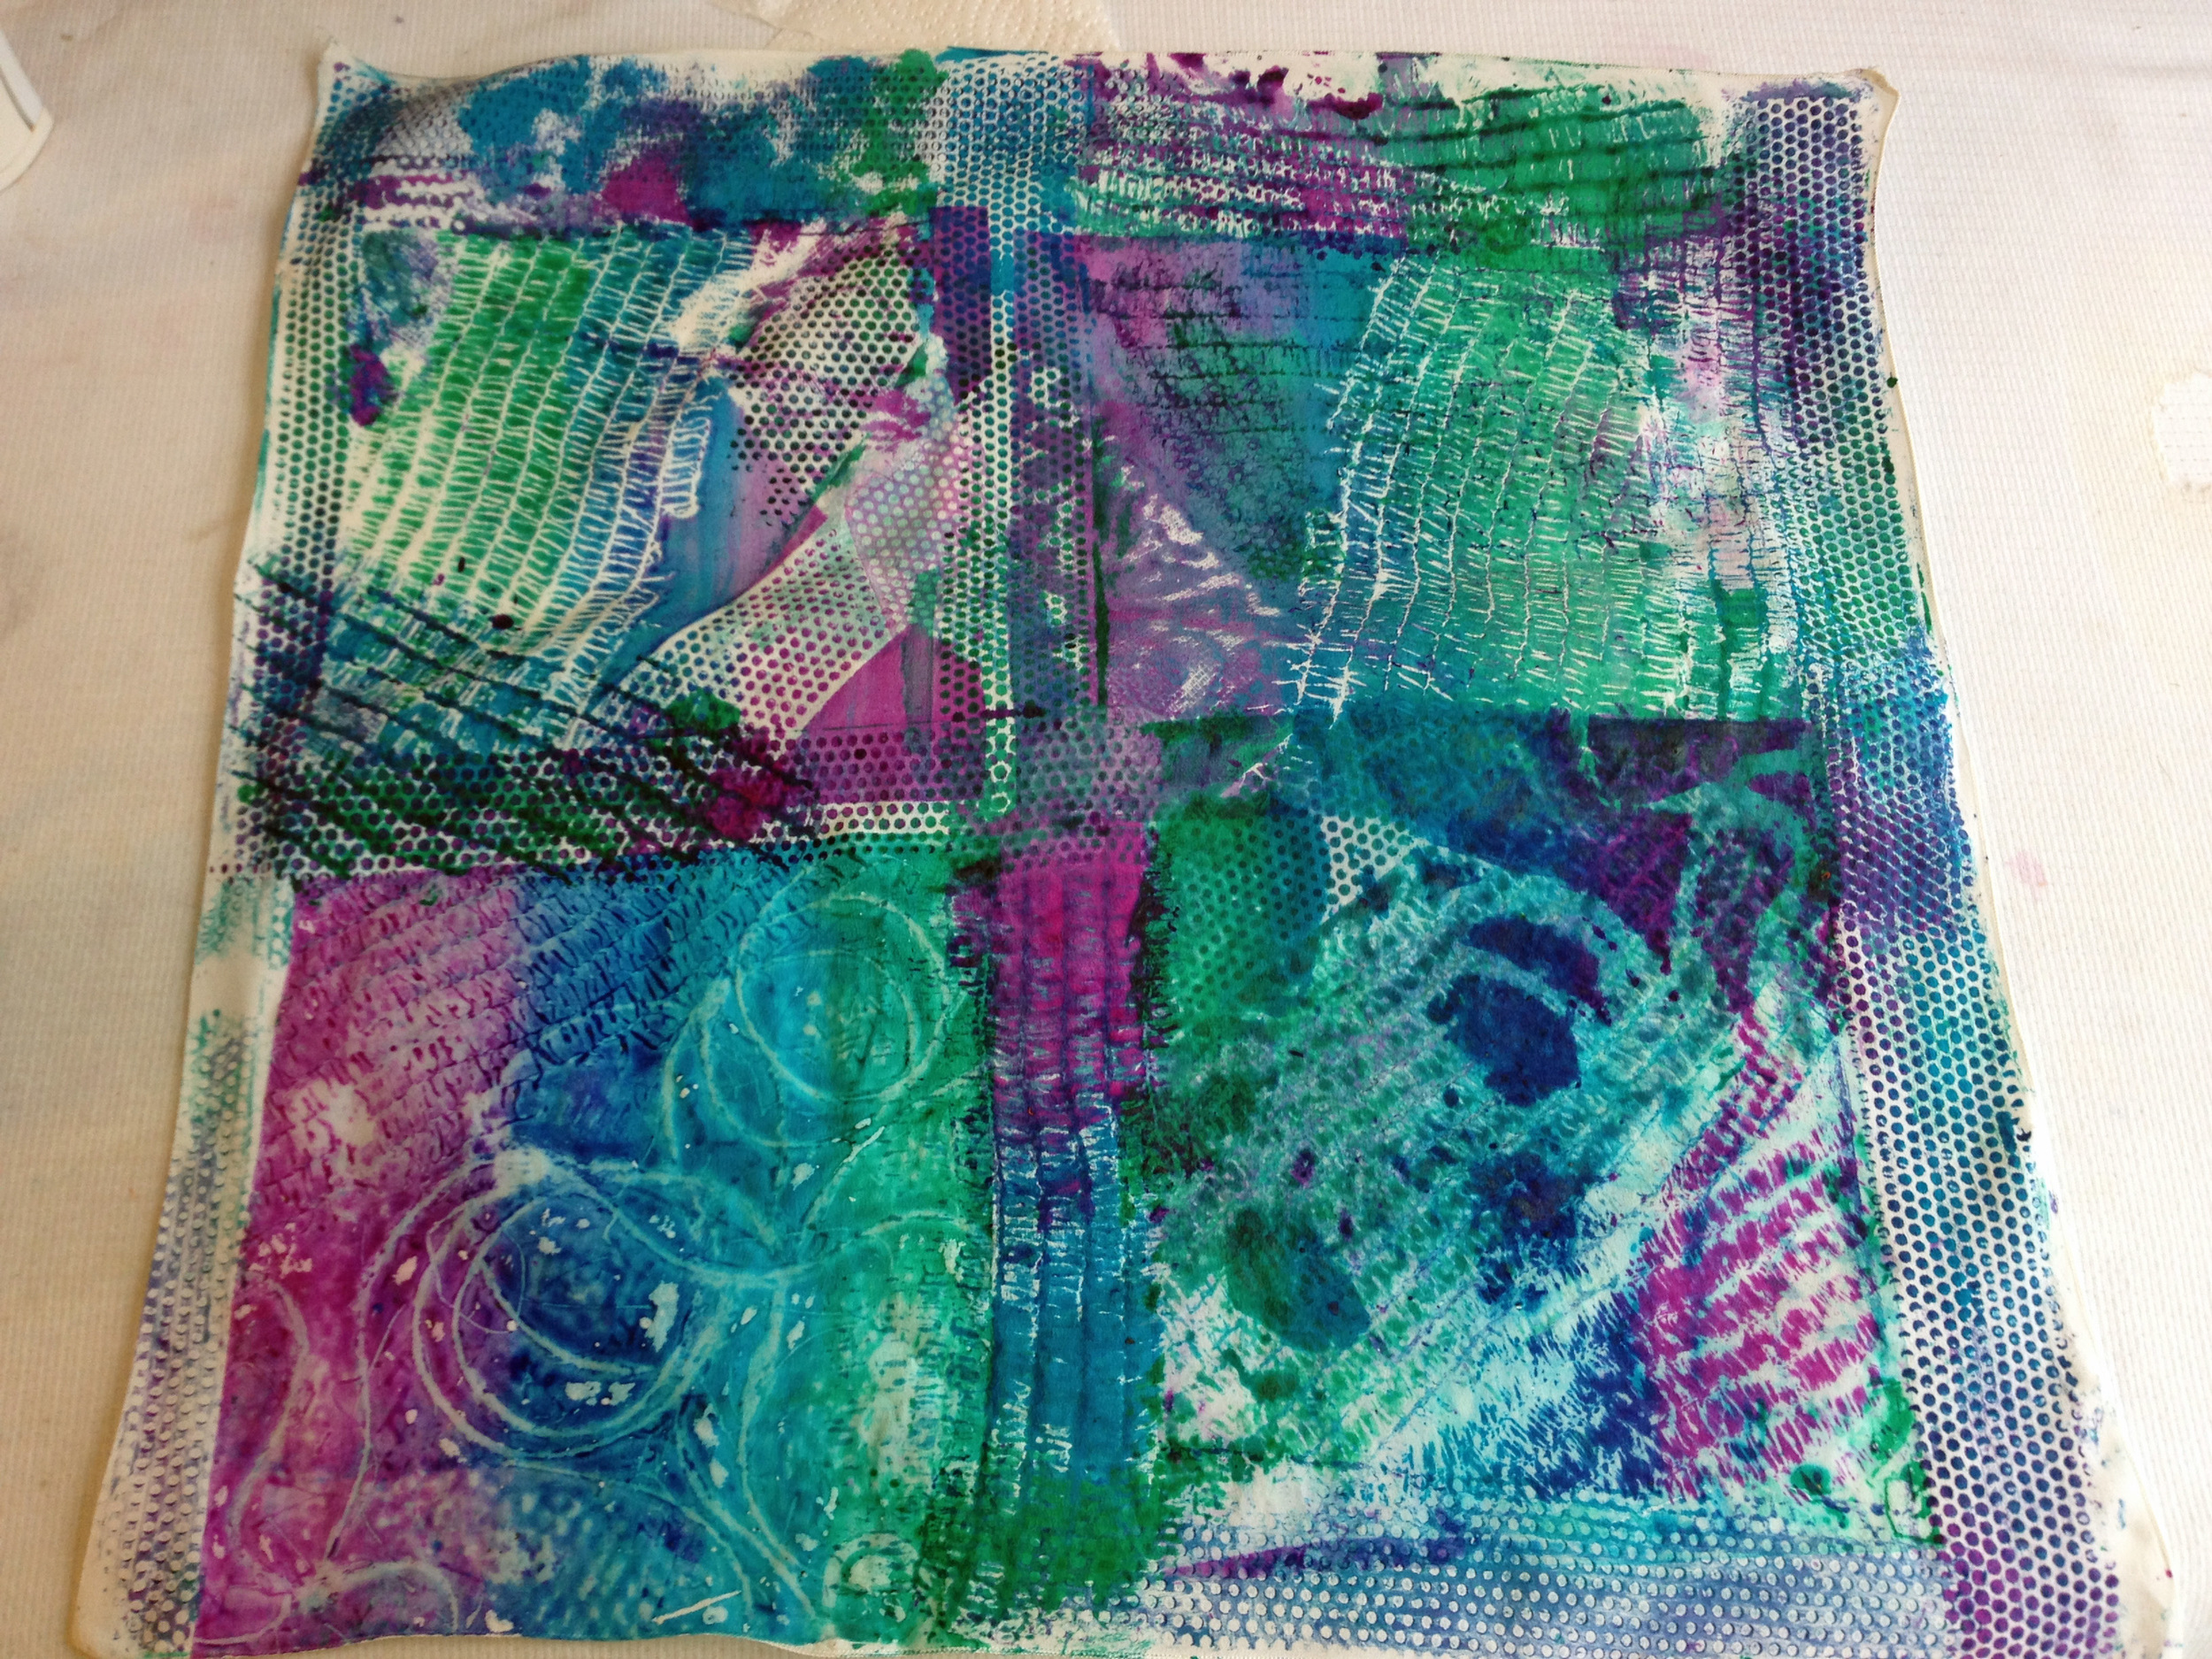
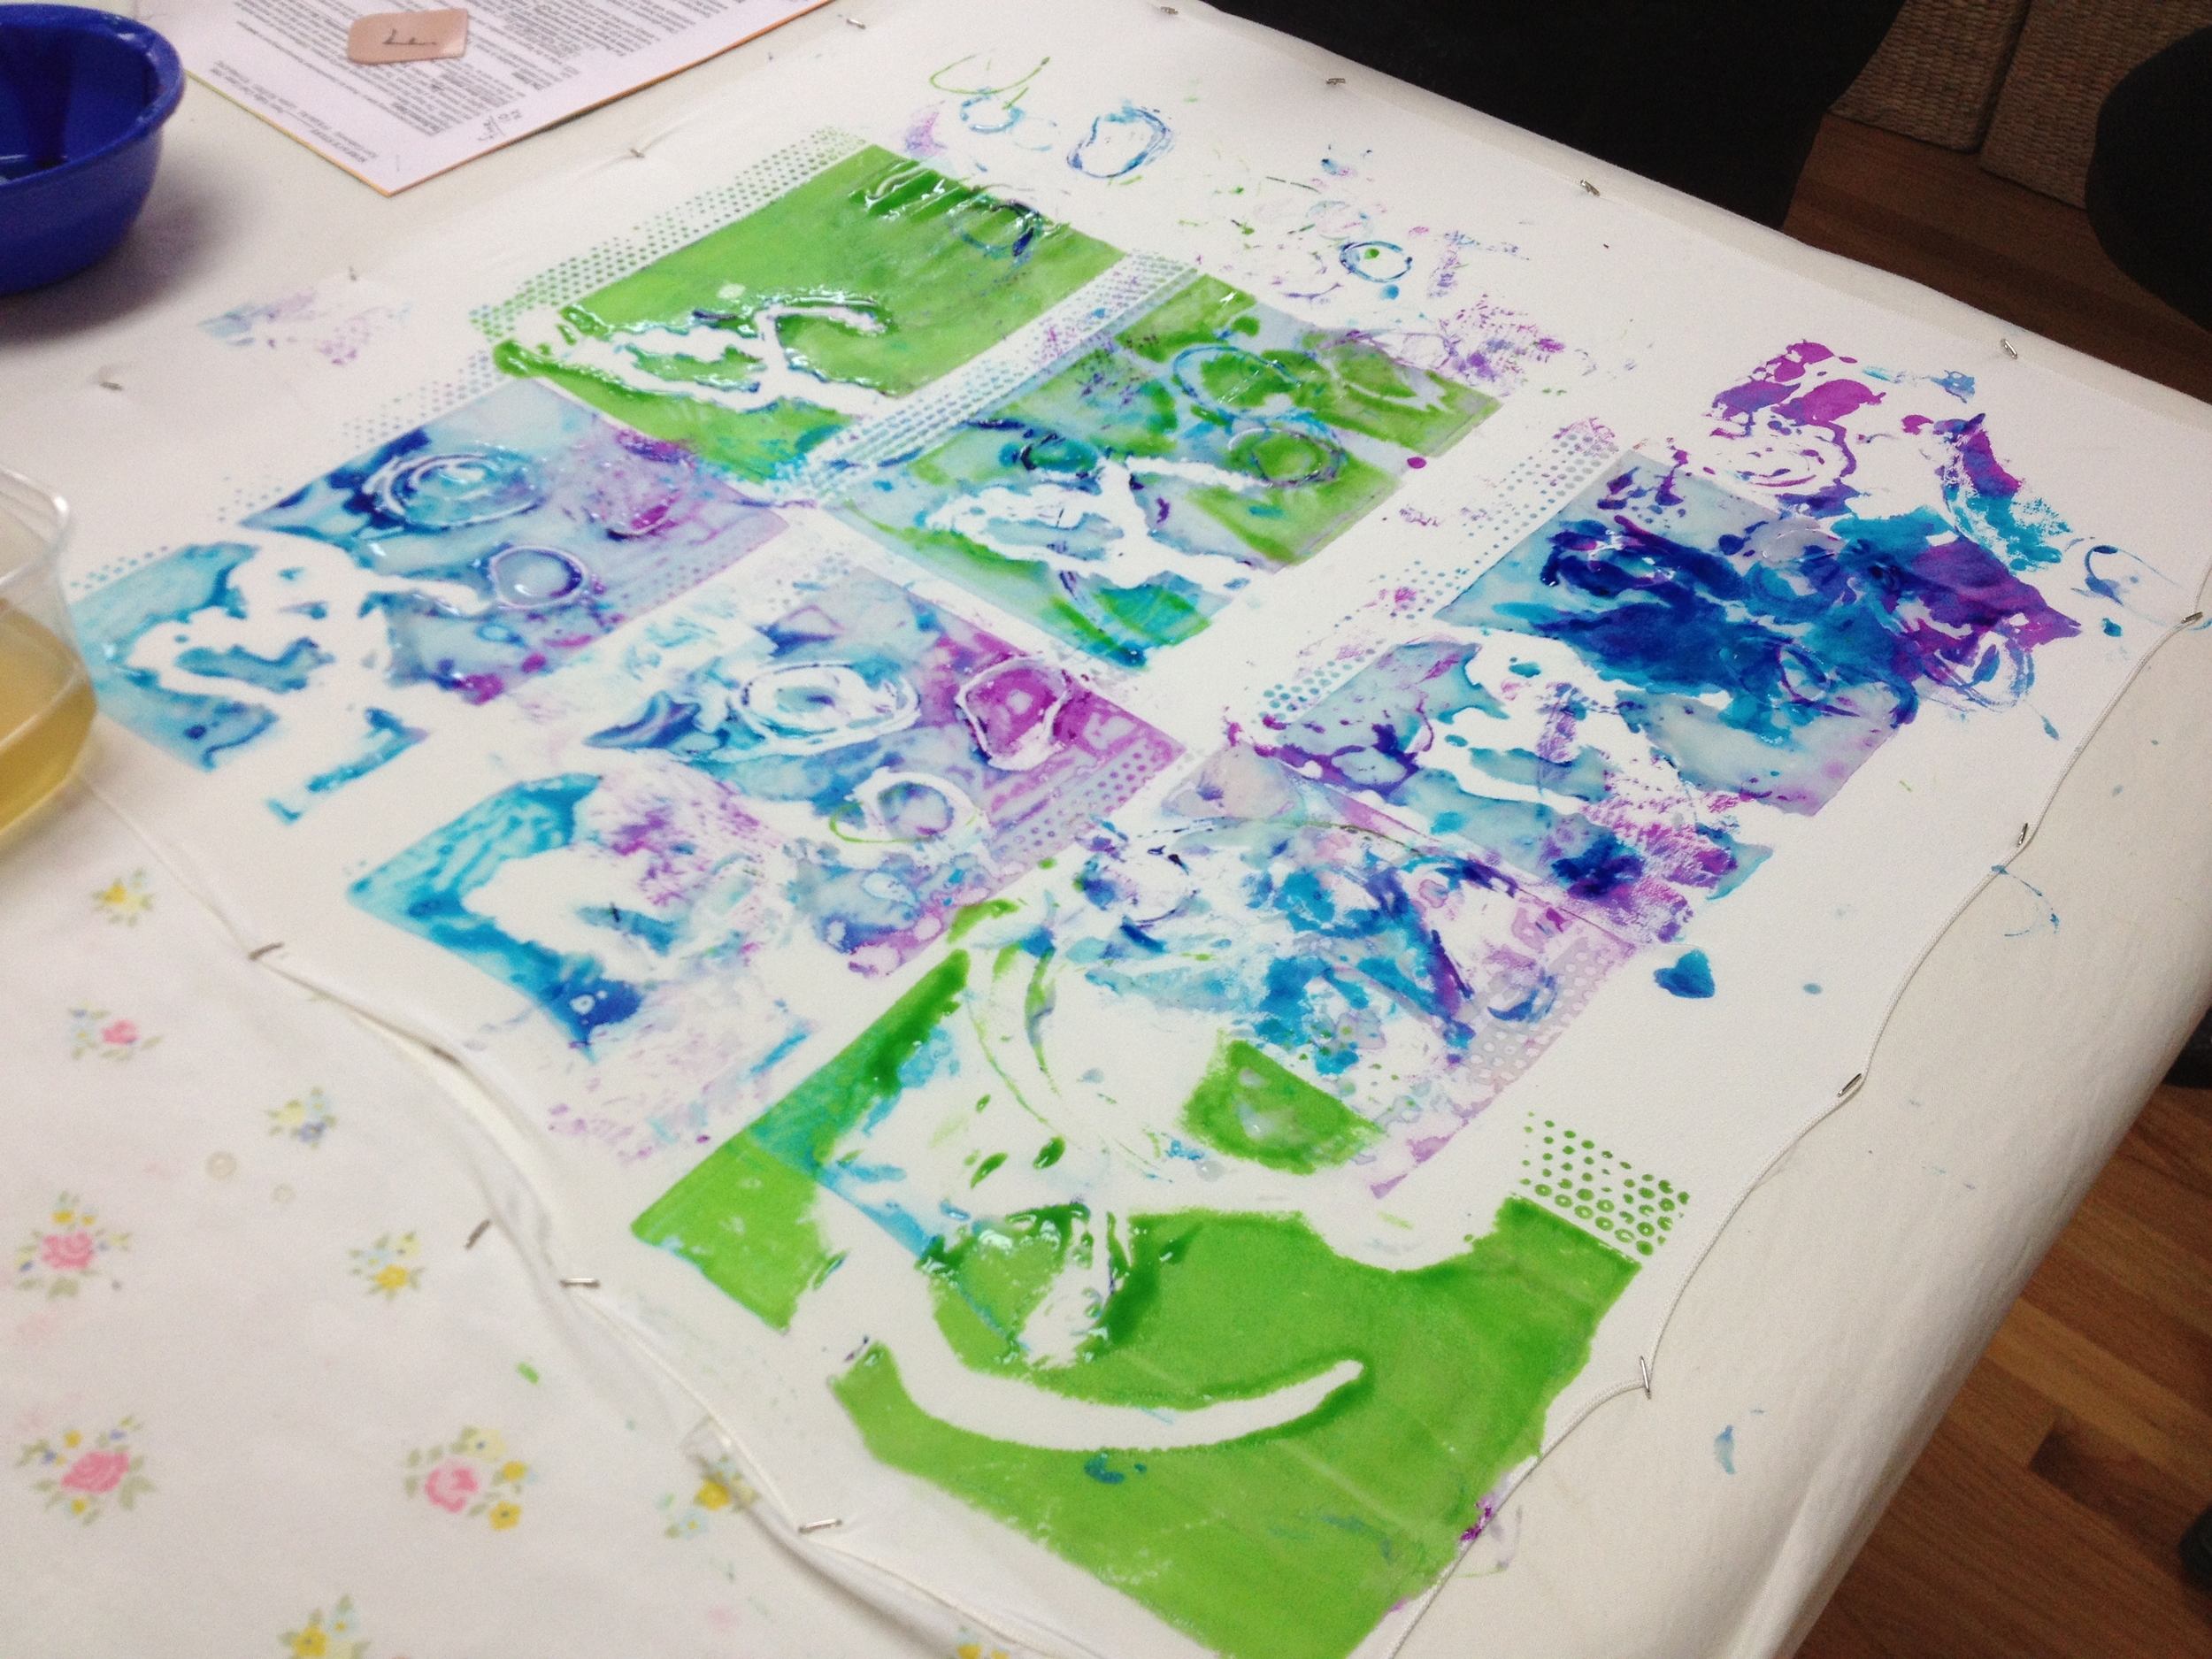
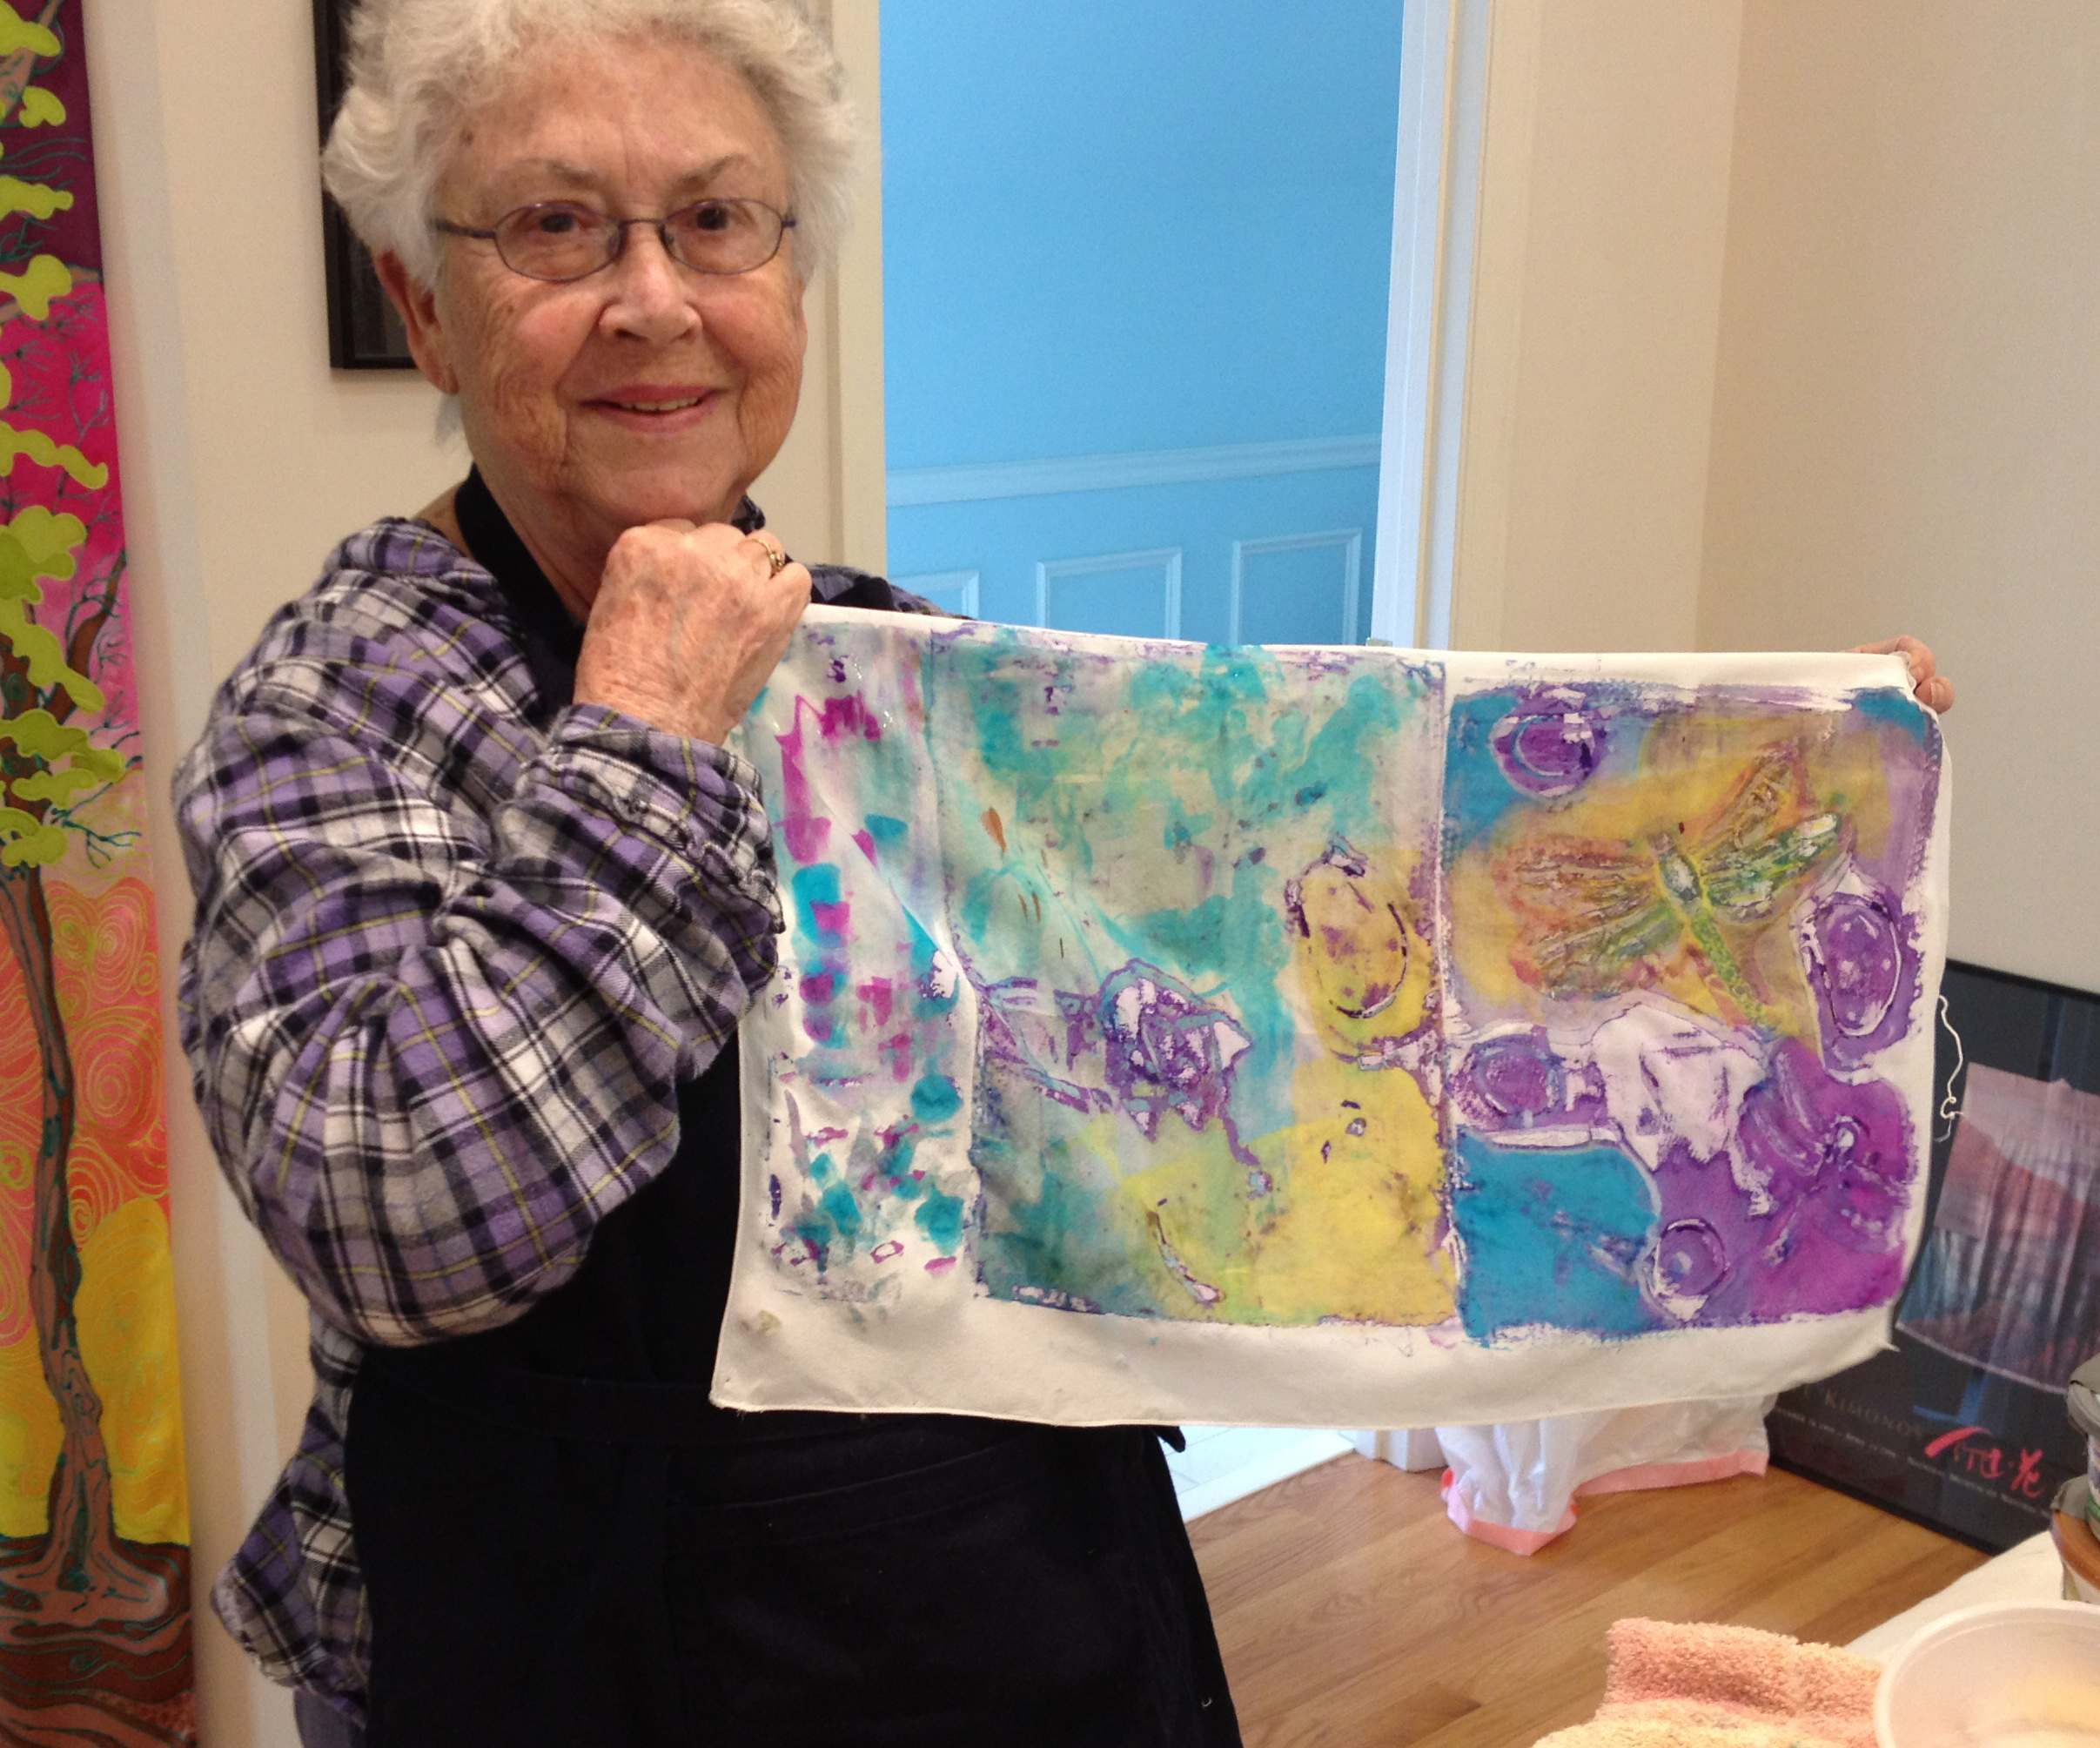
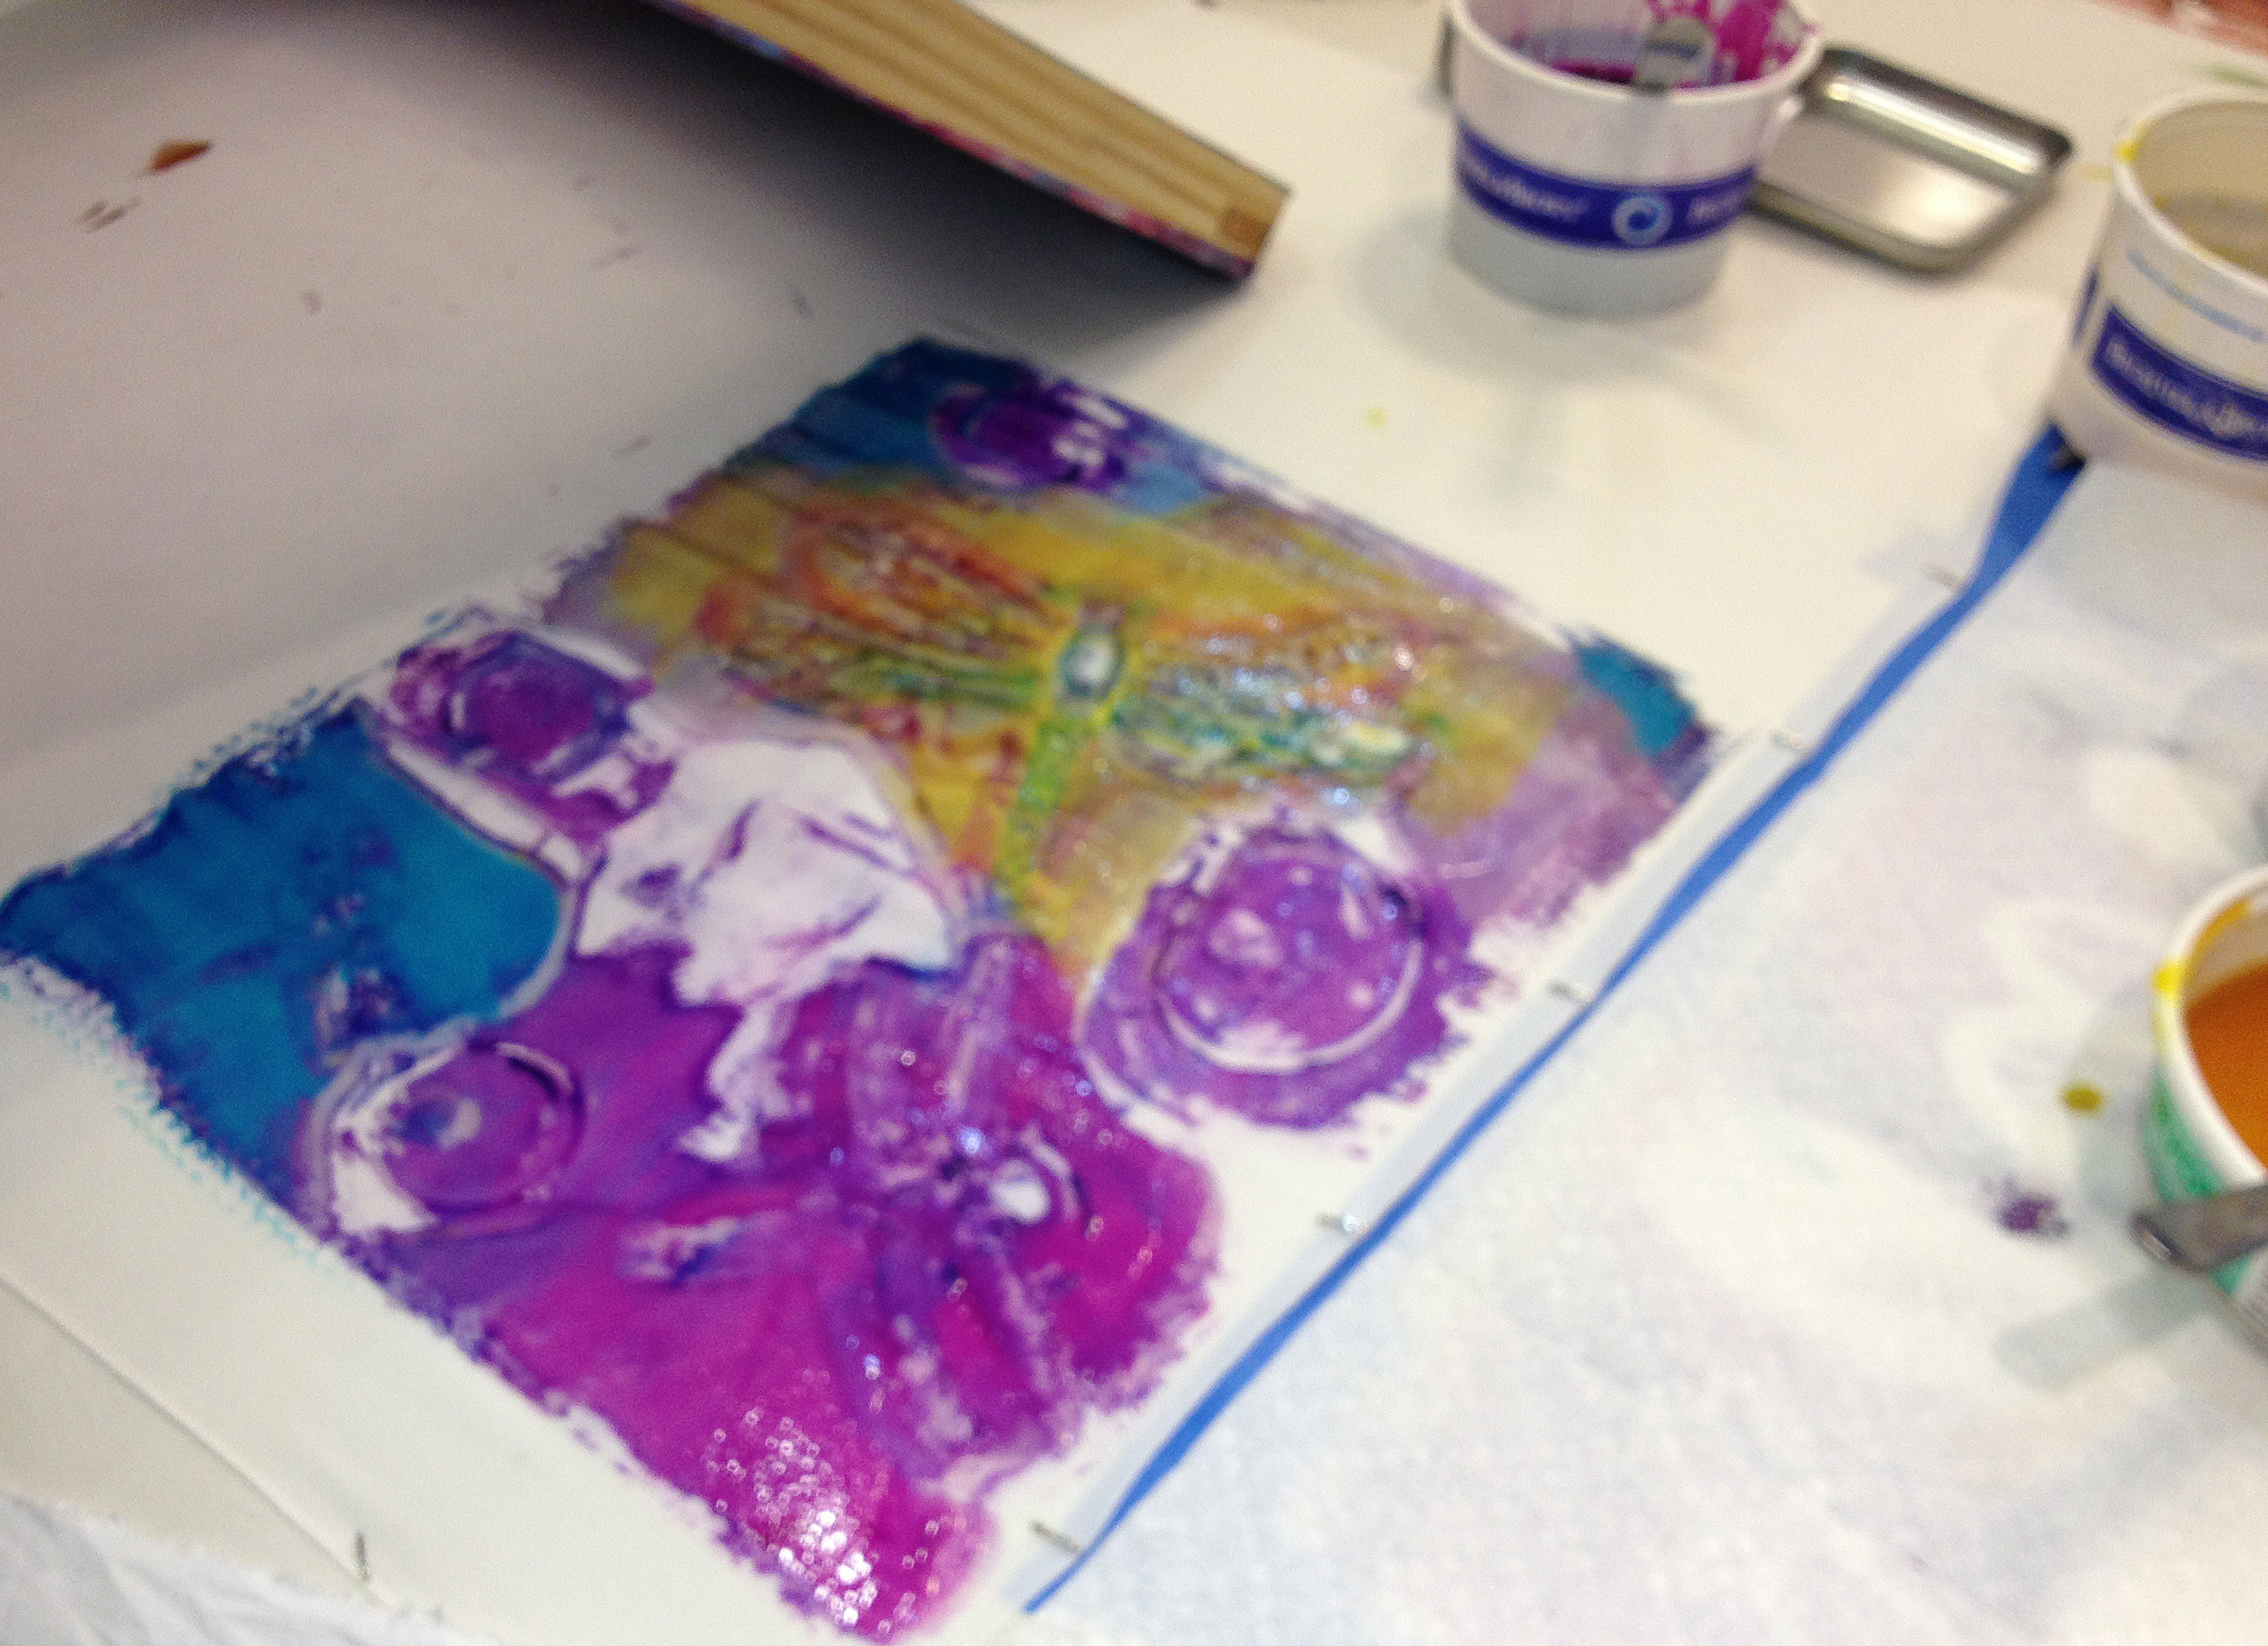
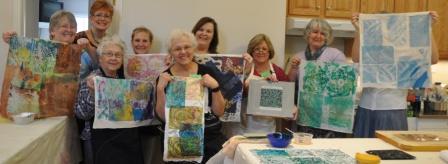
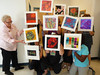
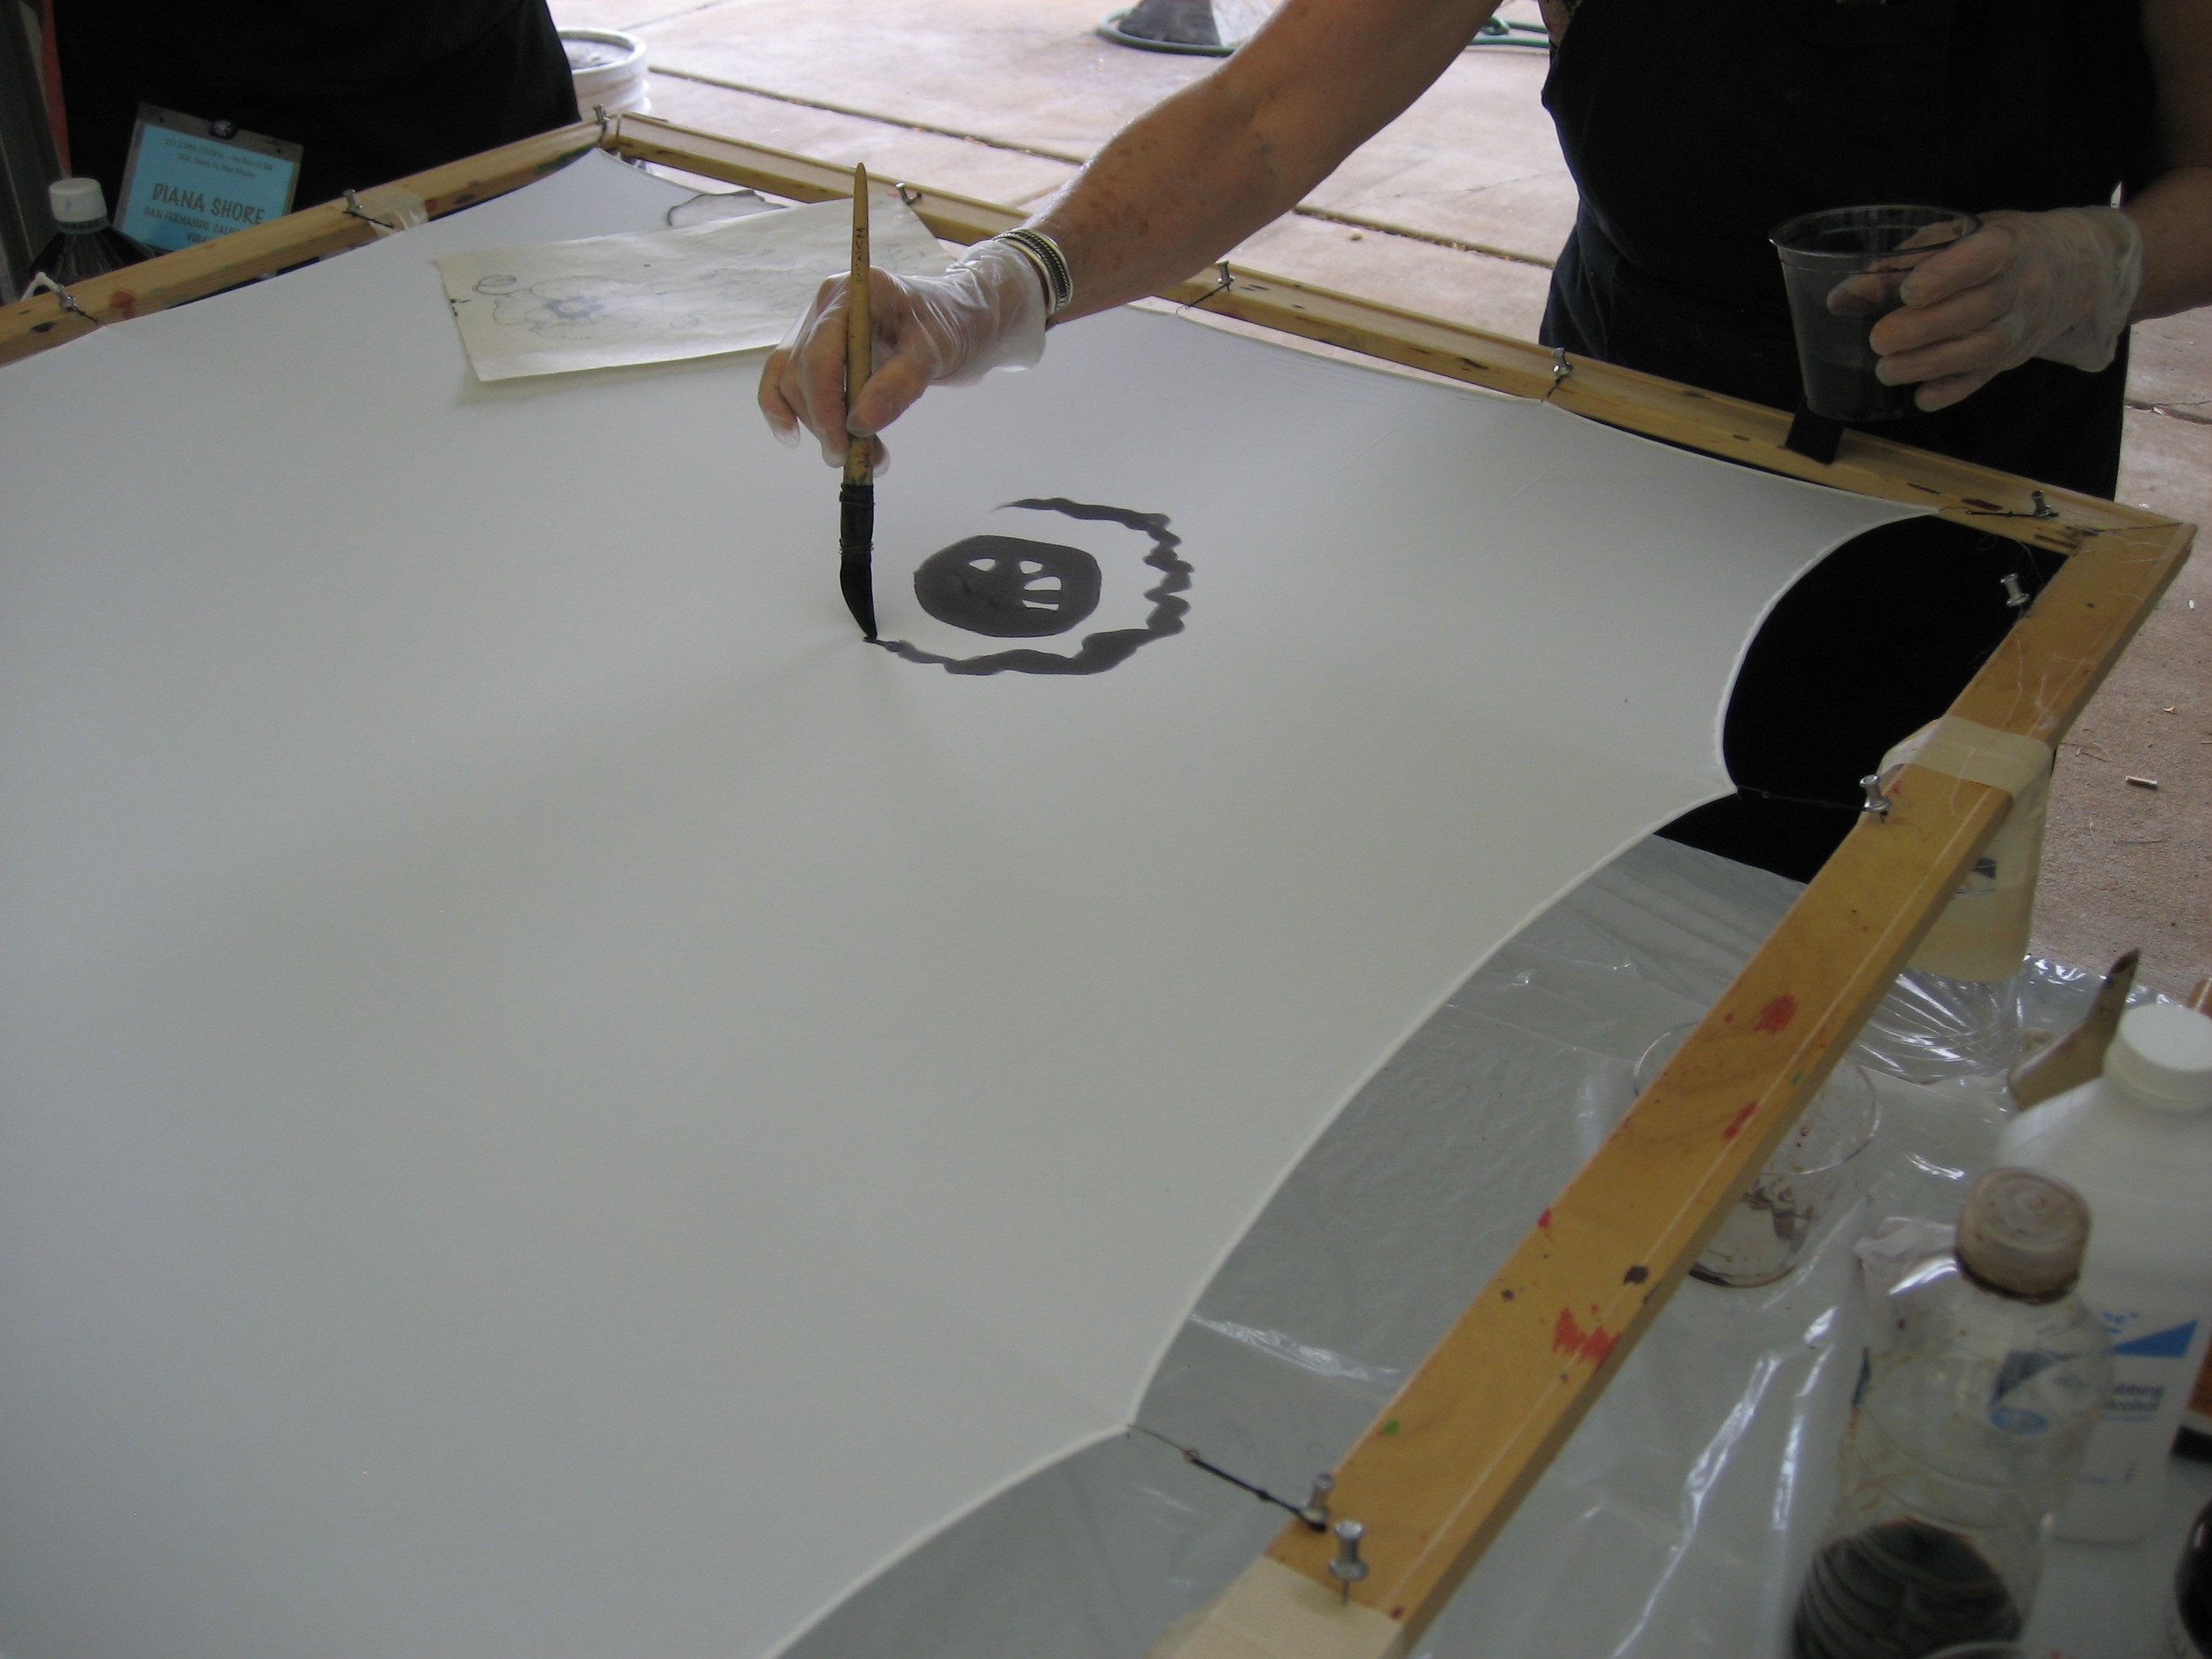
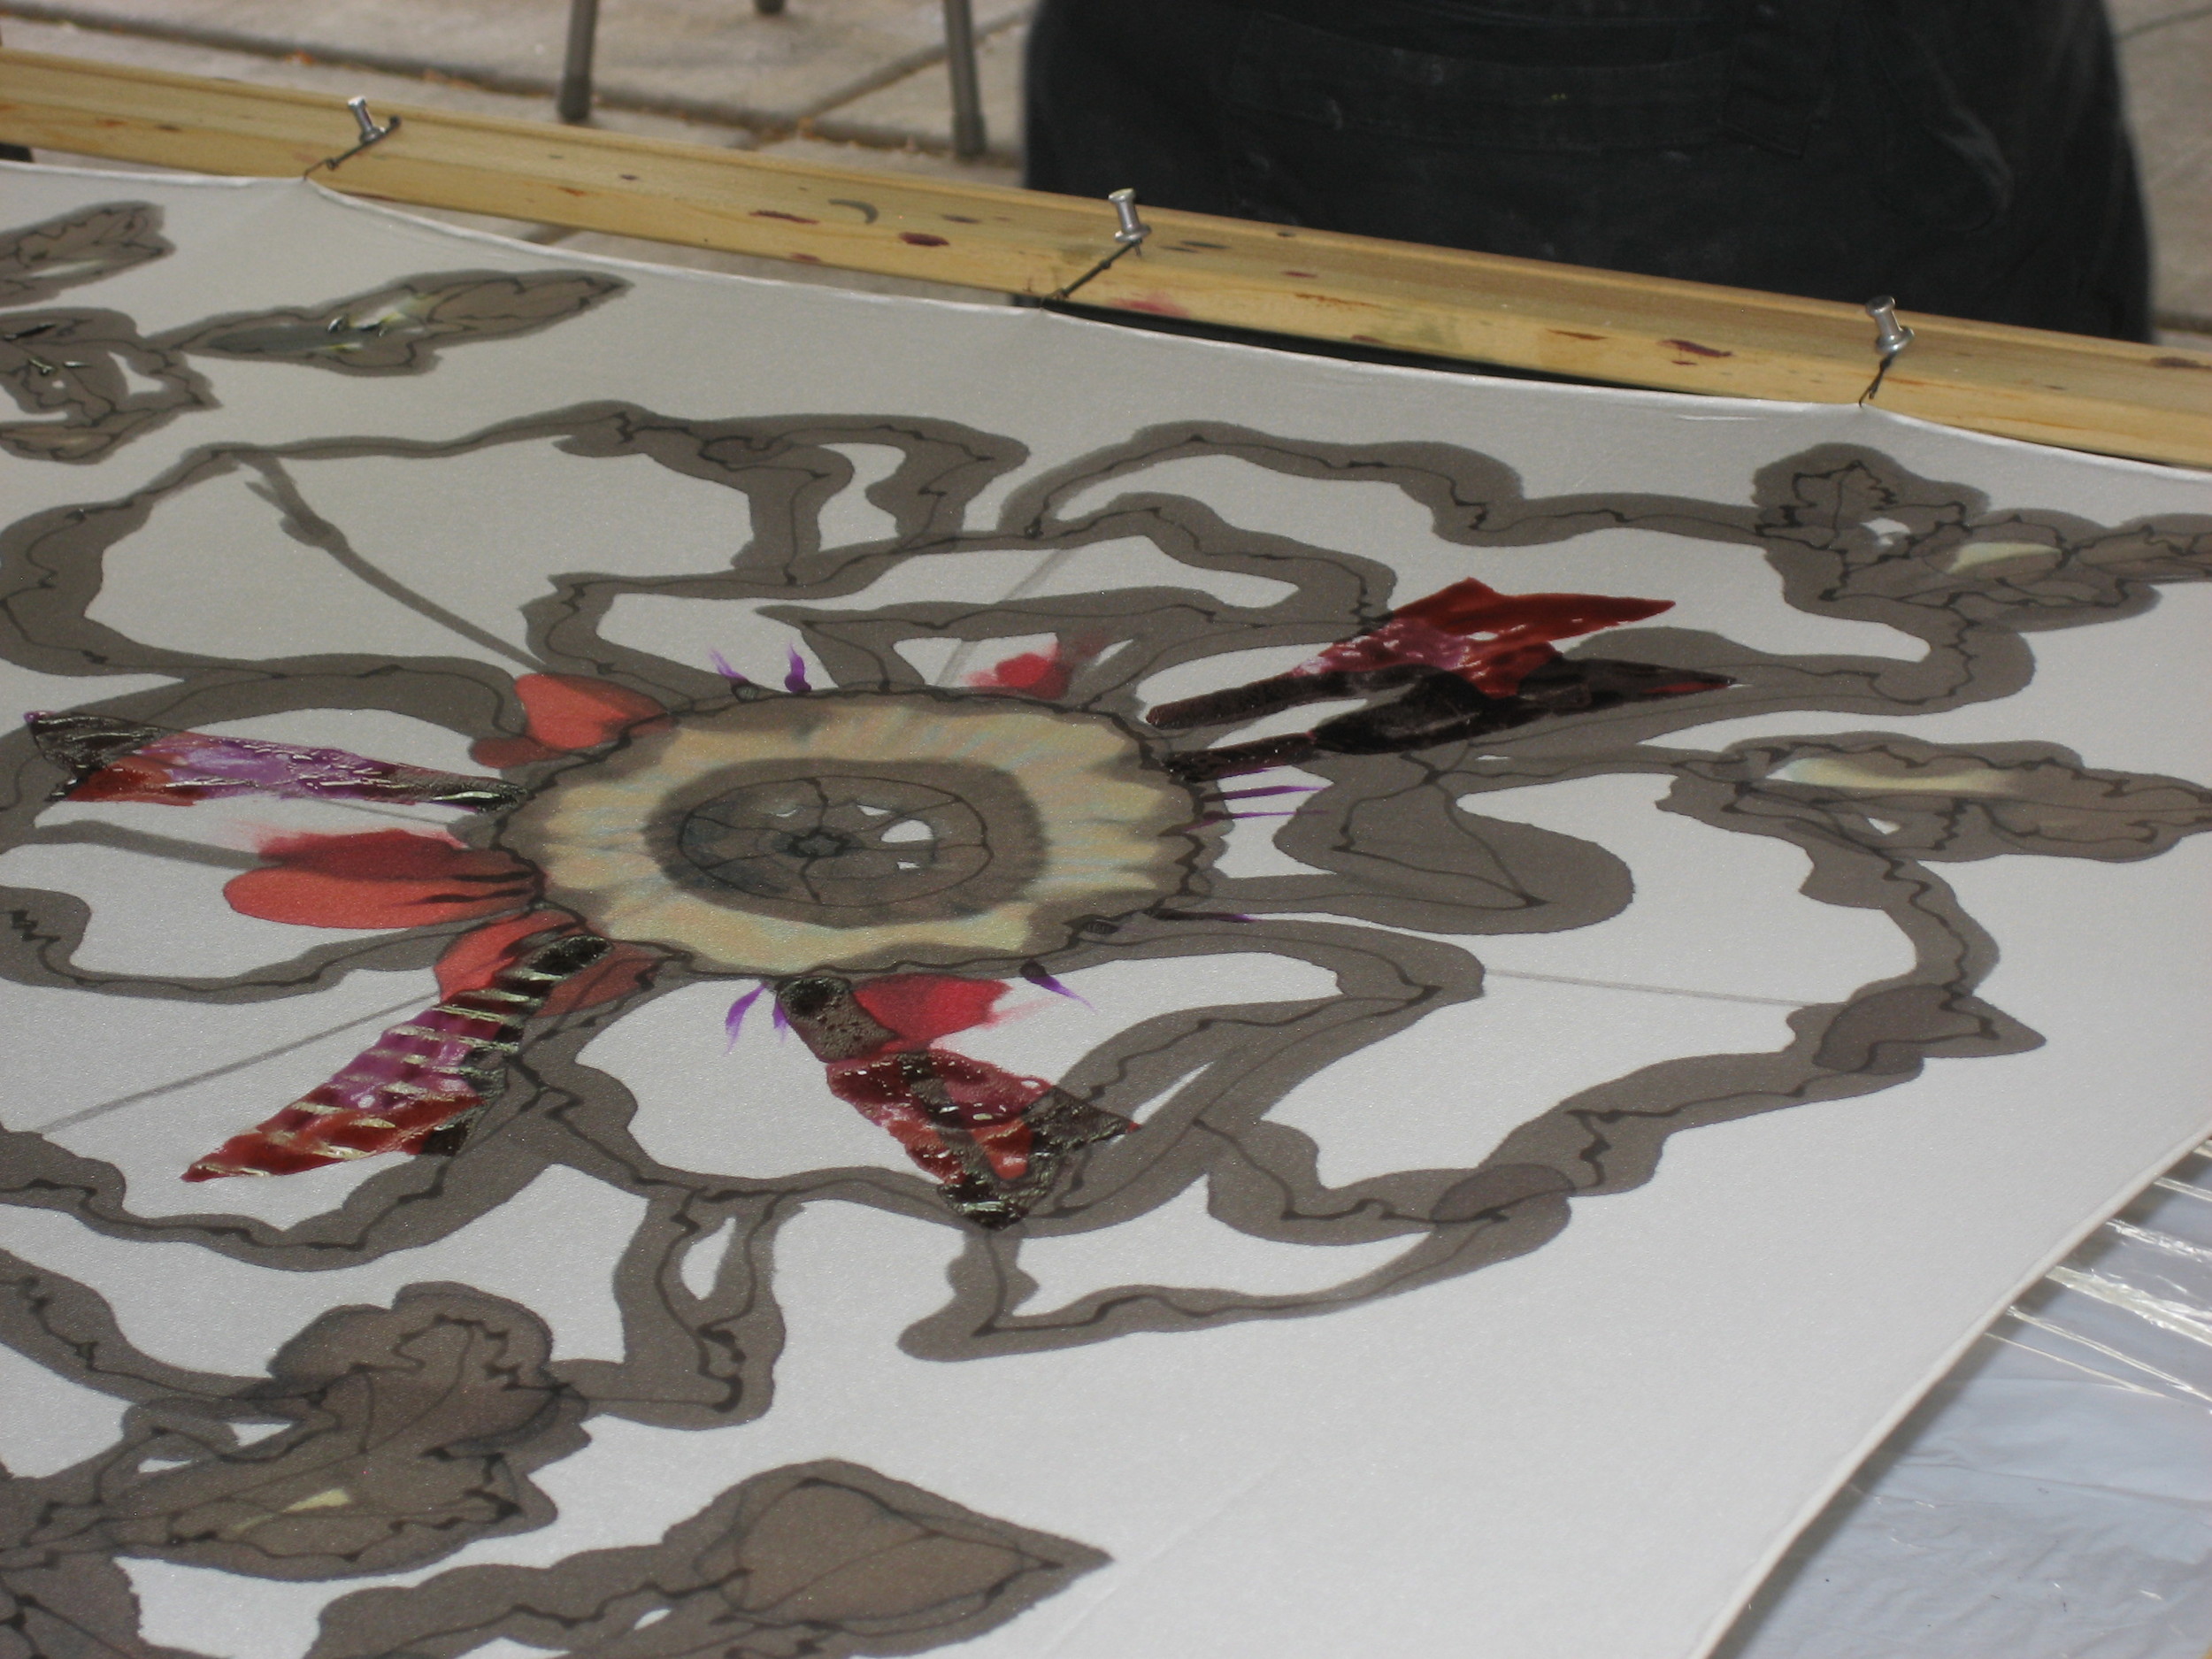
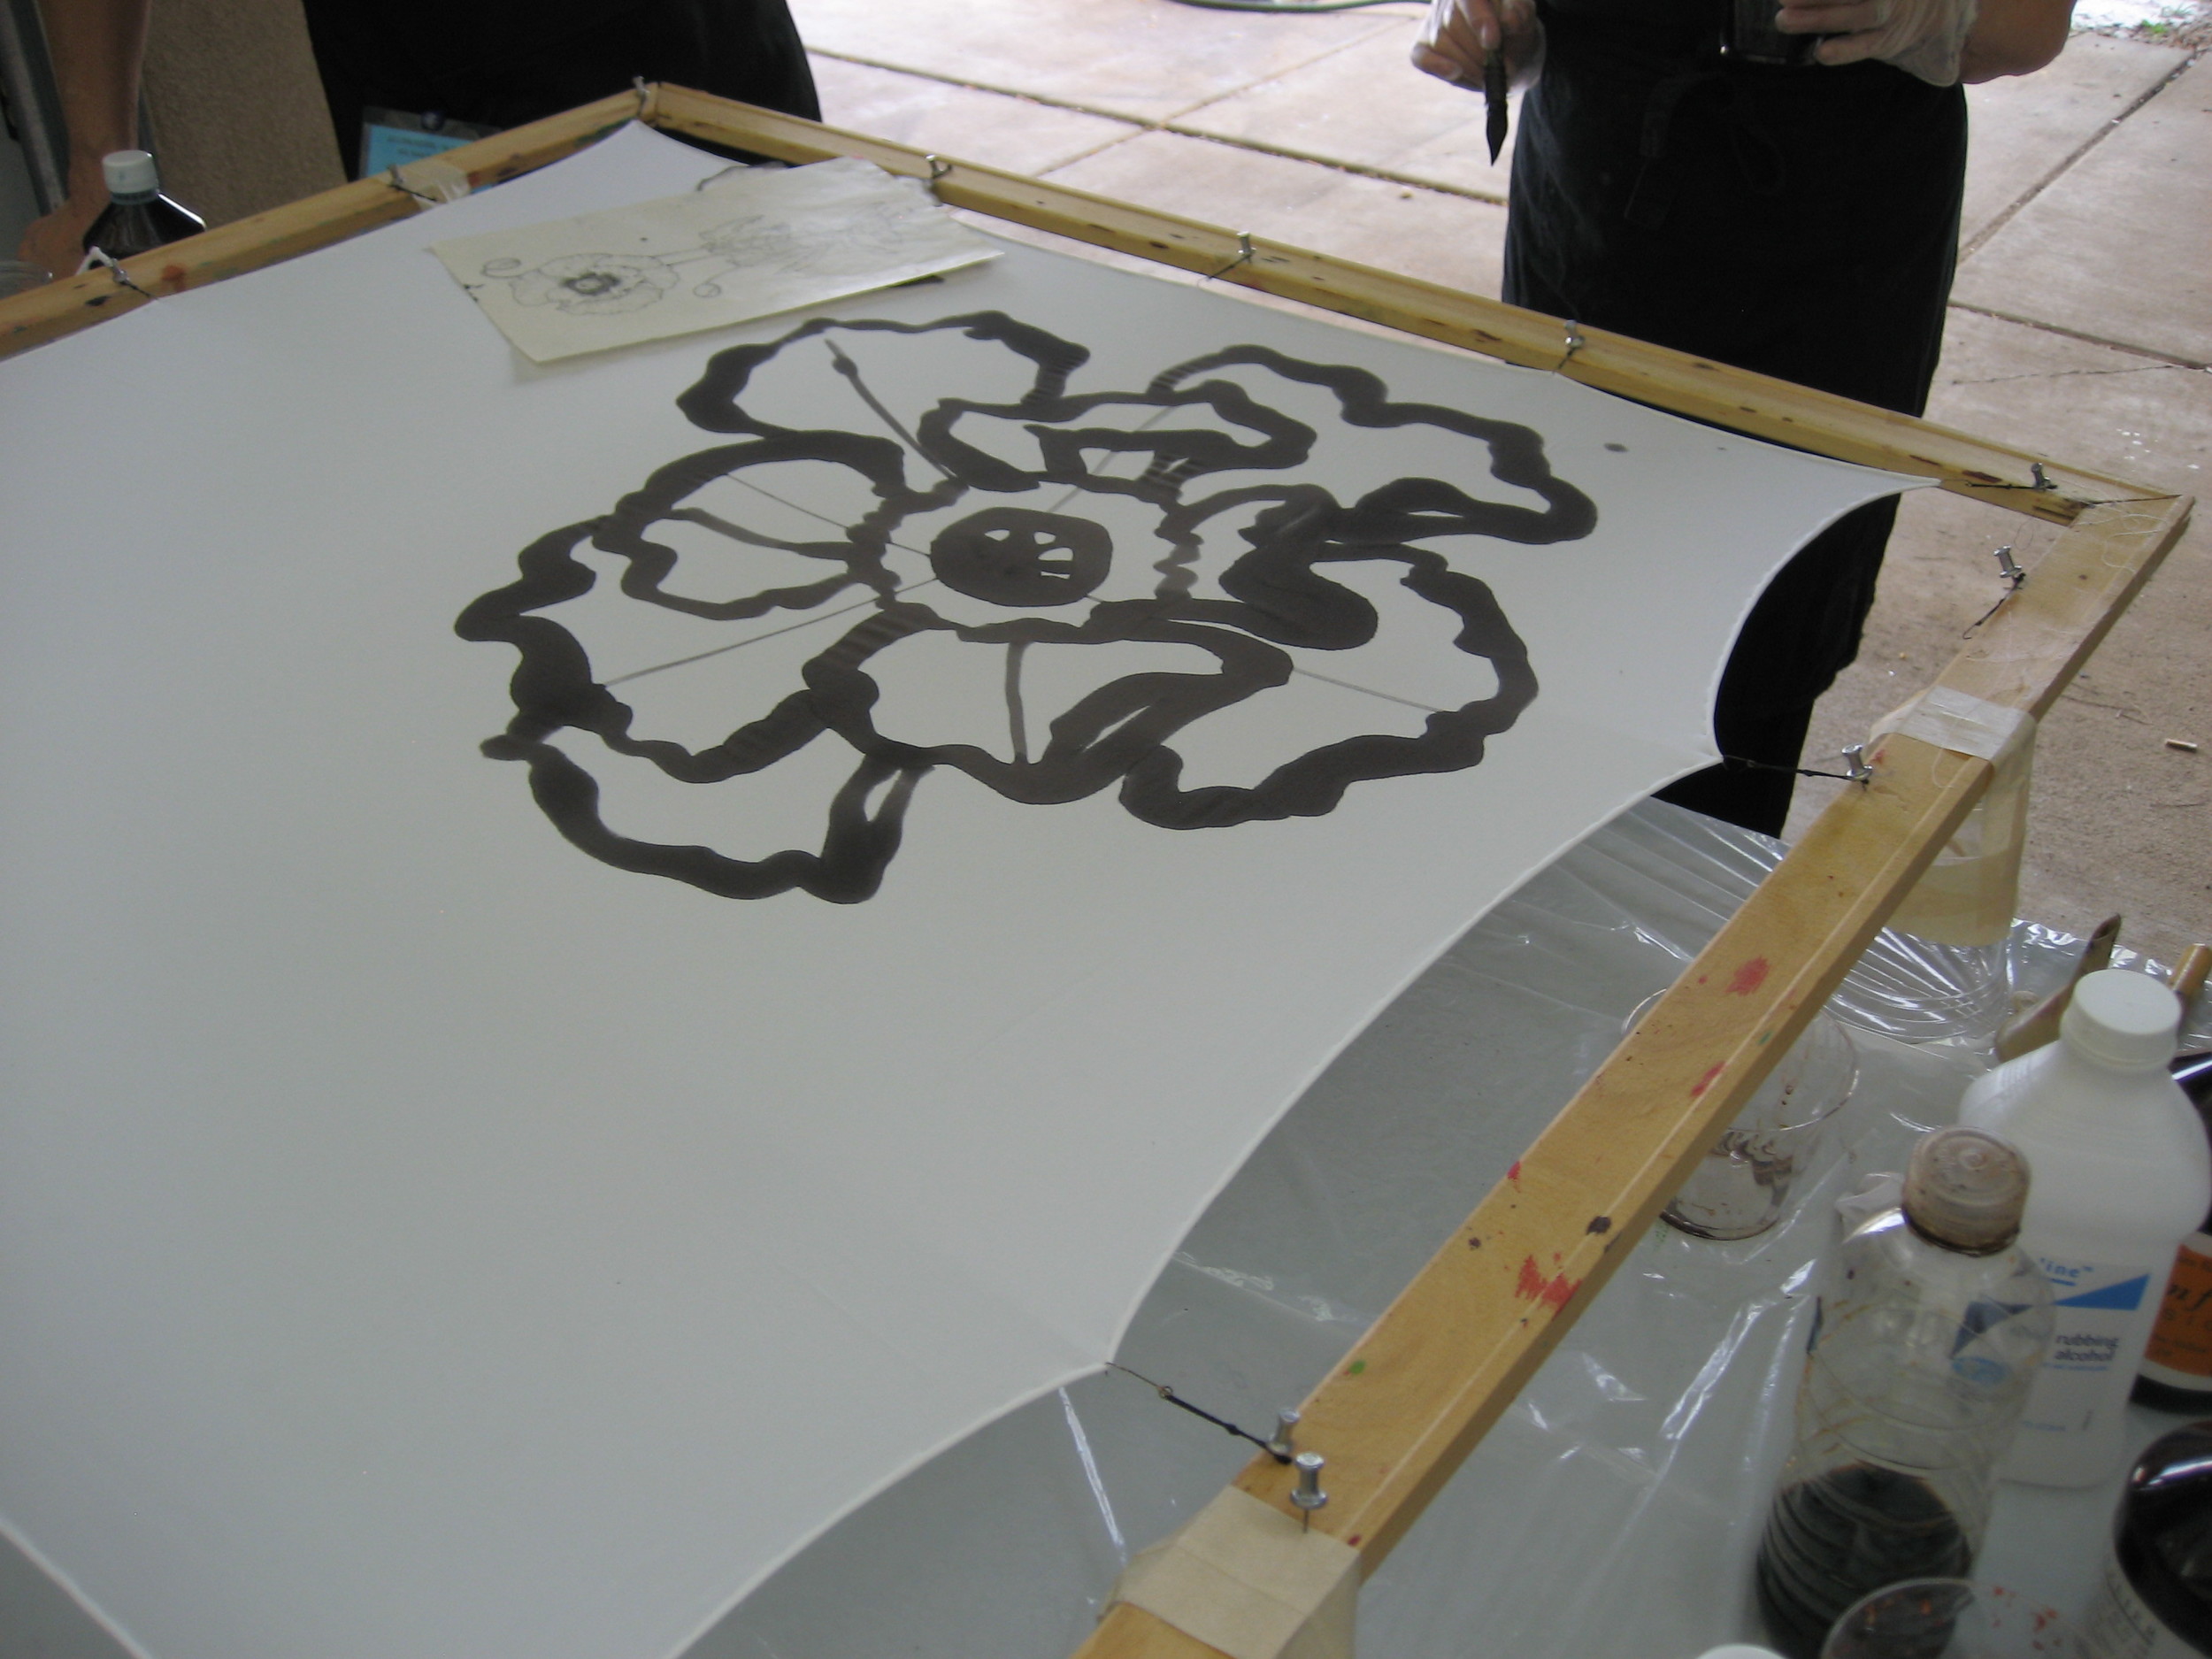
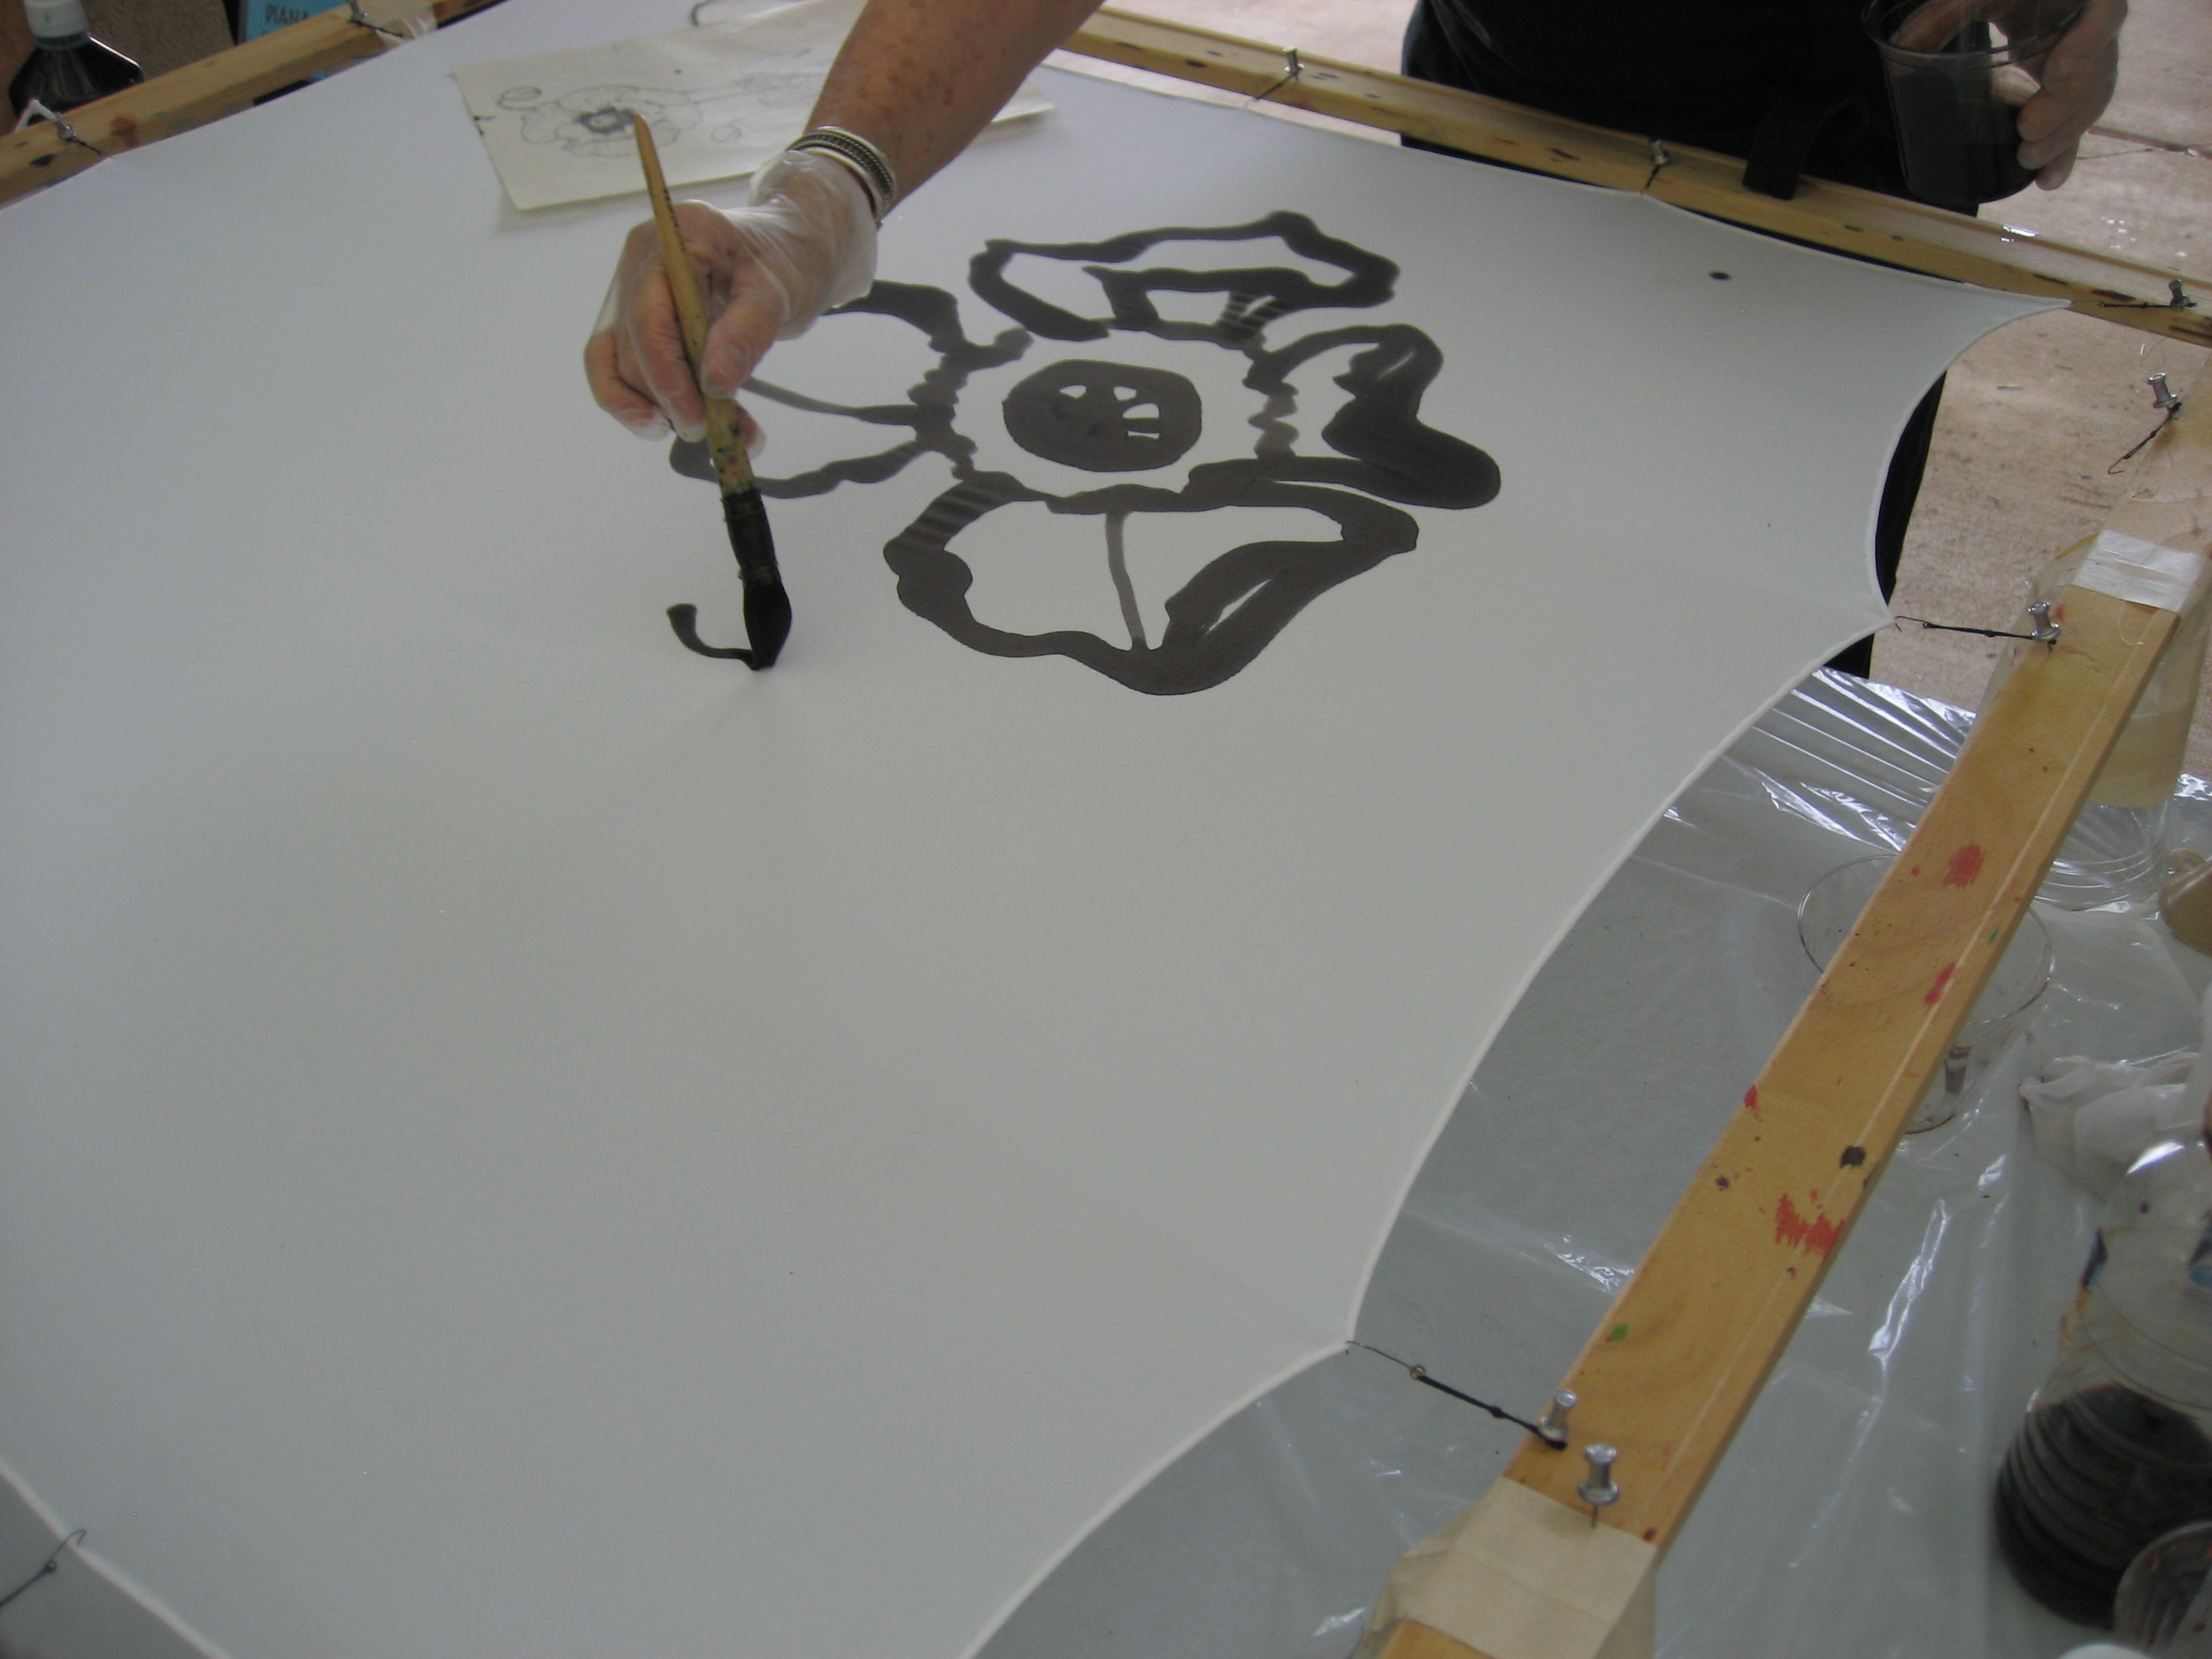
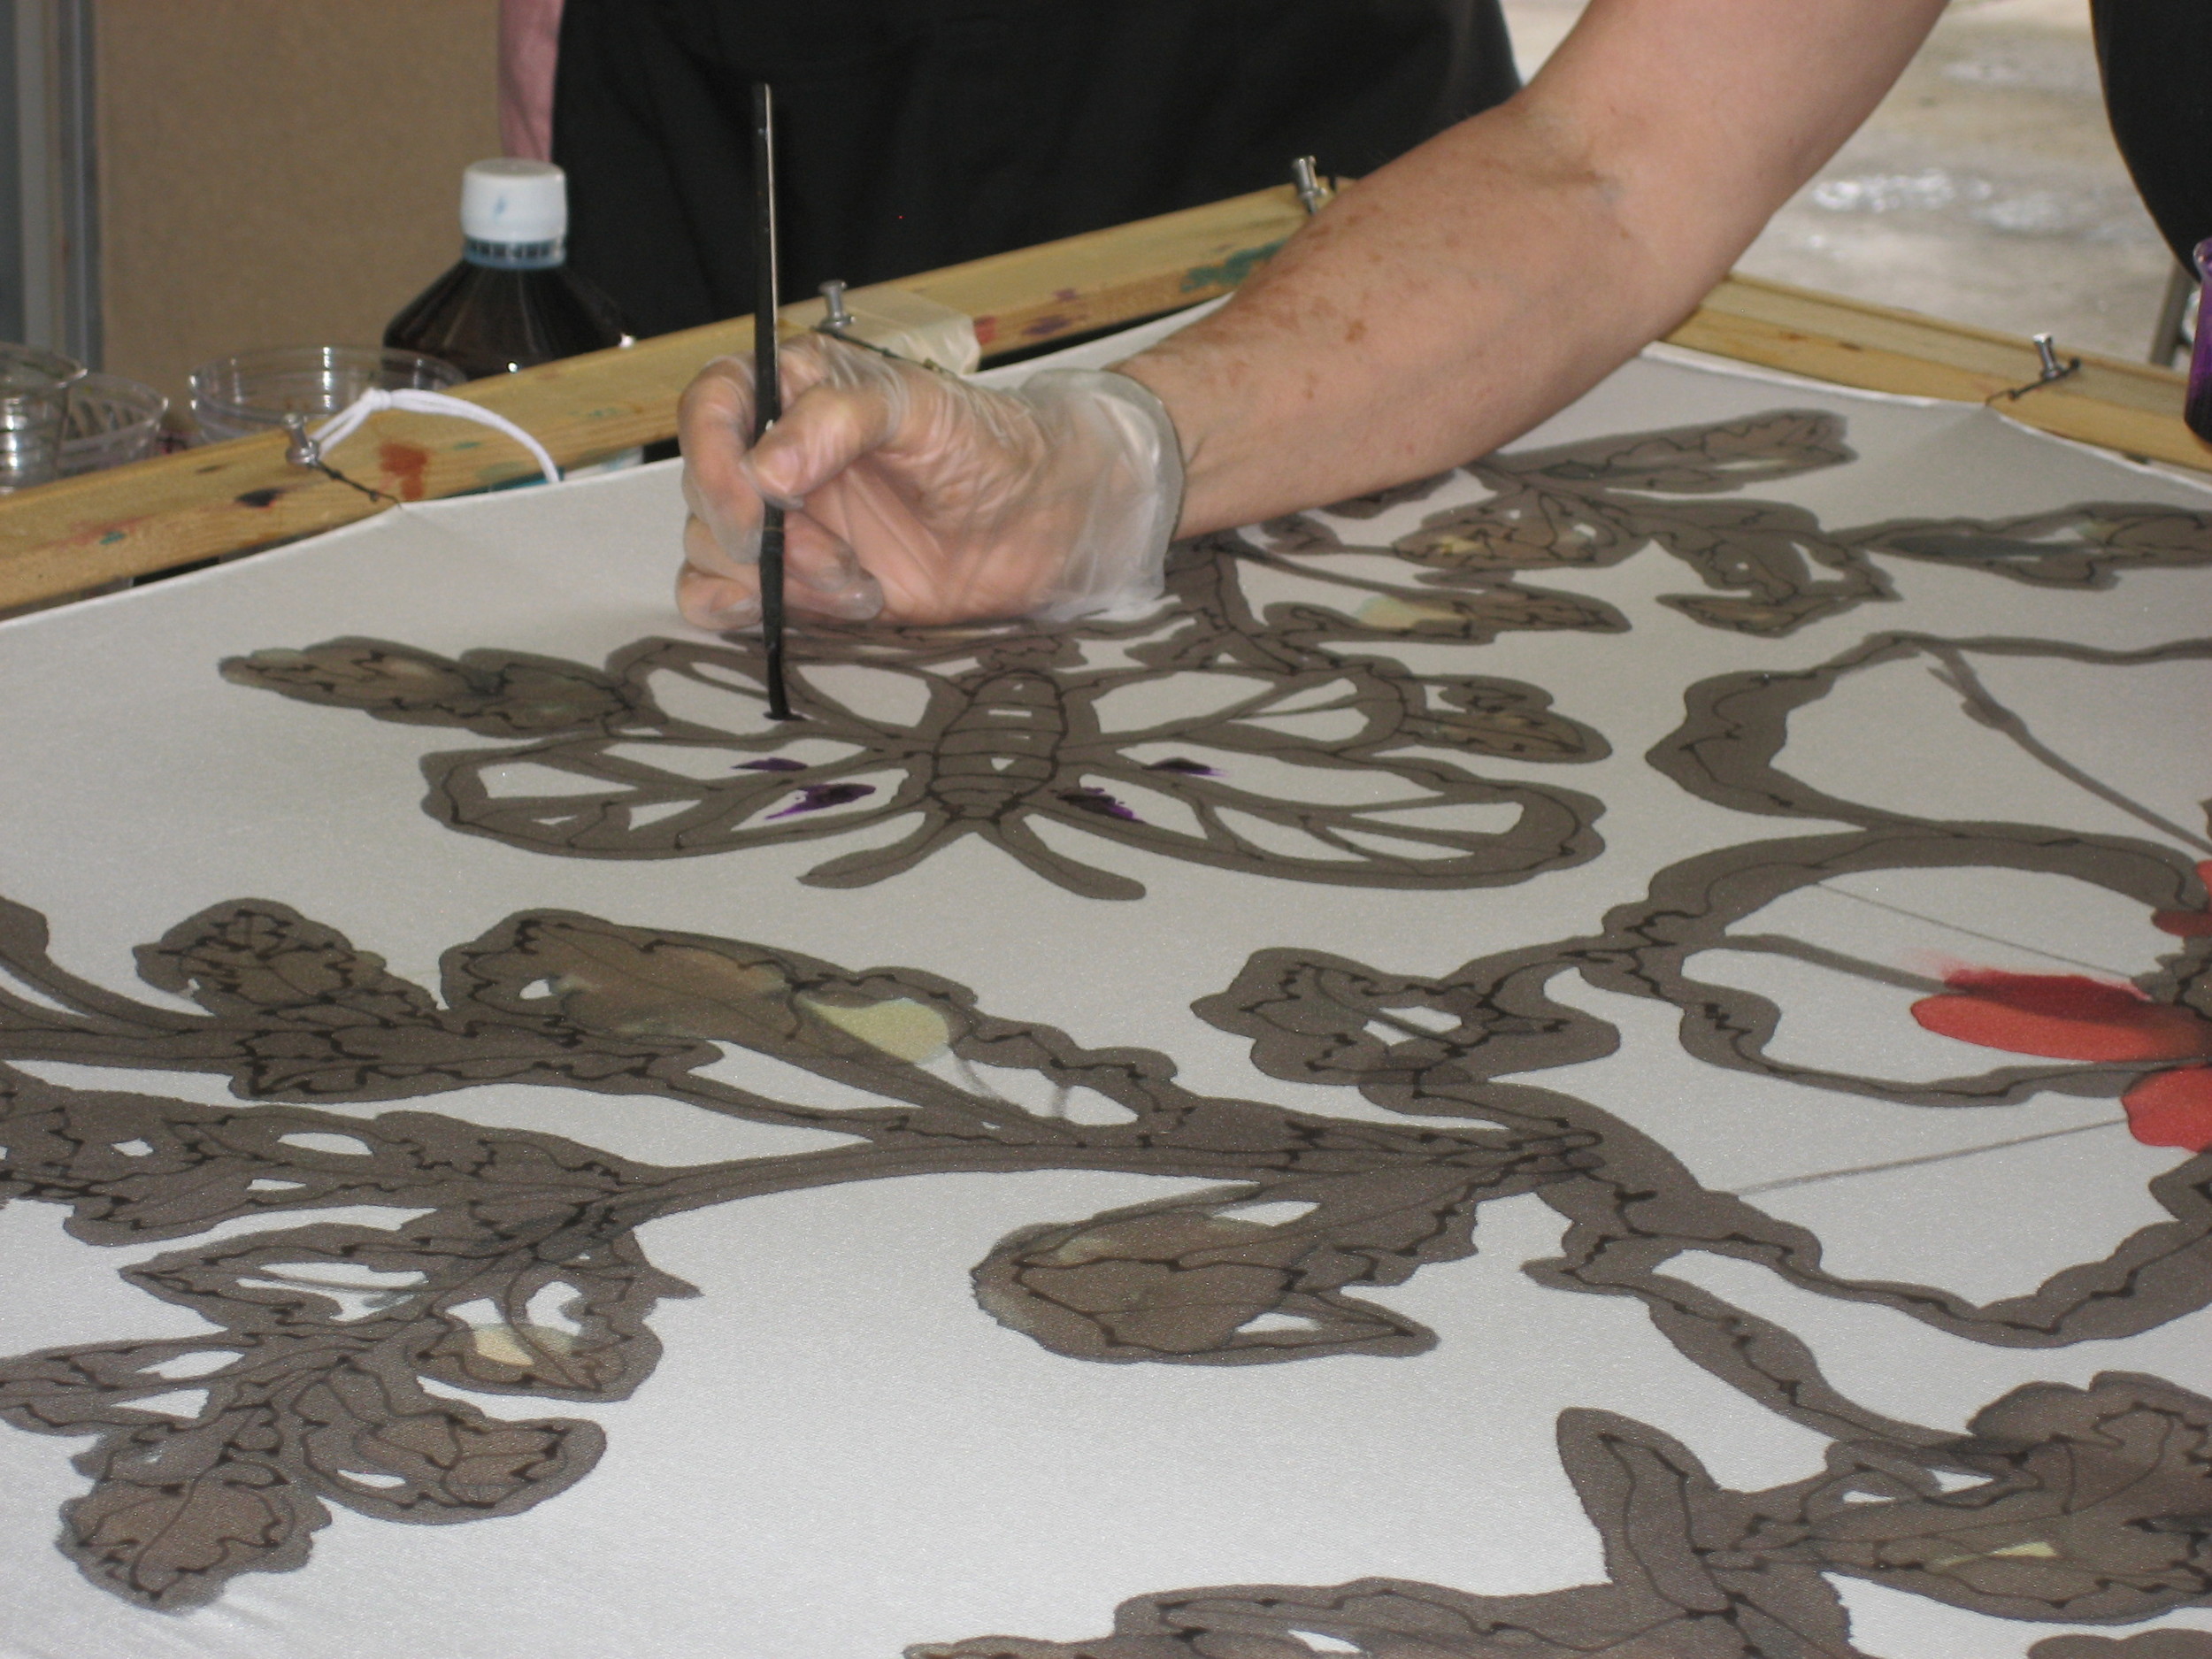
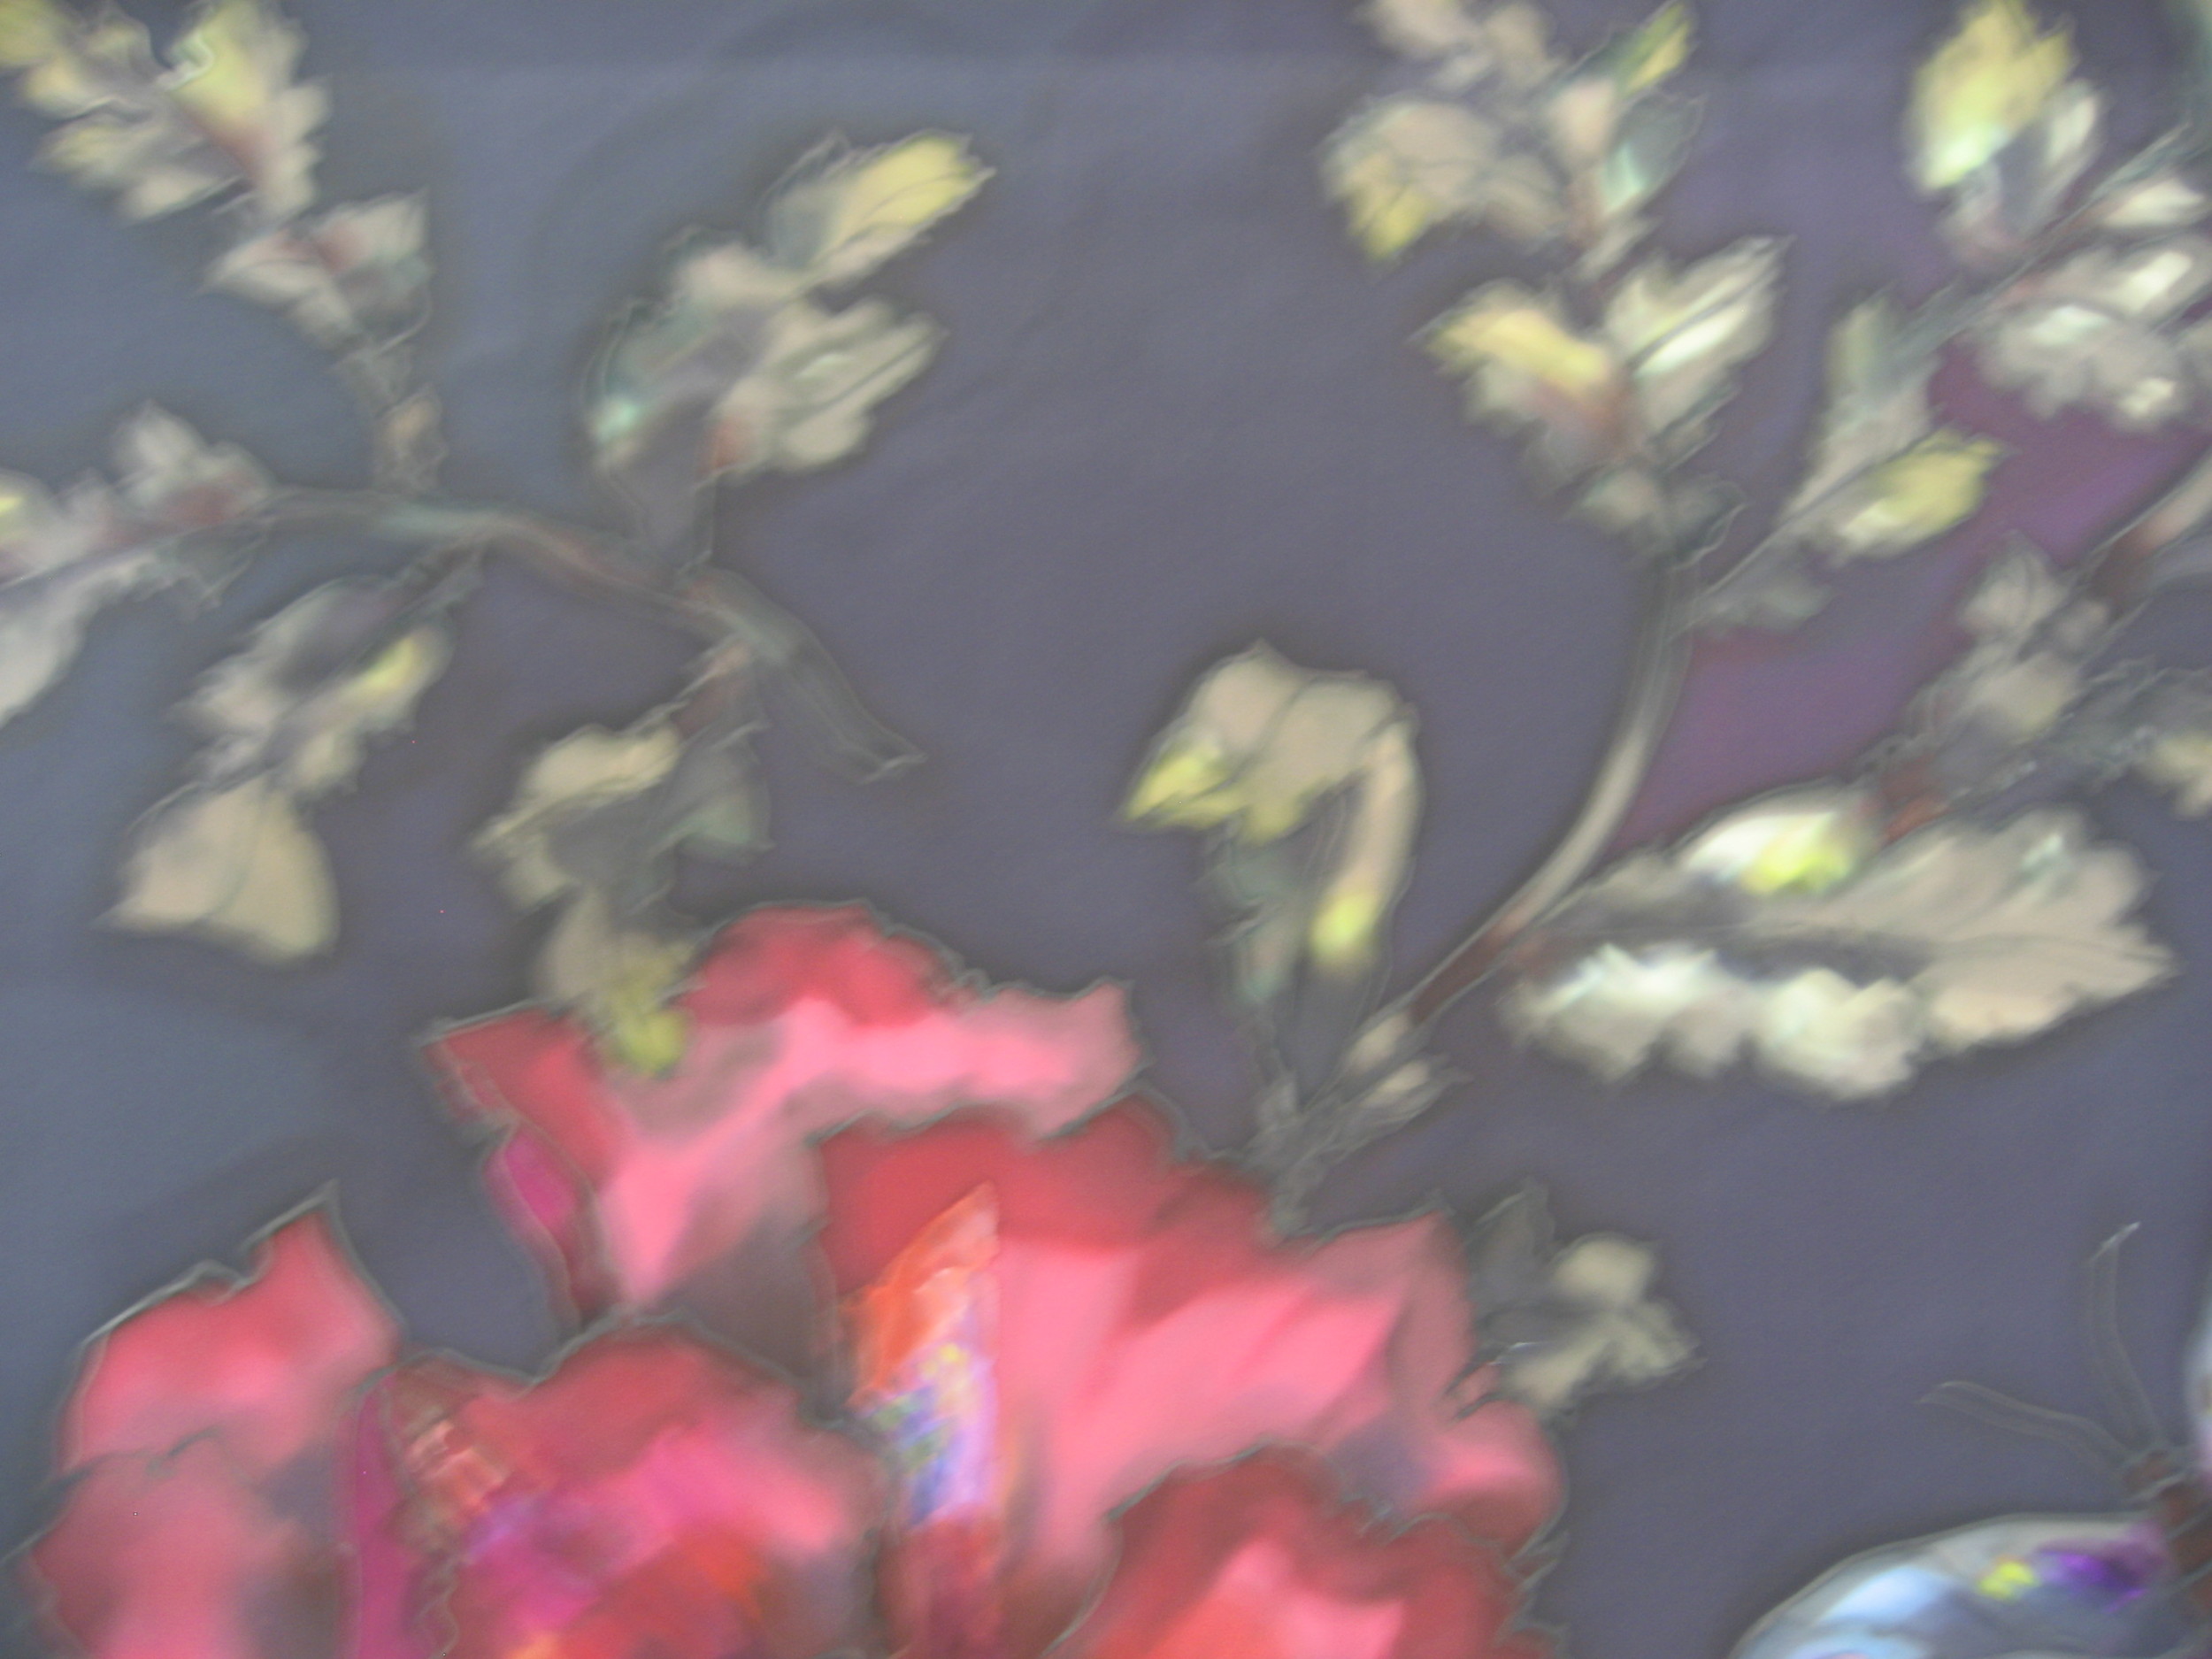
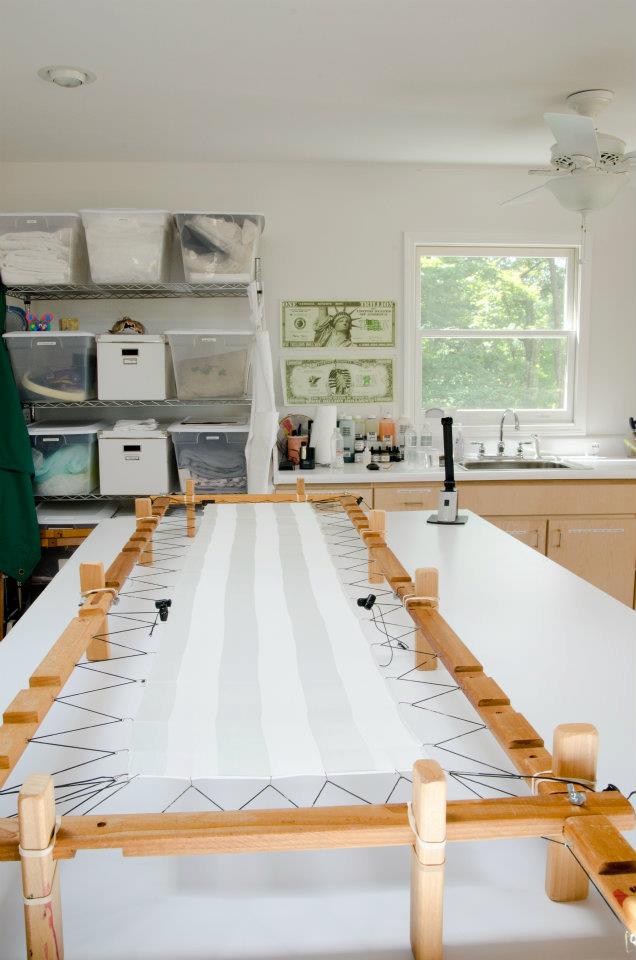
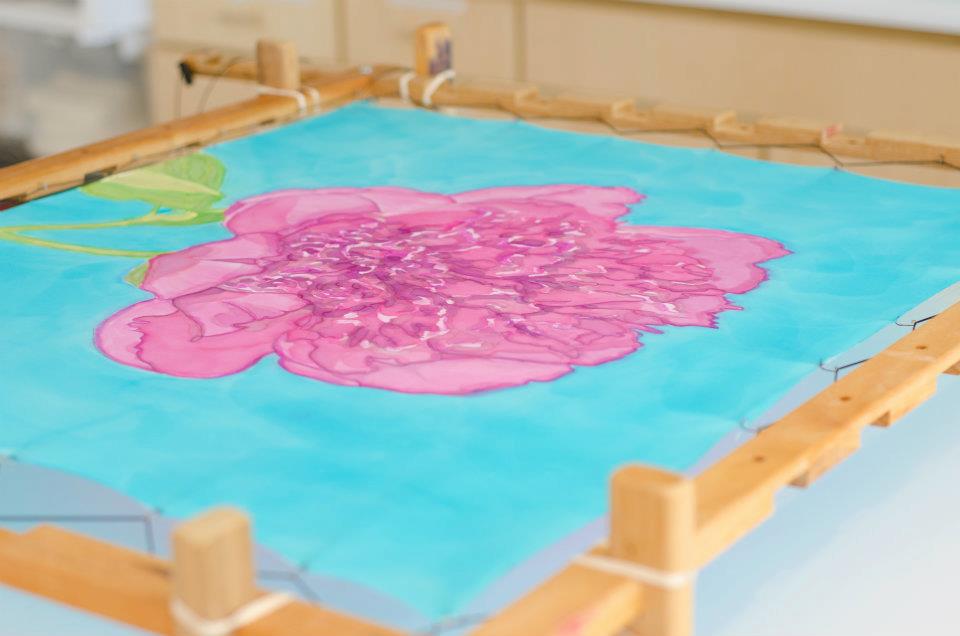
JOYCE HULBERT of Berkeley, CA is here on a two-week artist residency, where she is exploring color effects on silk for an upcoming tapestry she will weave as part of her Common Wheel series. 

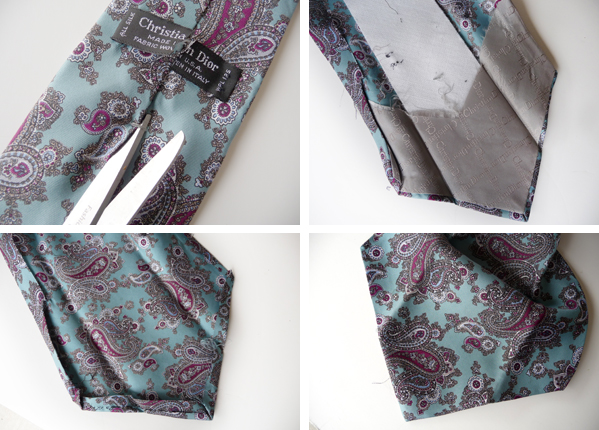
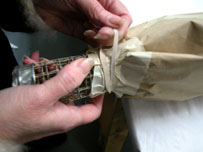
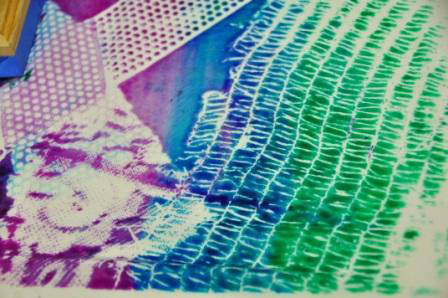
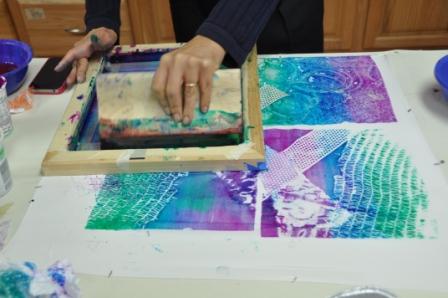
Silk yarn is stretched to a specific length, then wrapped with plastic at intervals to produce a patterned weft once it is dyed. The plastic is removed after dying. Shown are dying experiments on silk, using silk-screen, wrapped resist (shibory) and immersion dying in a pot. 

MARION JAHAN of Paris, France is working on a Power Point presentation on Textile Design (Dye, Print, Weave, Knit), Paper-making, Framing and Cardboard Box making for Museum collections.
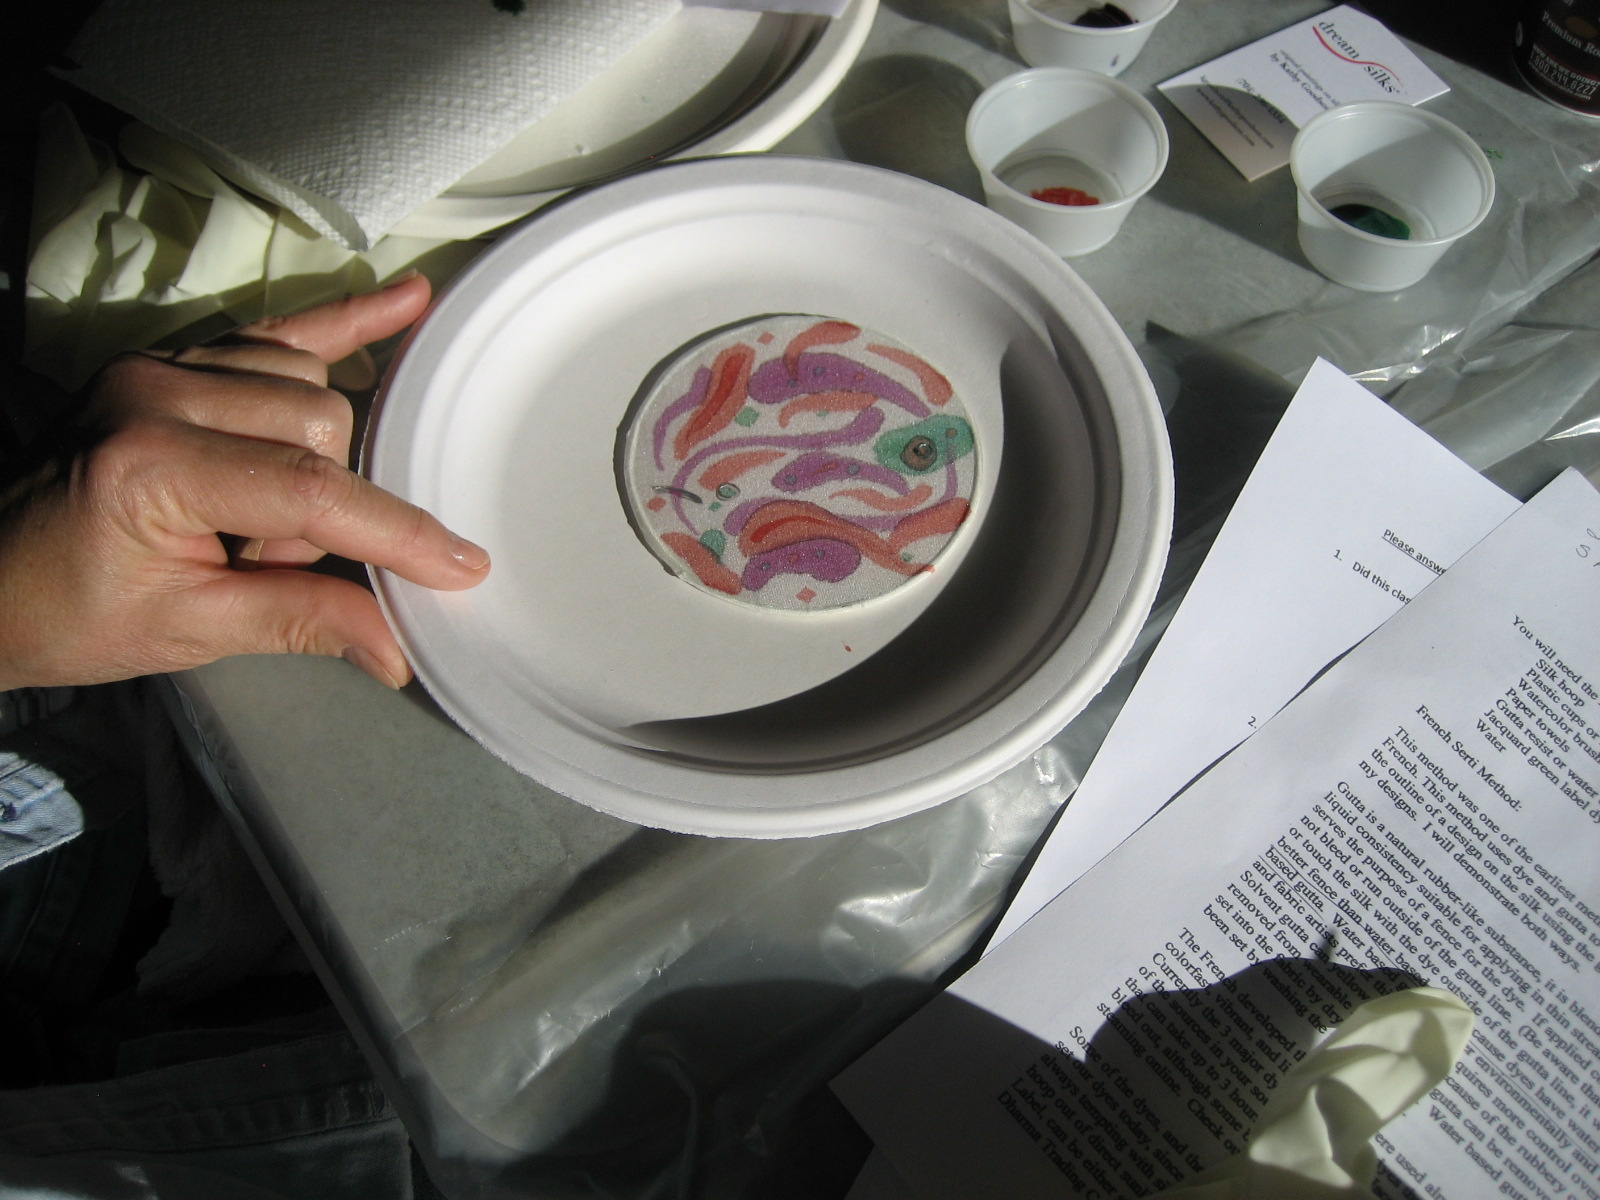
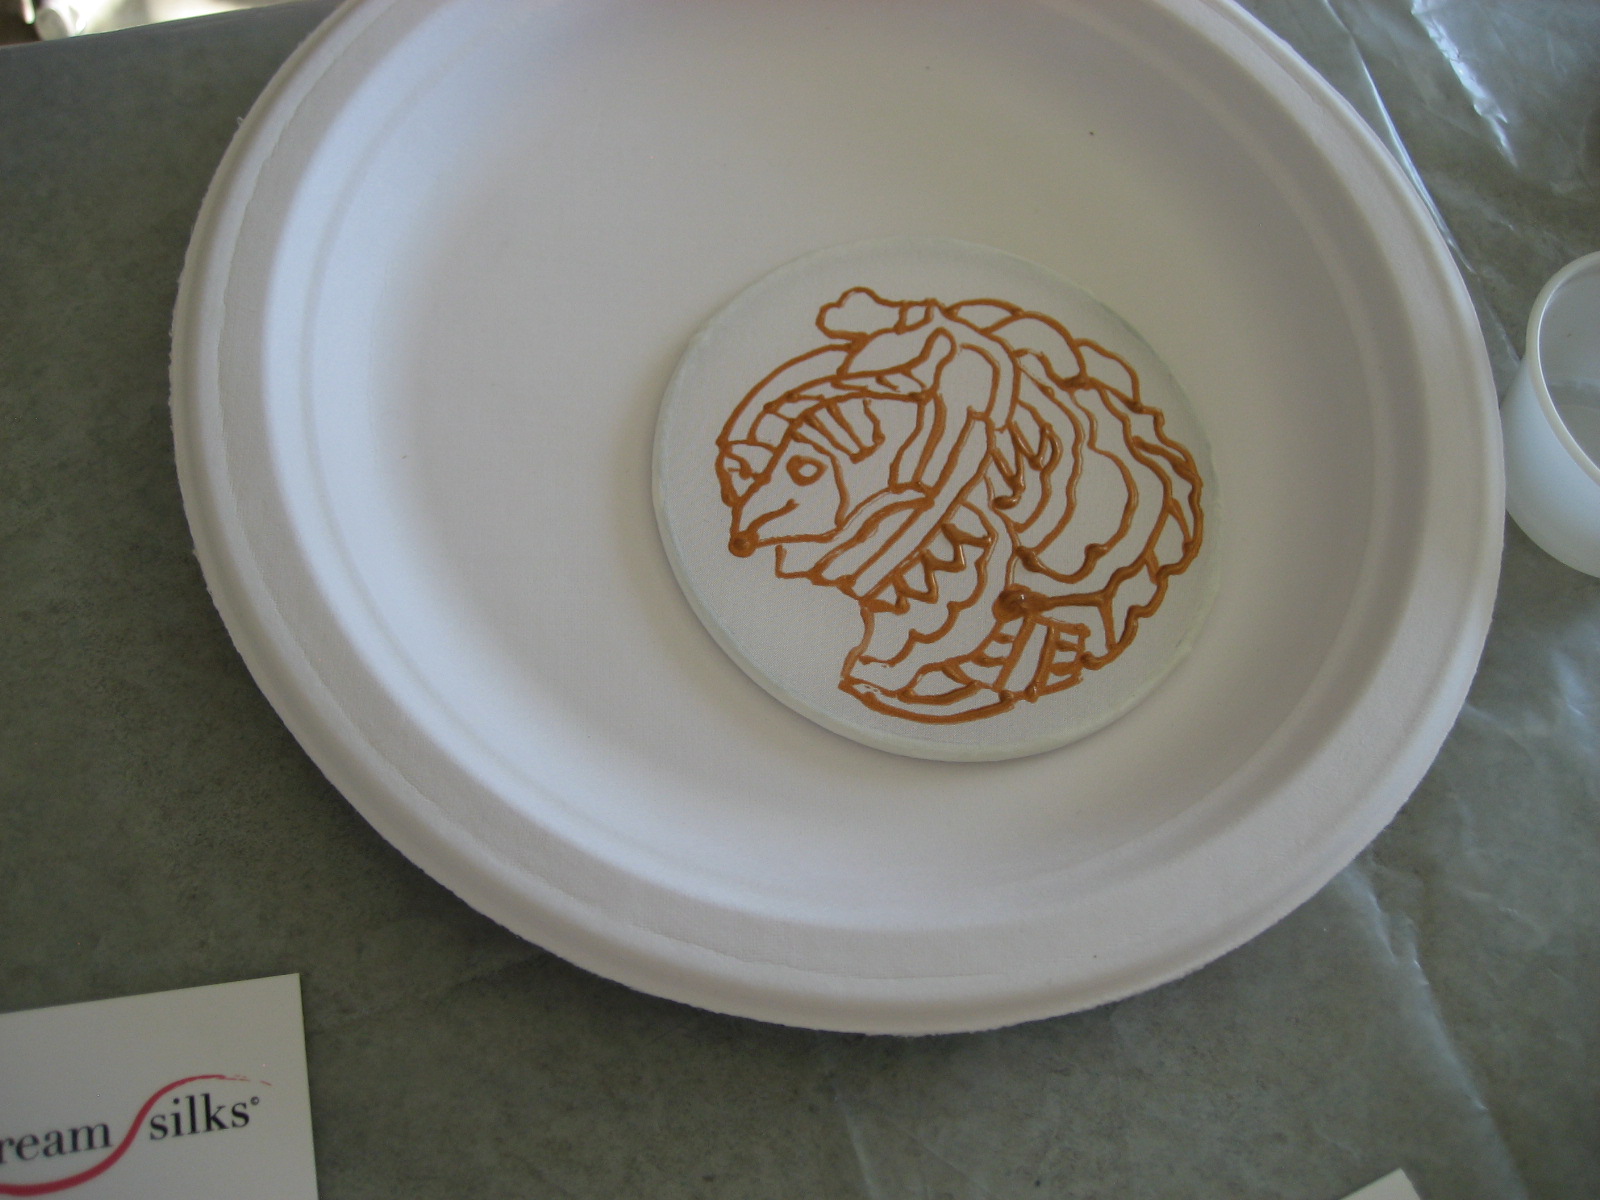
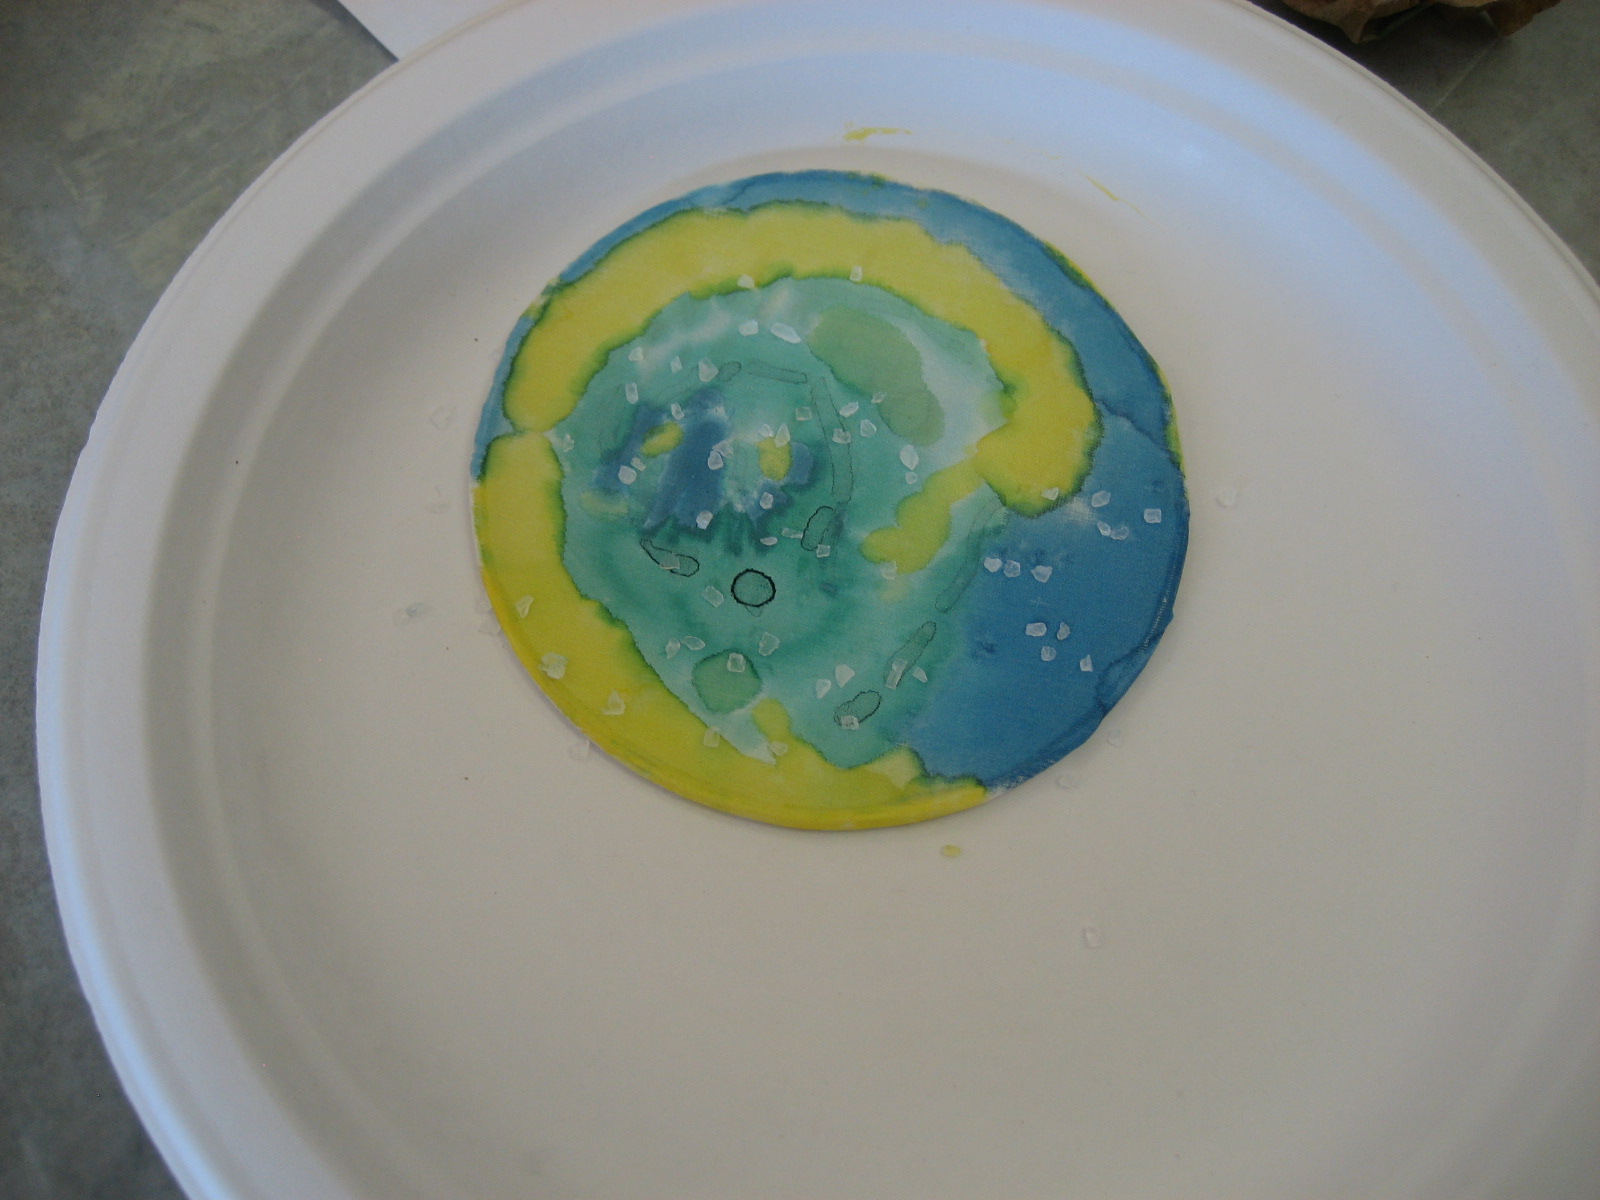
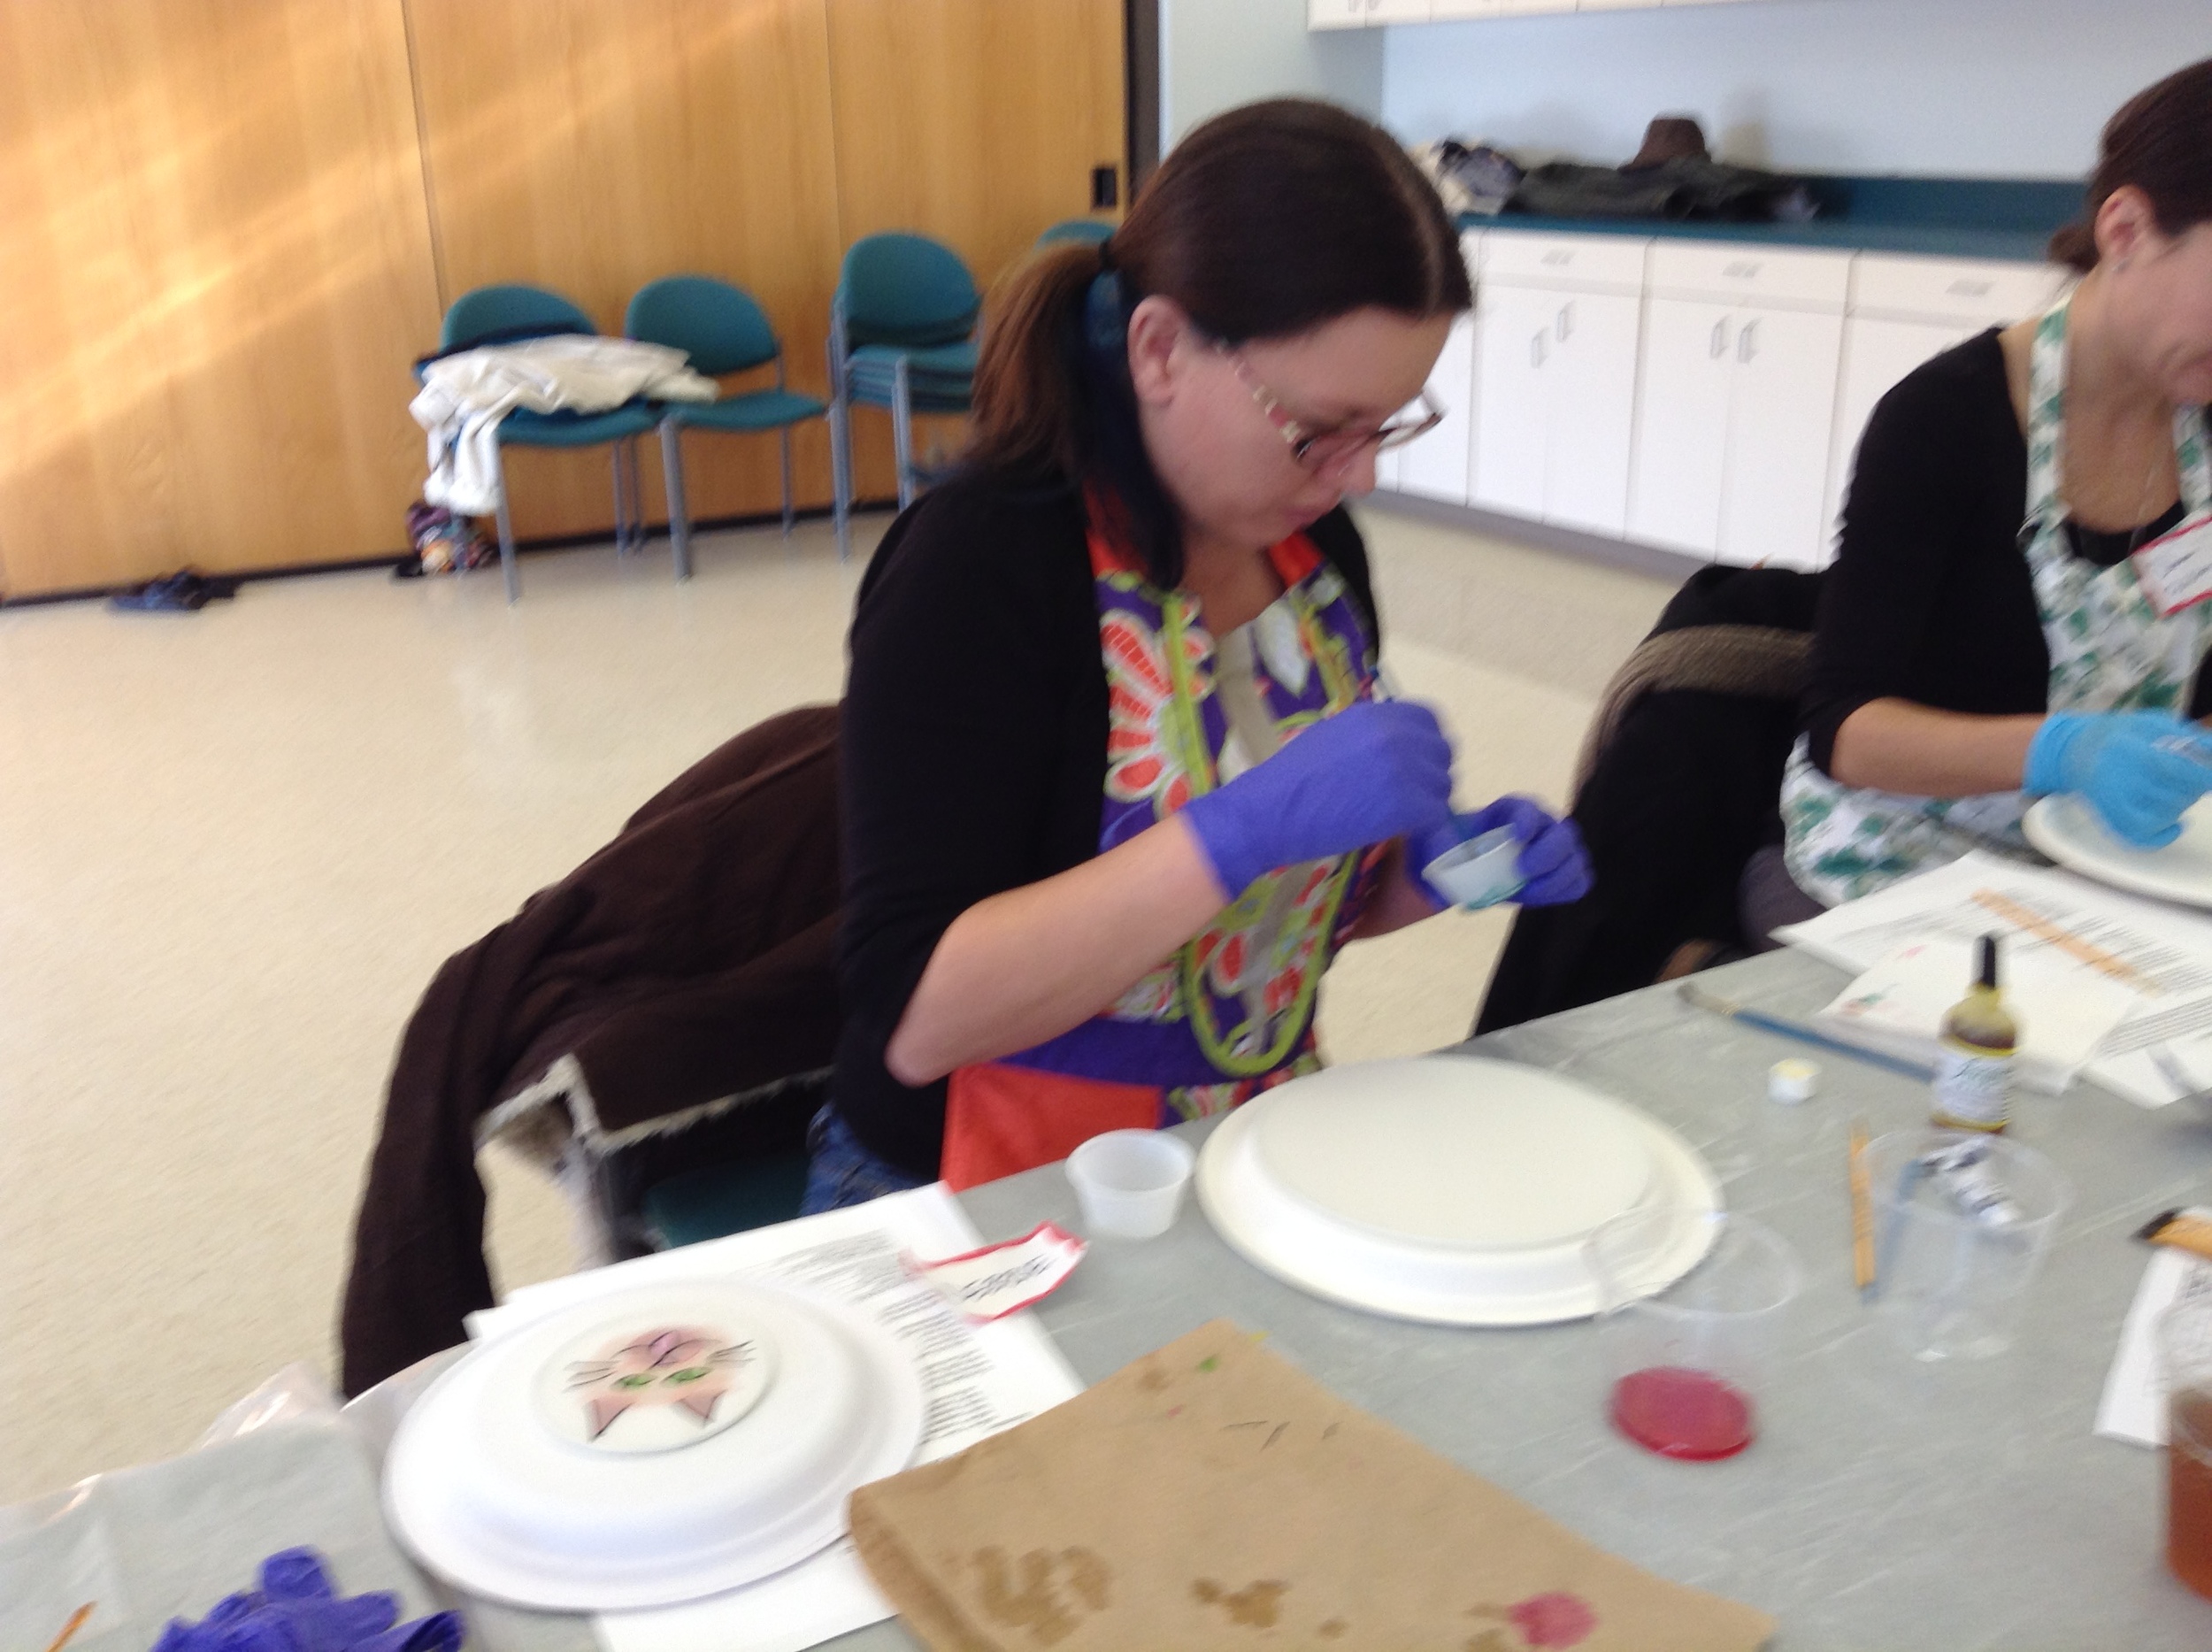
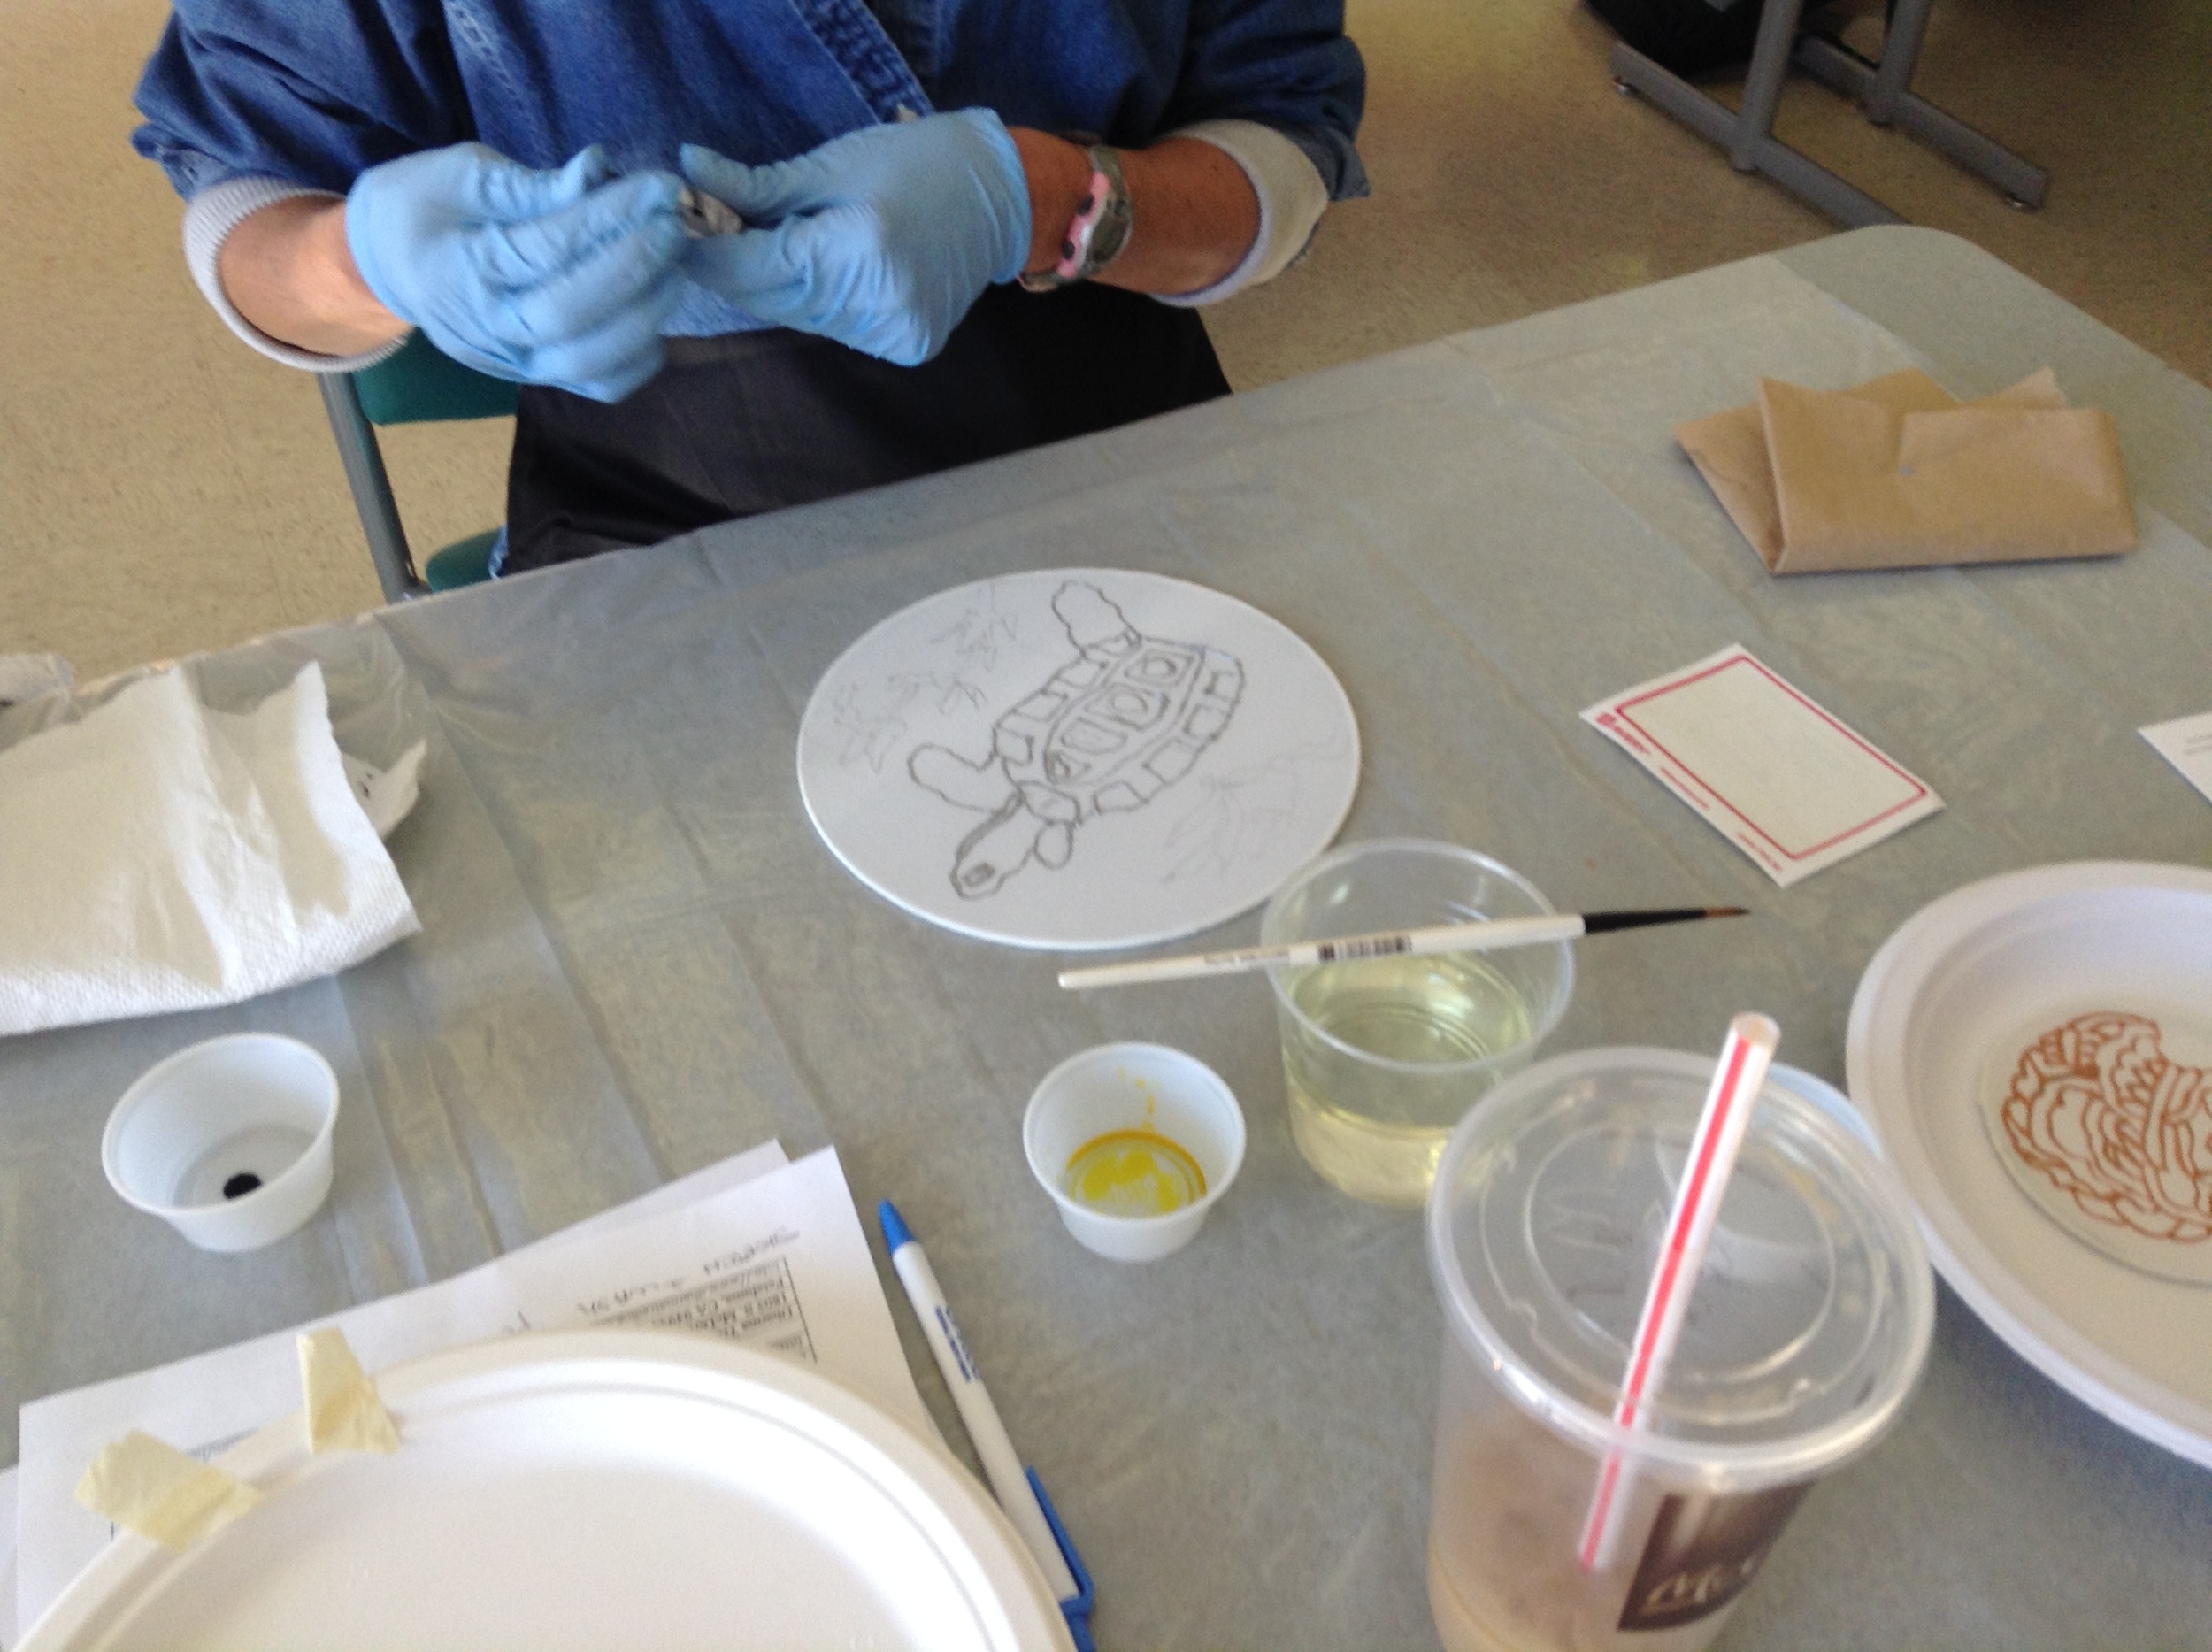
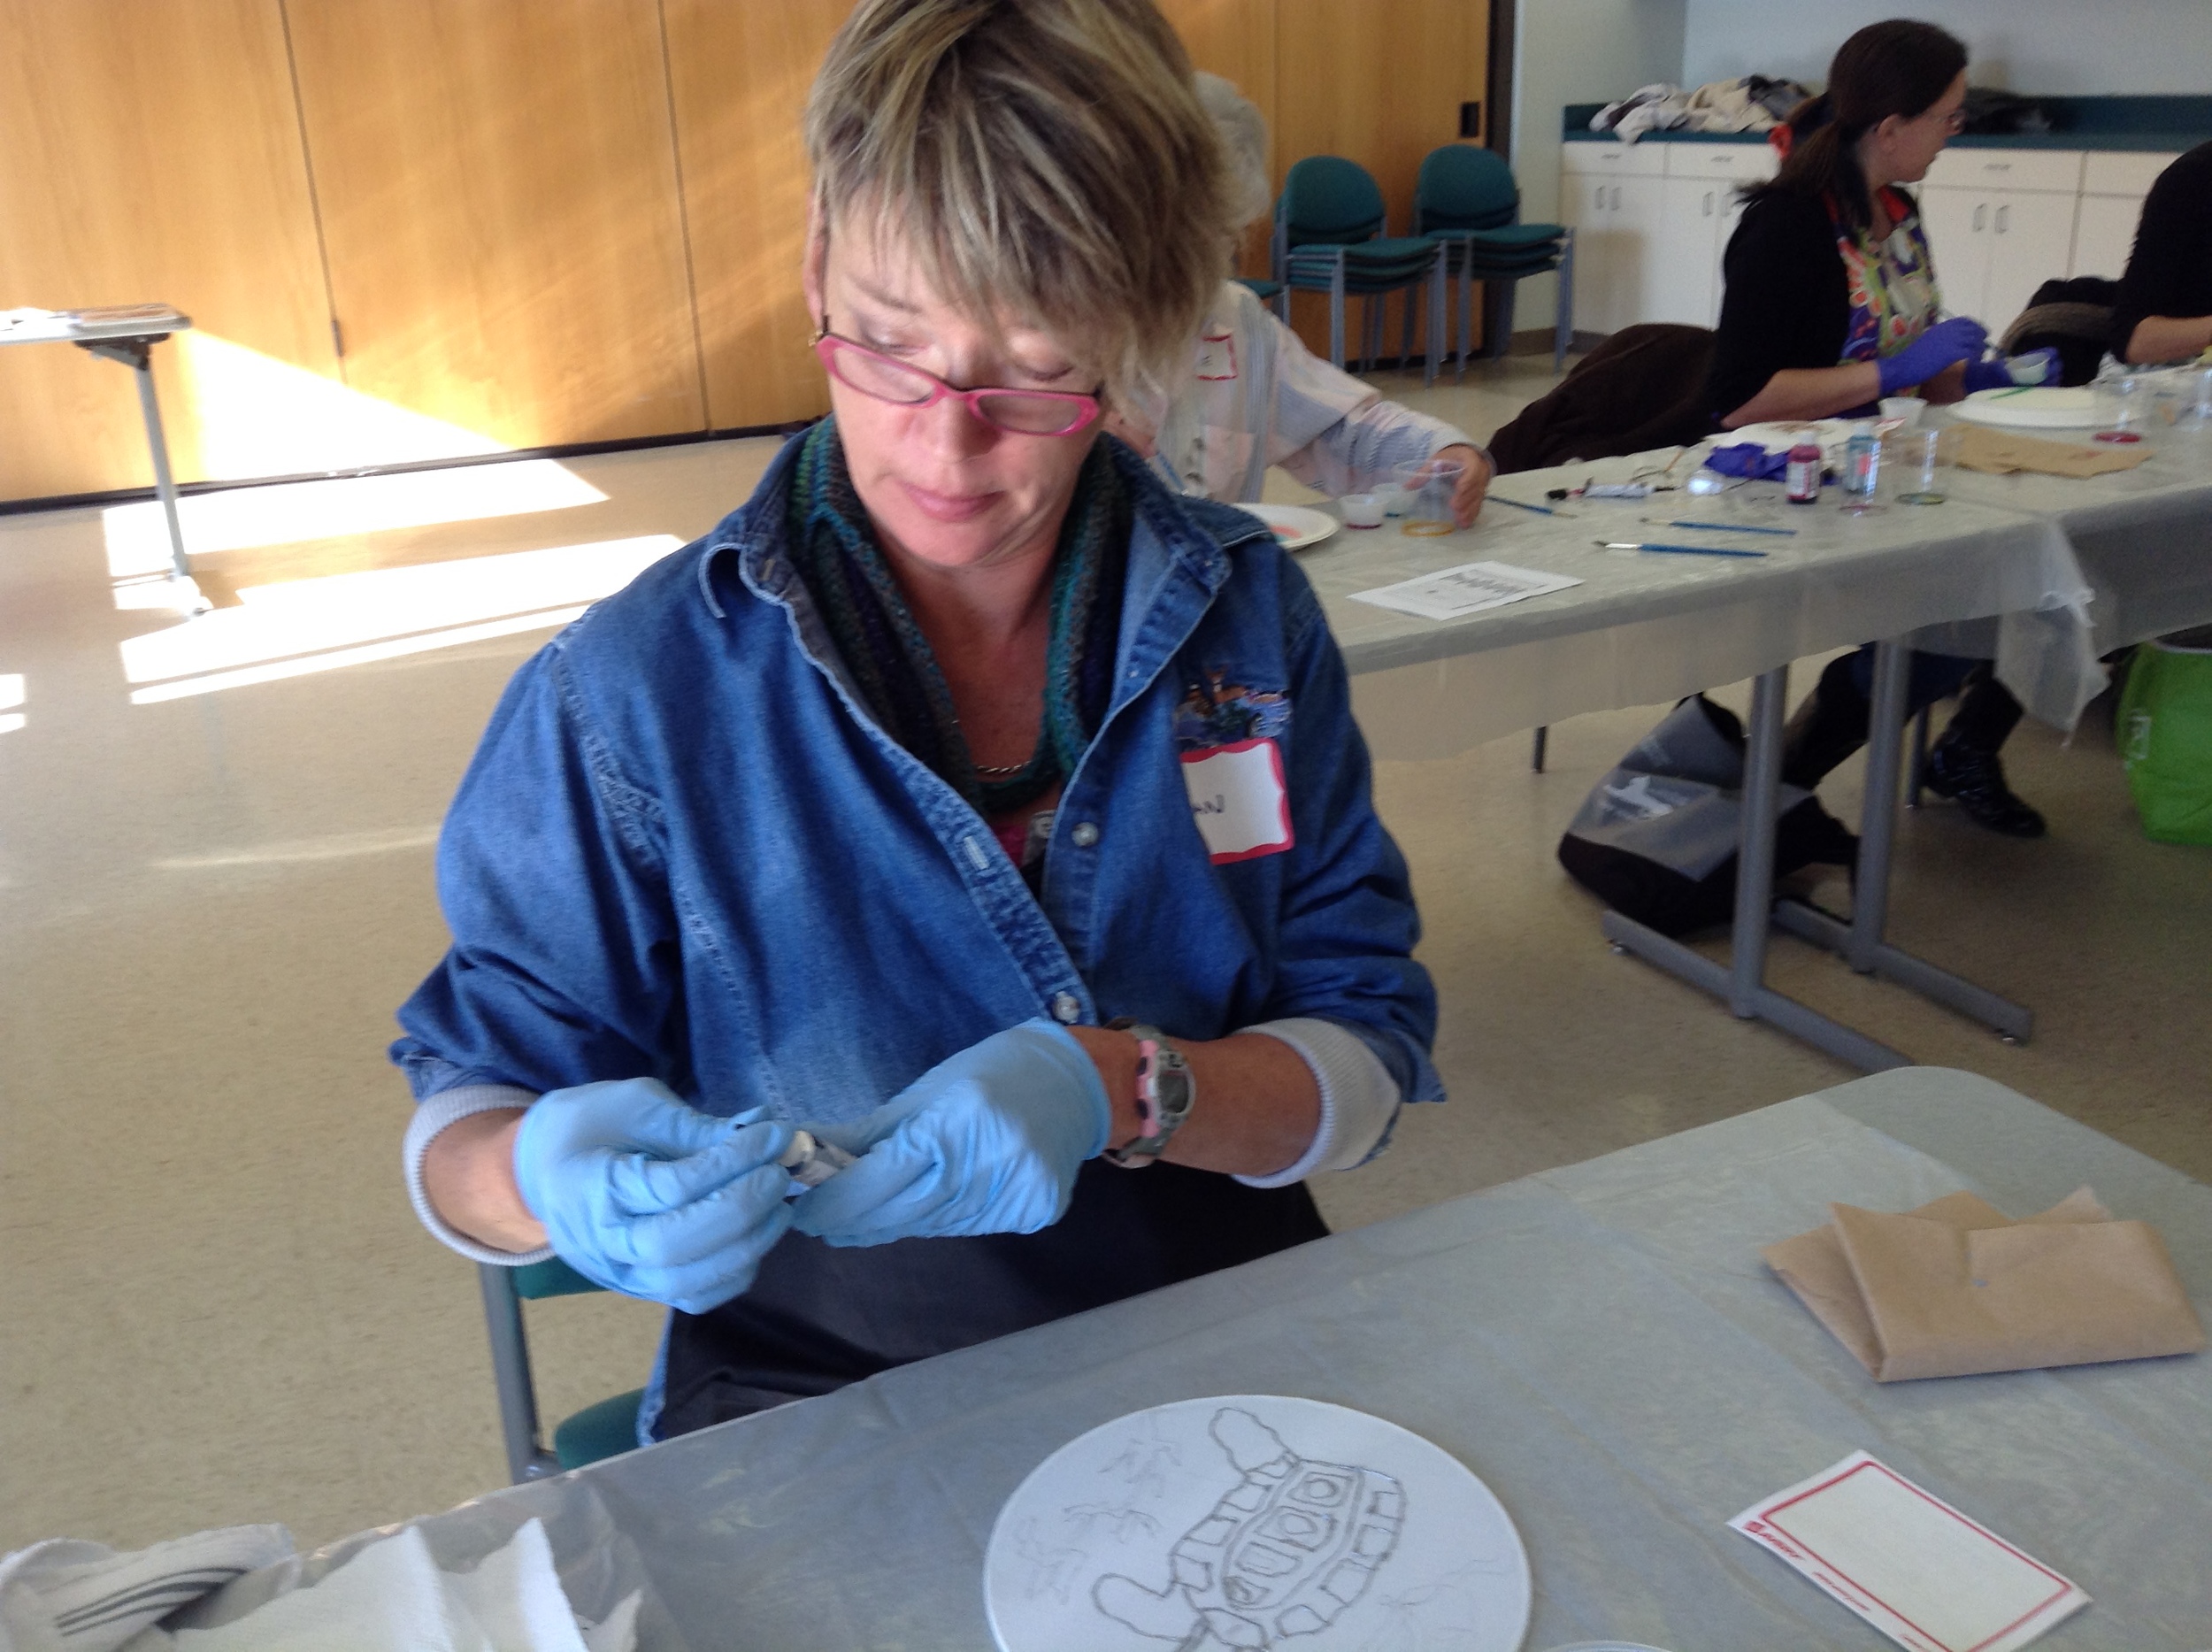
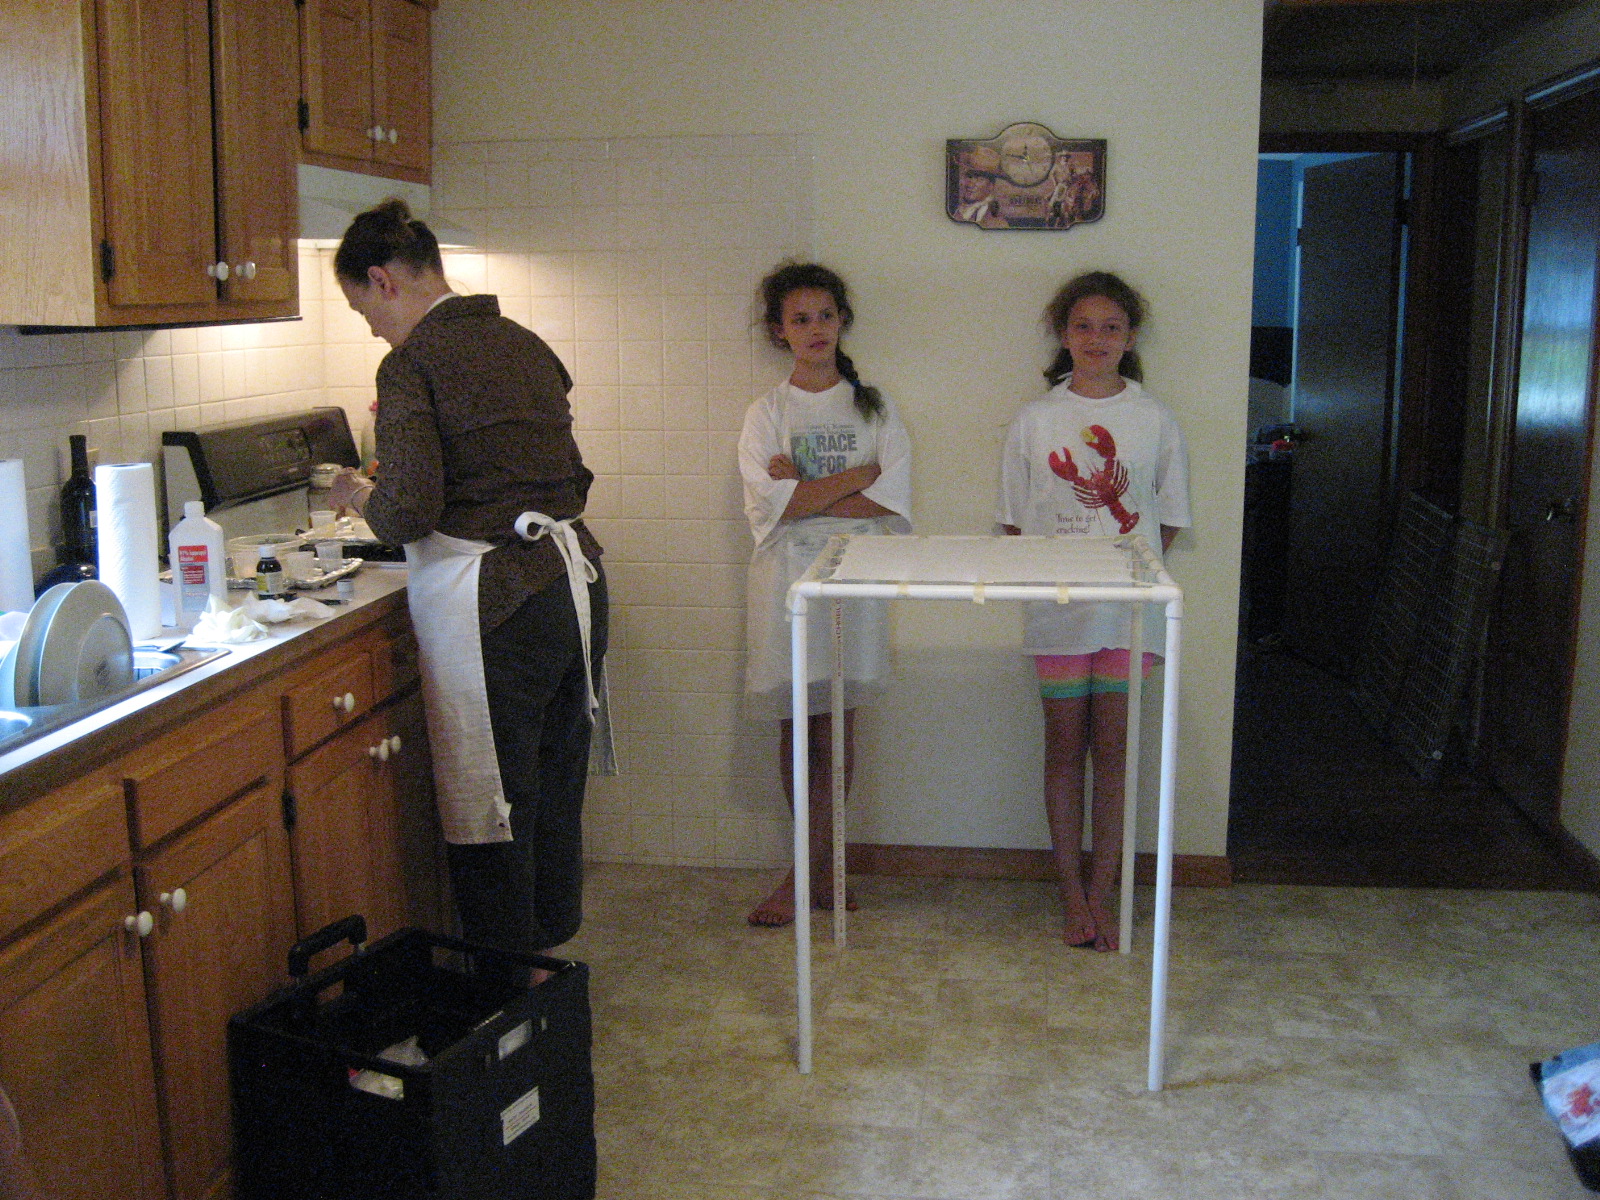
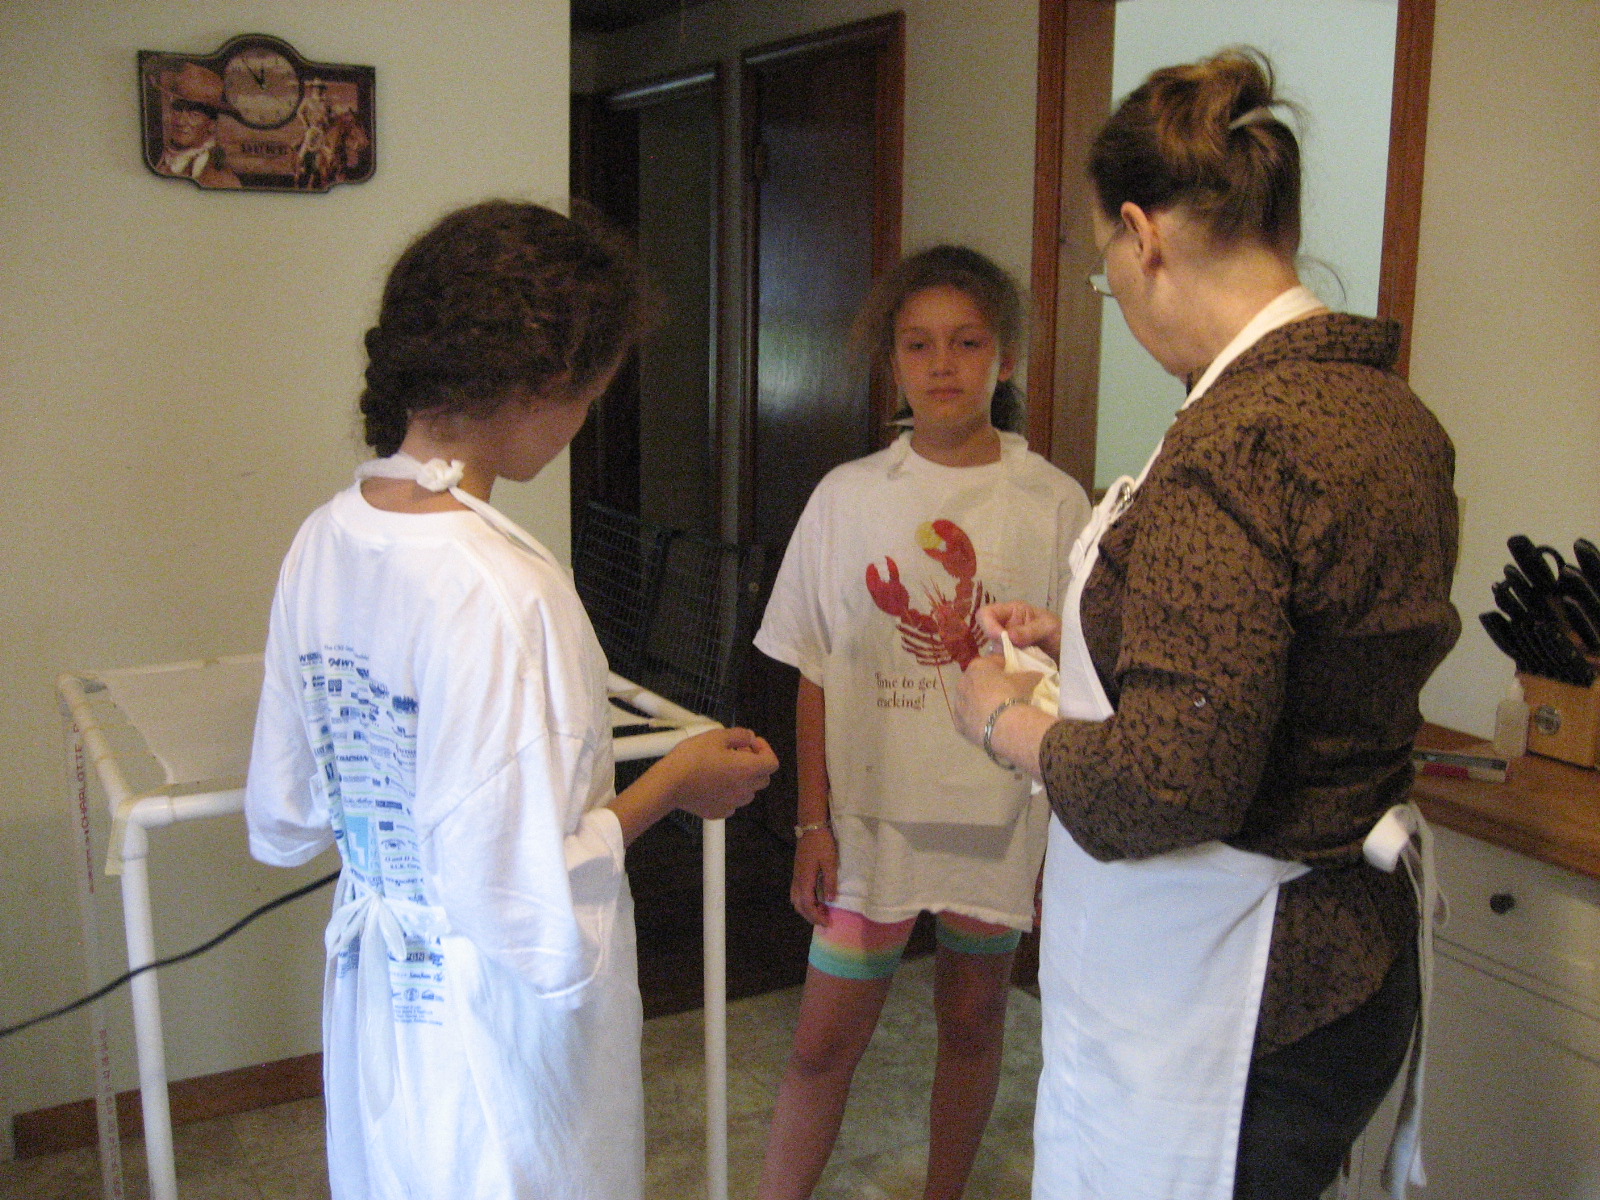
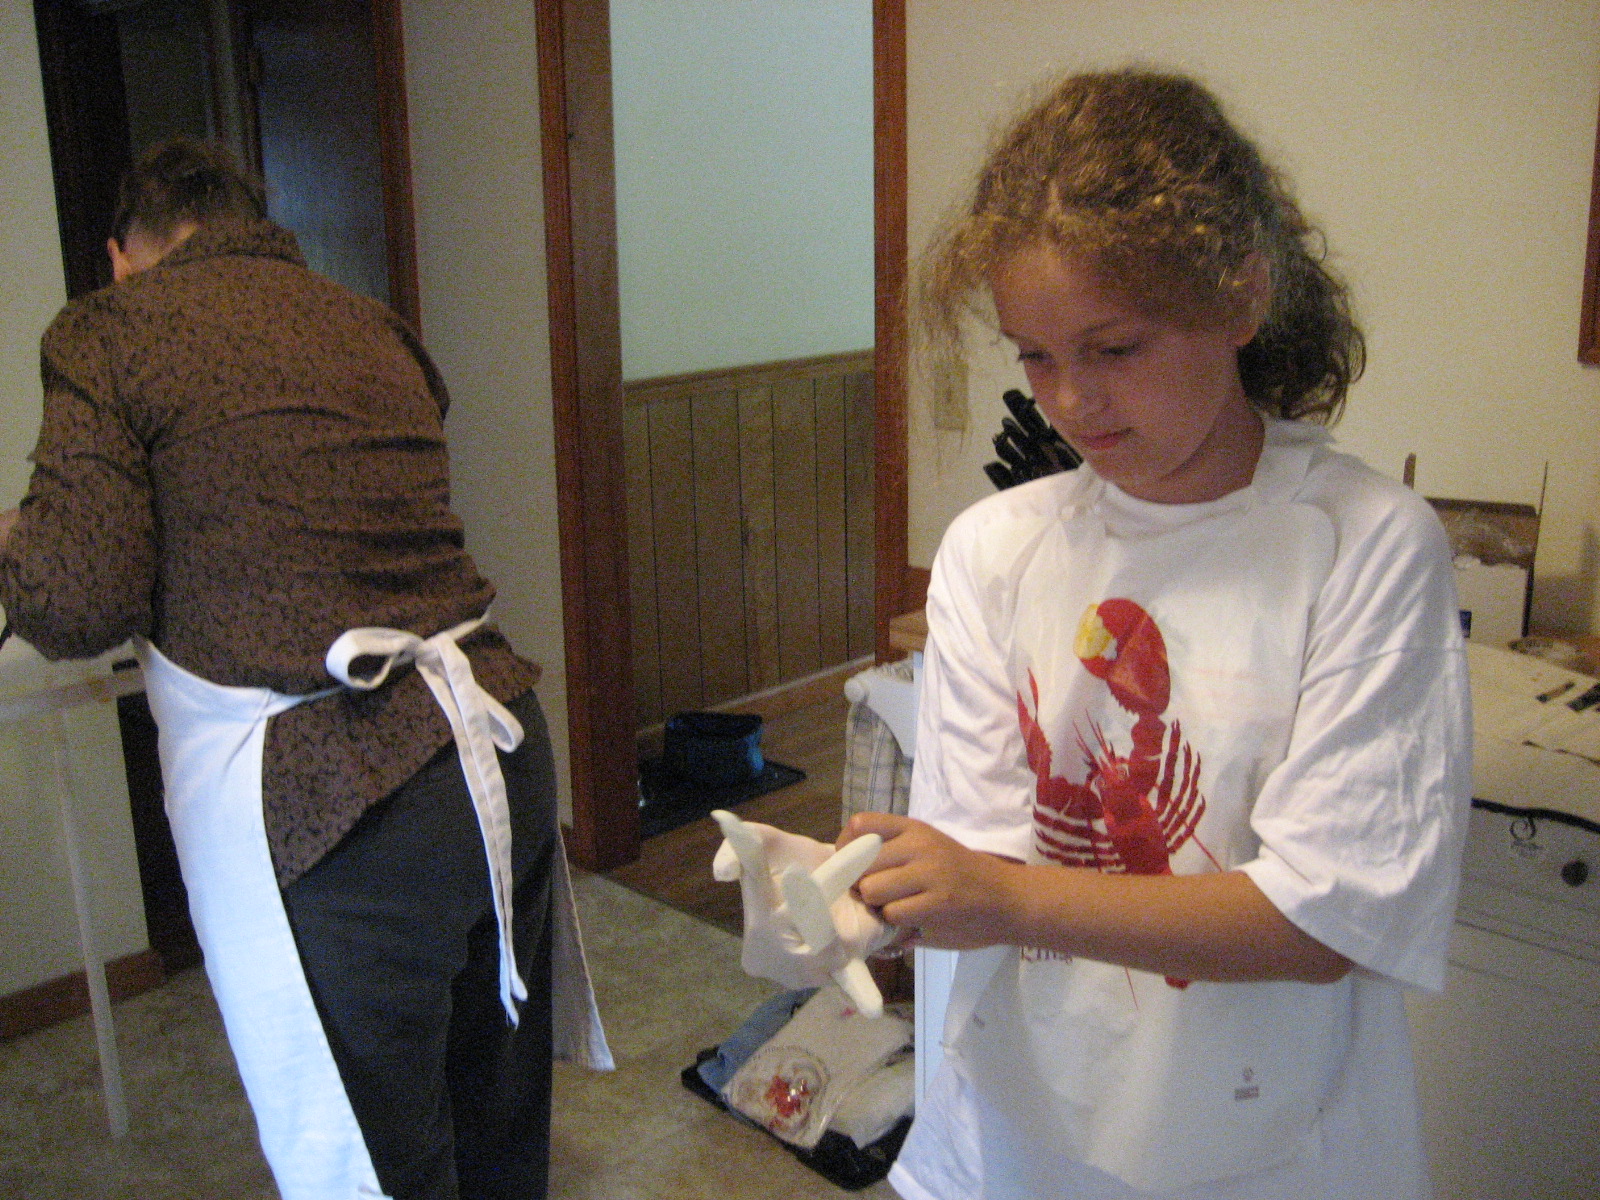
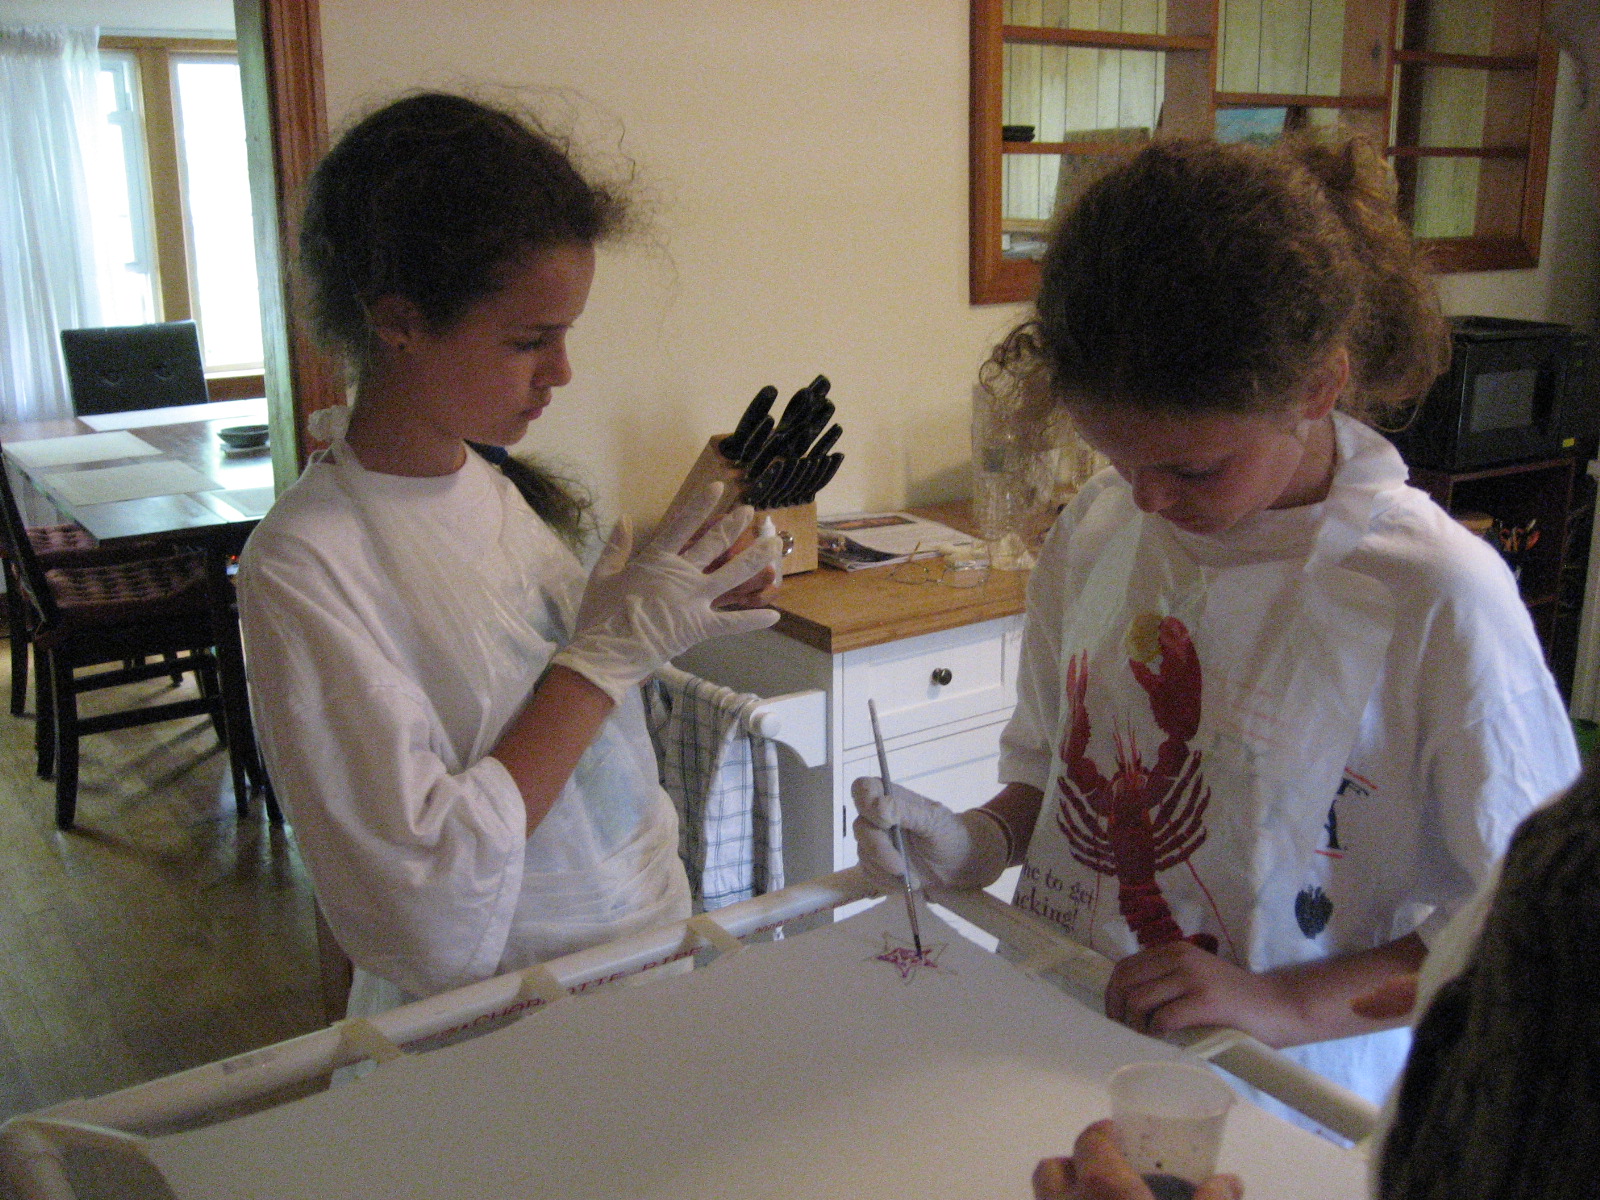
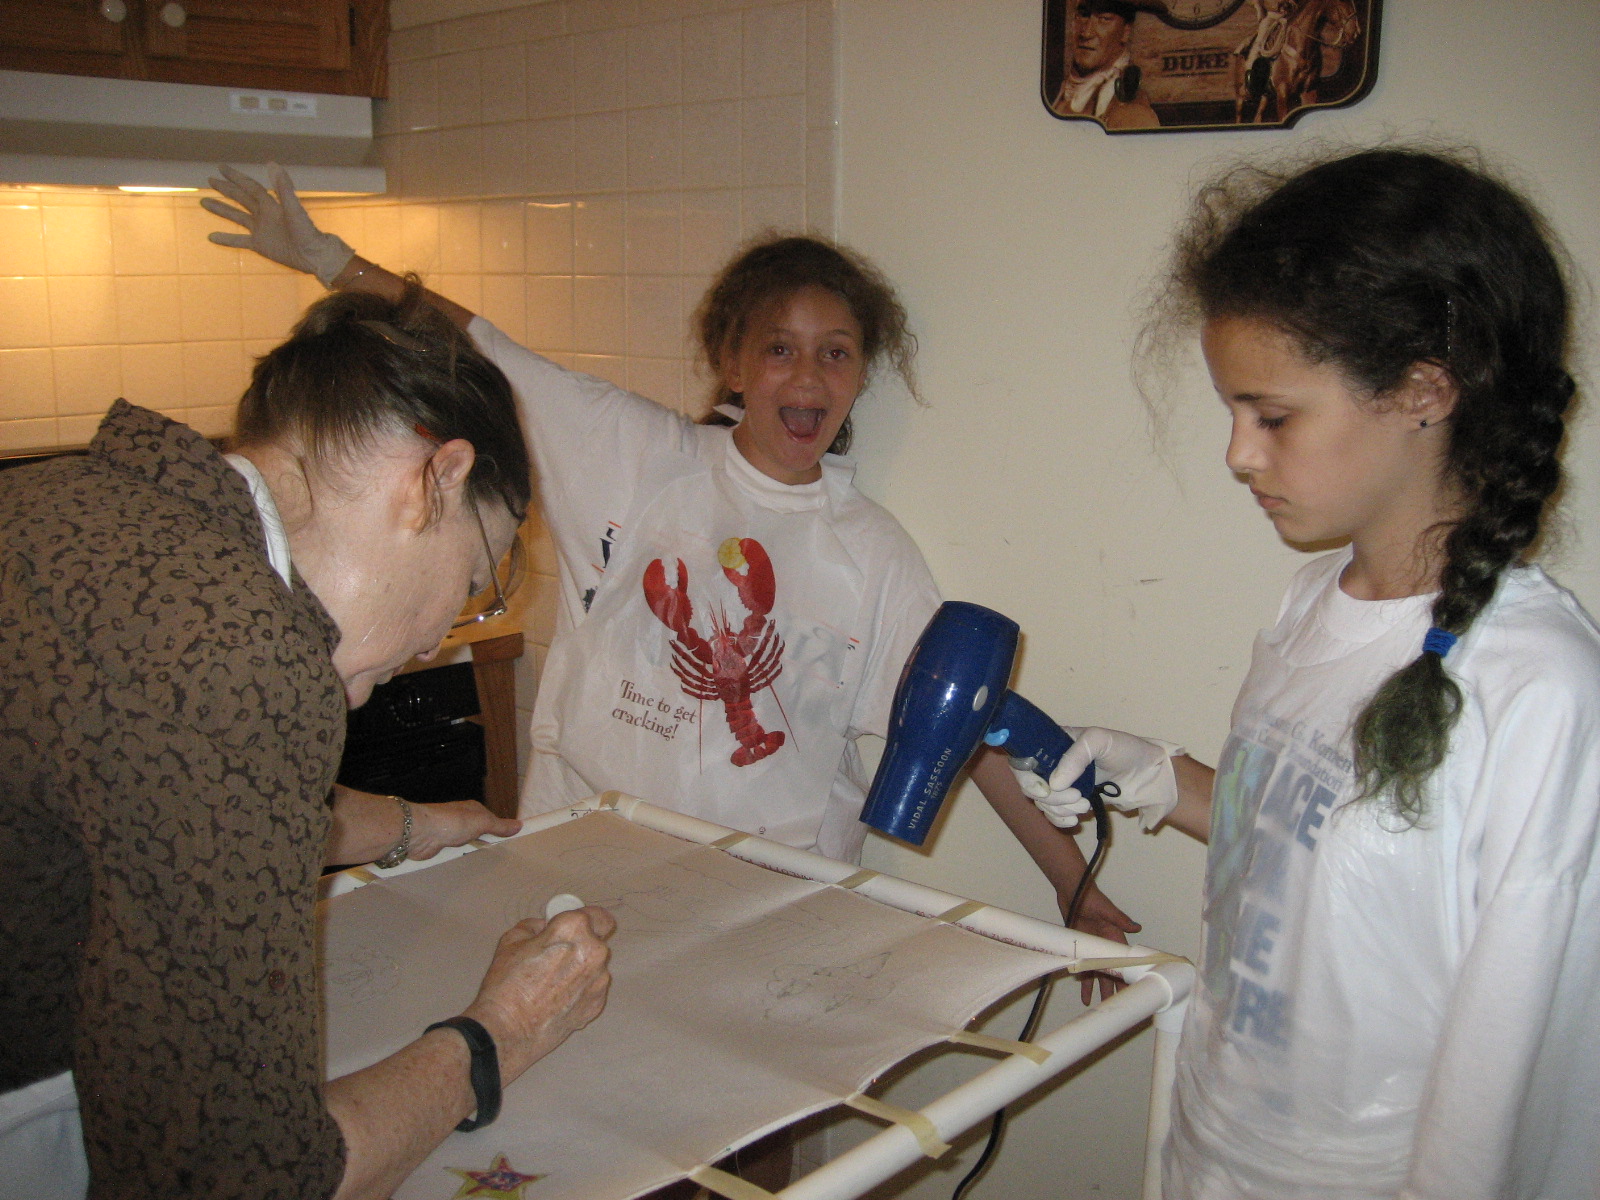
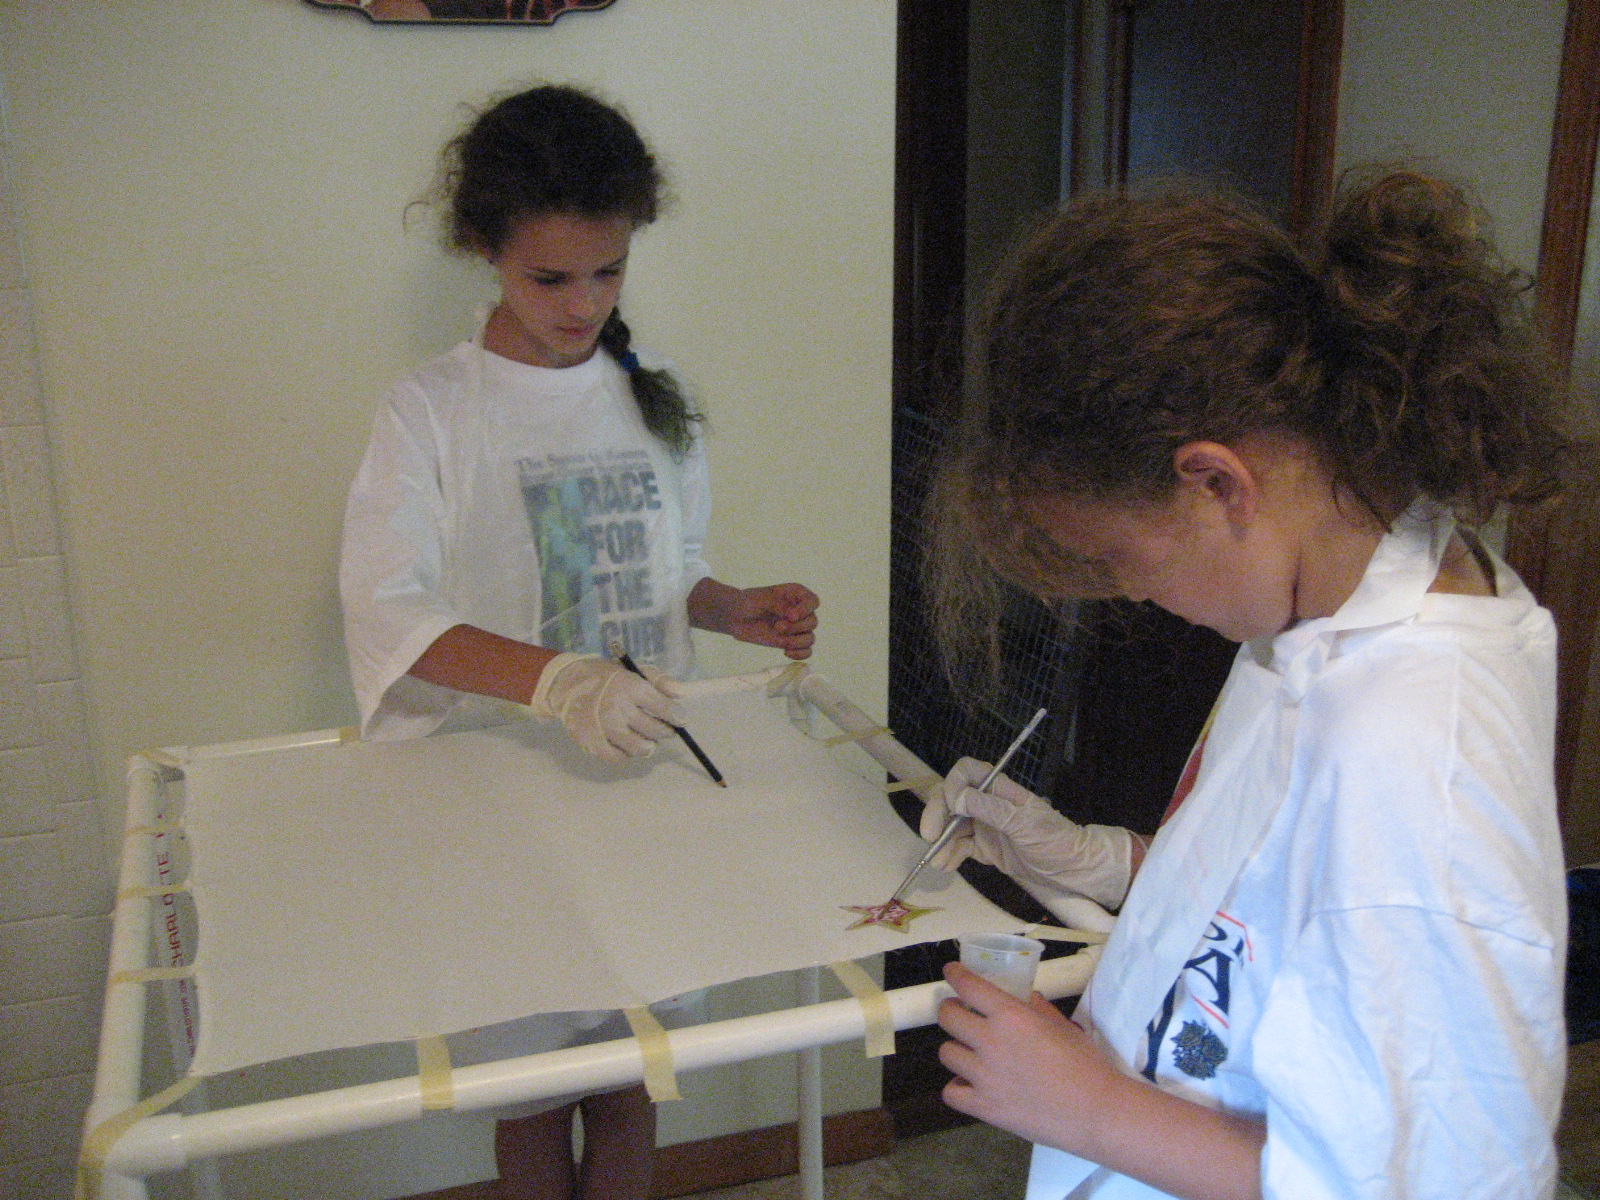
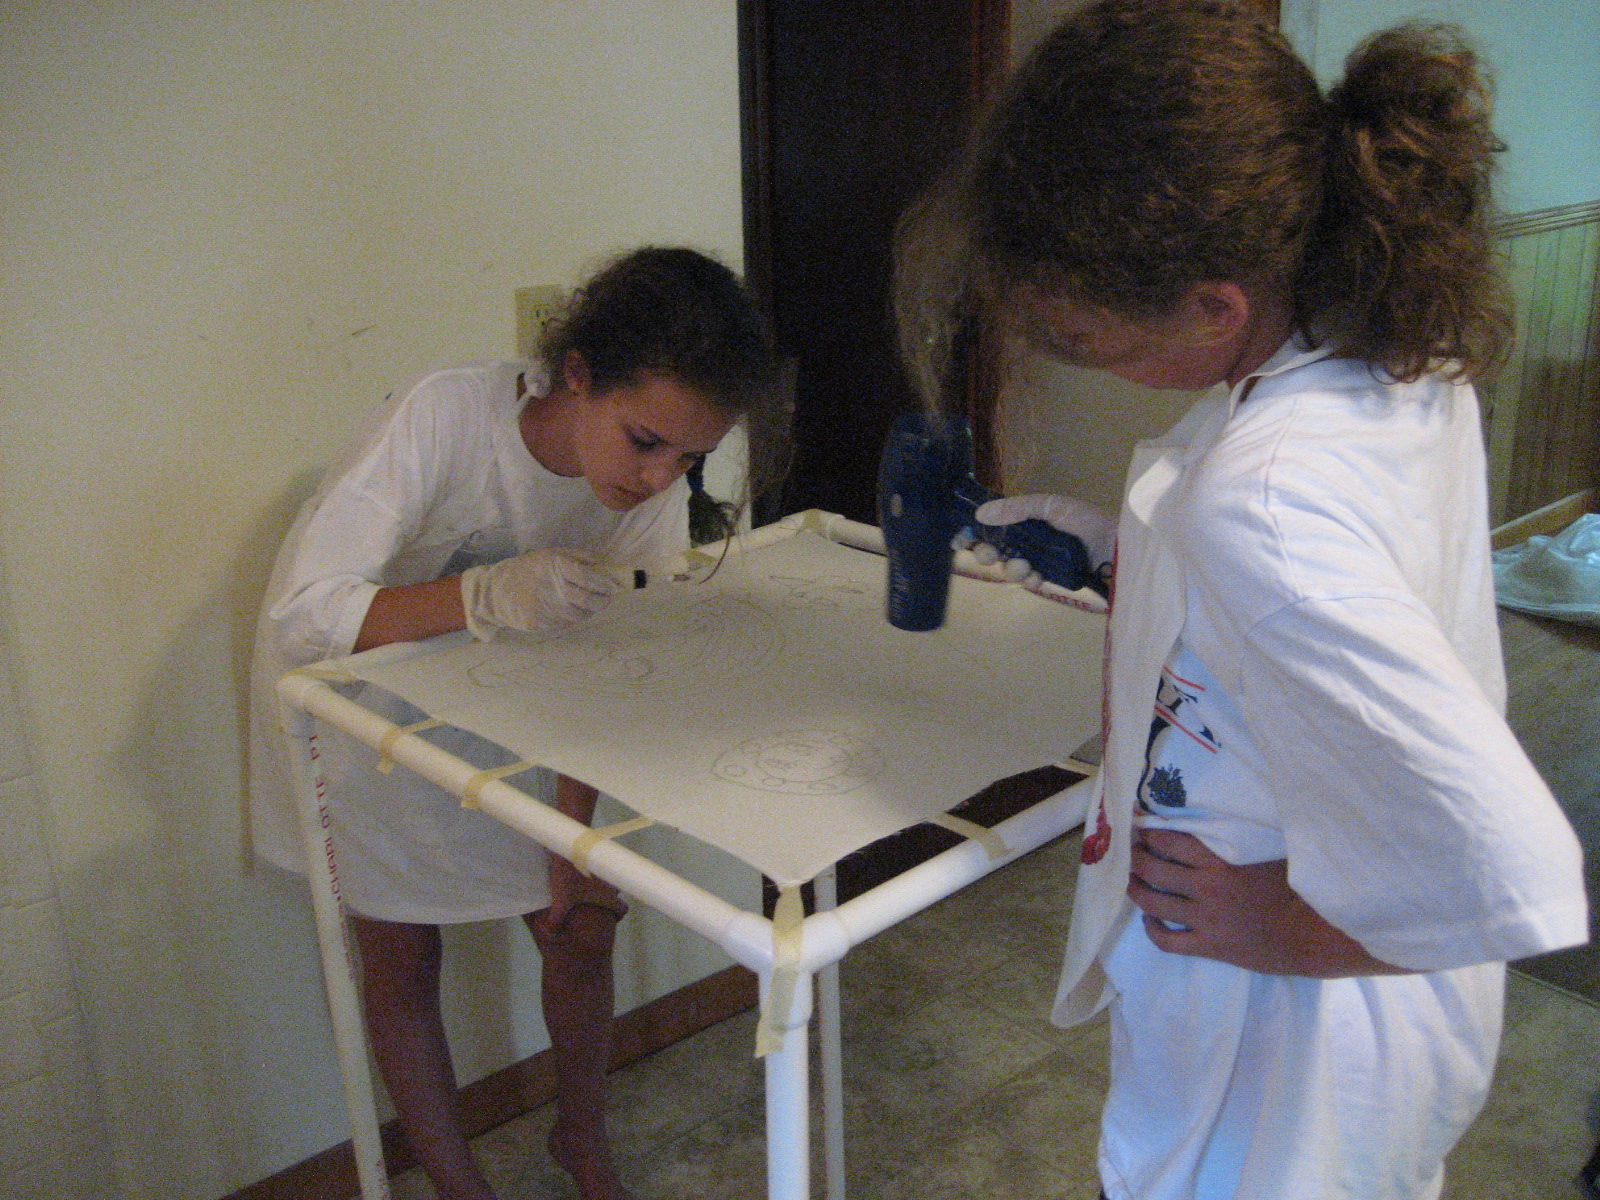
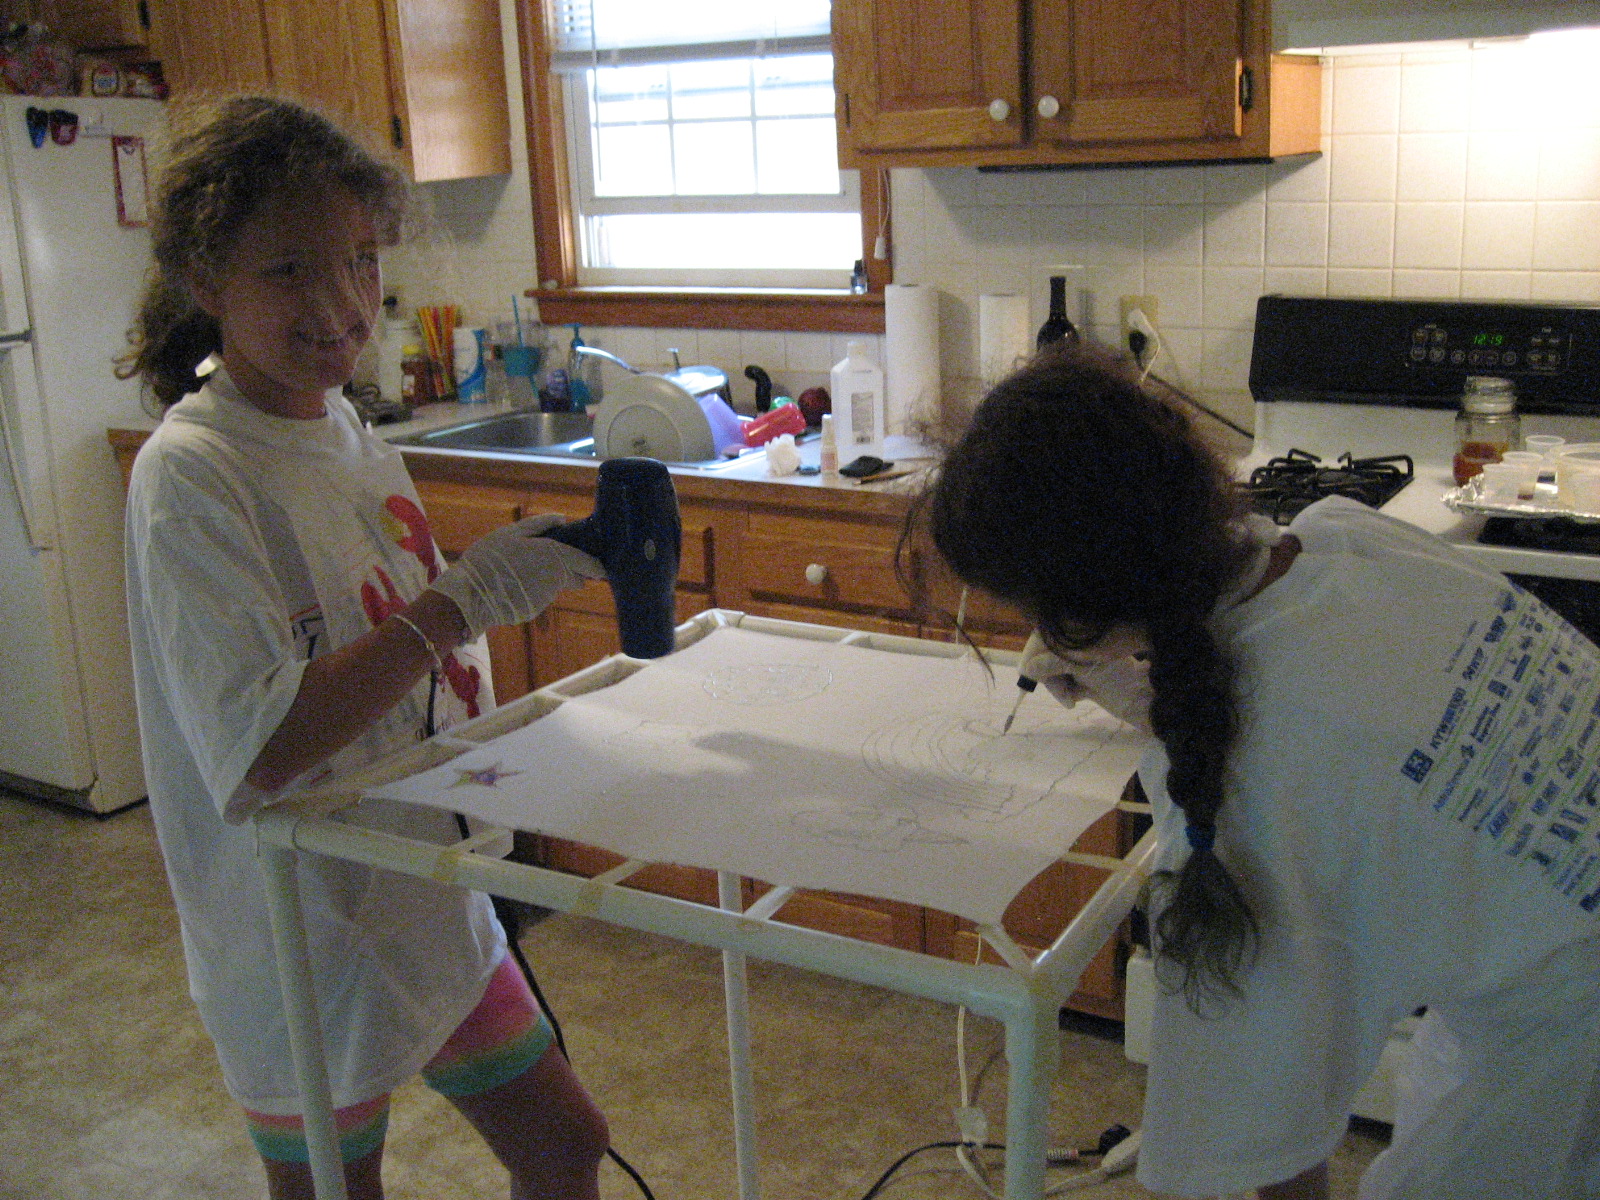
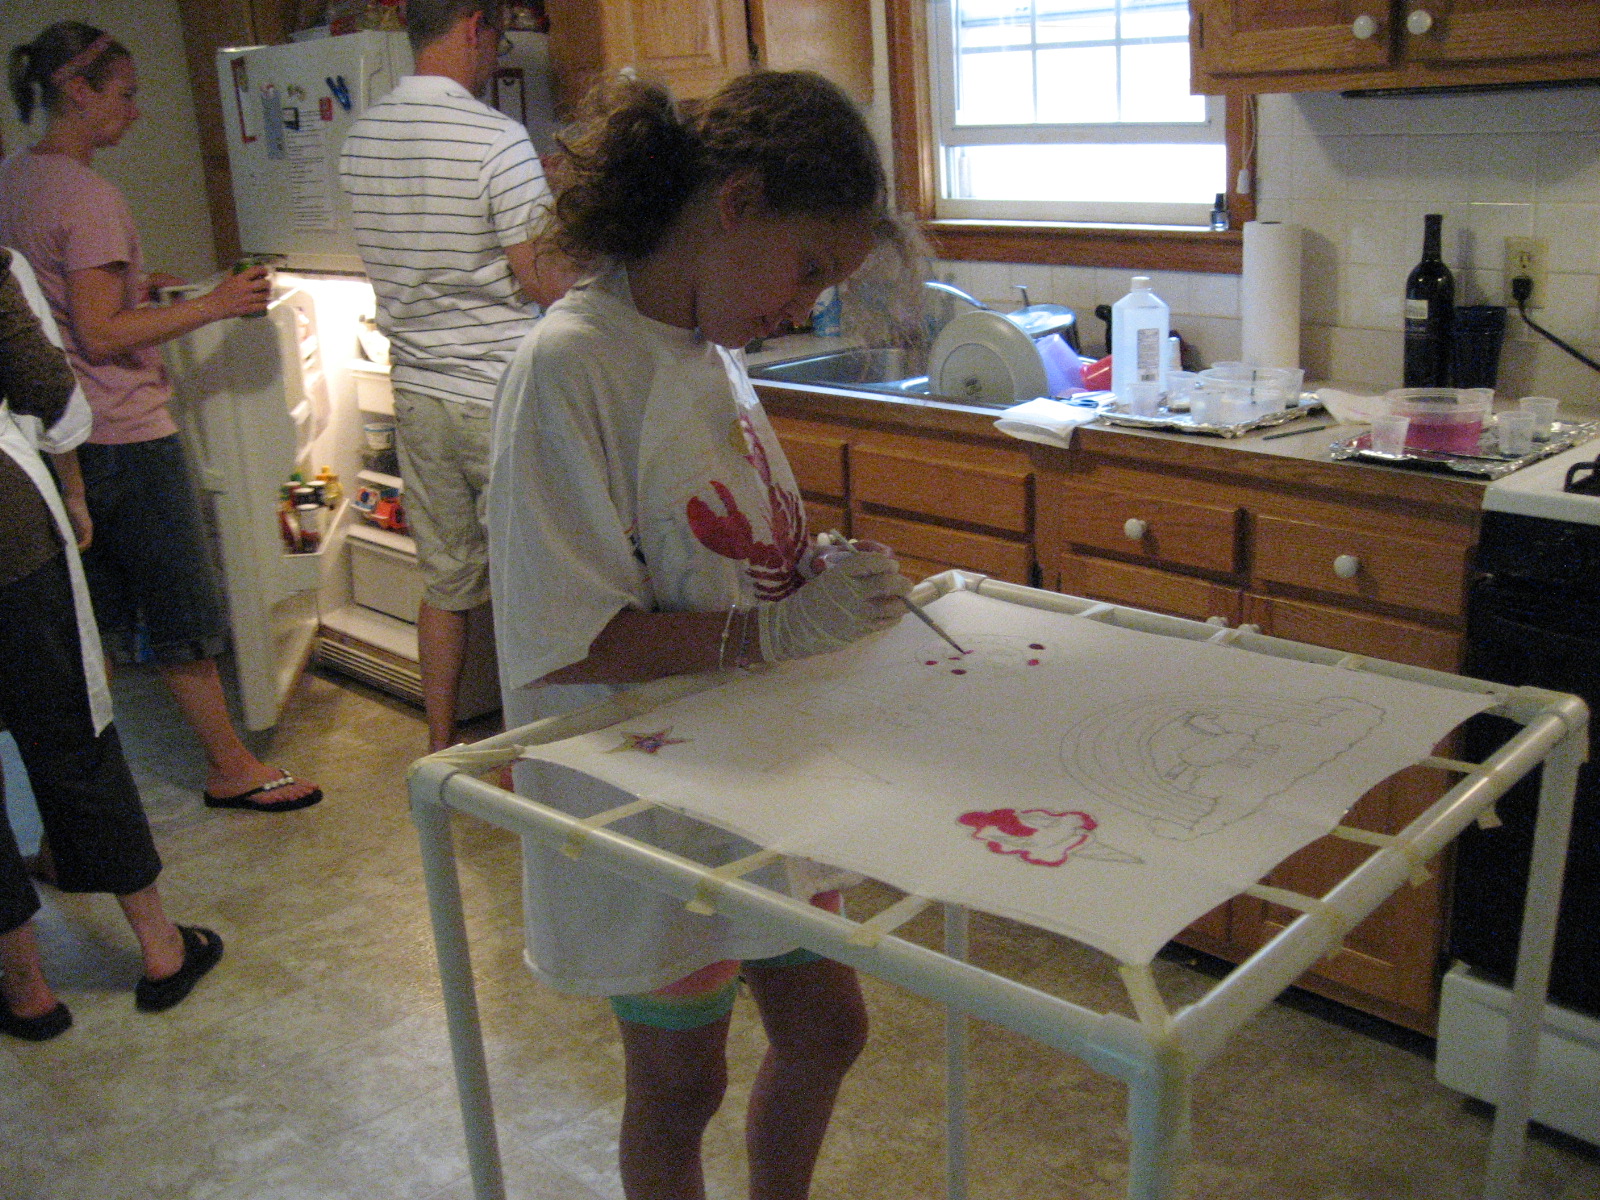
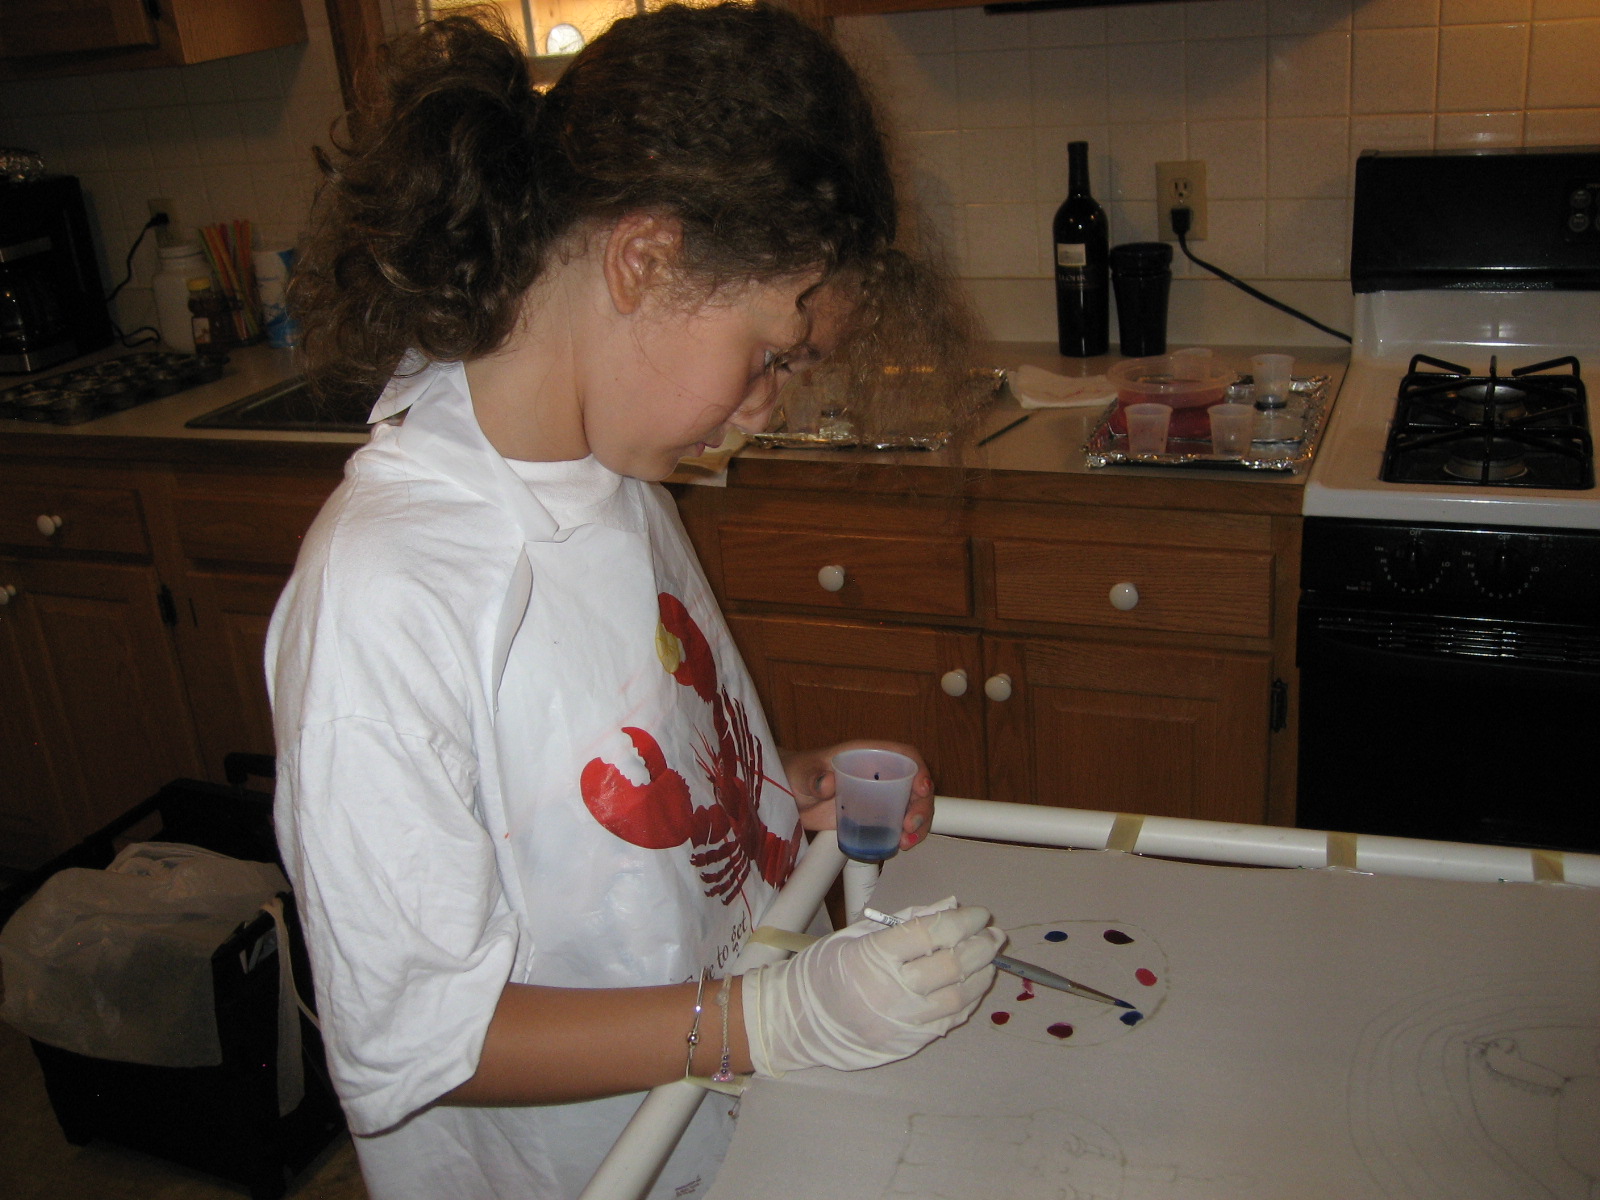
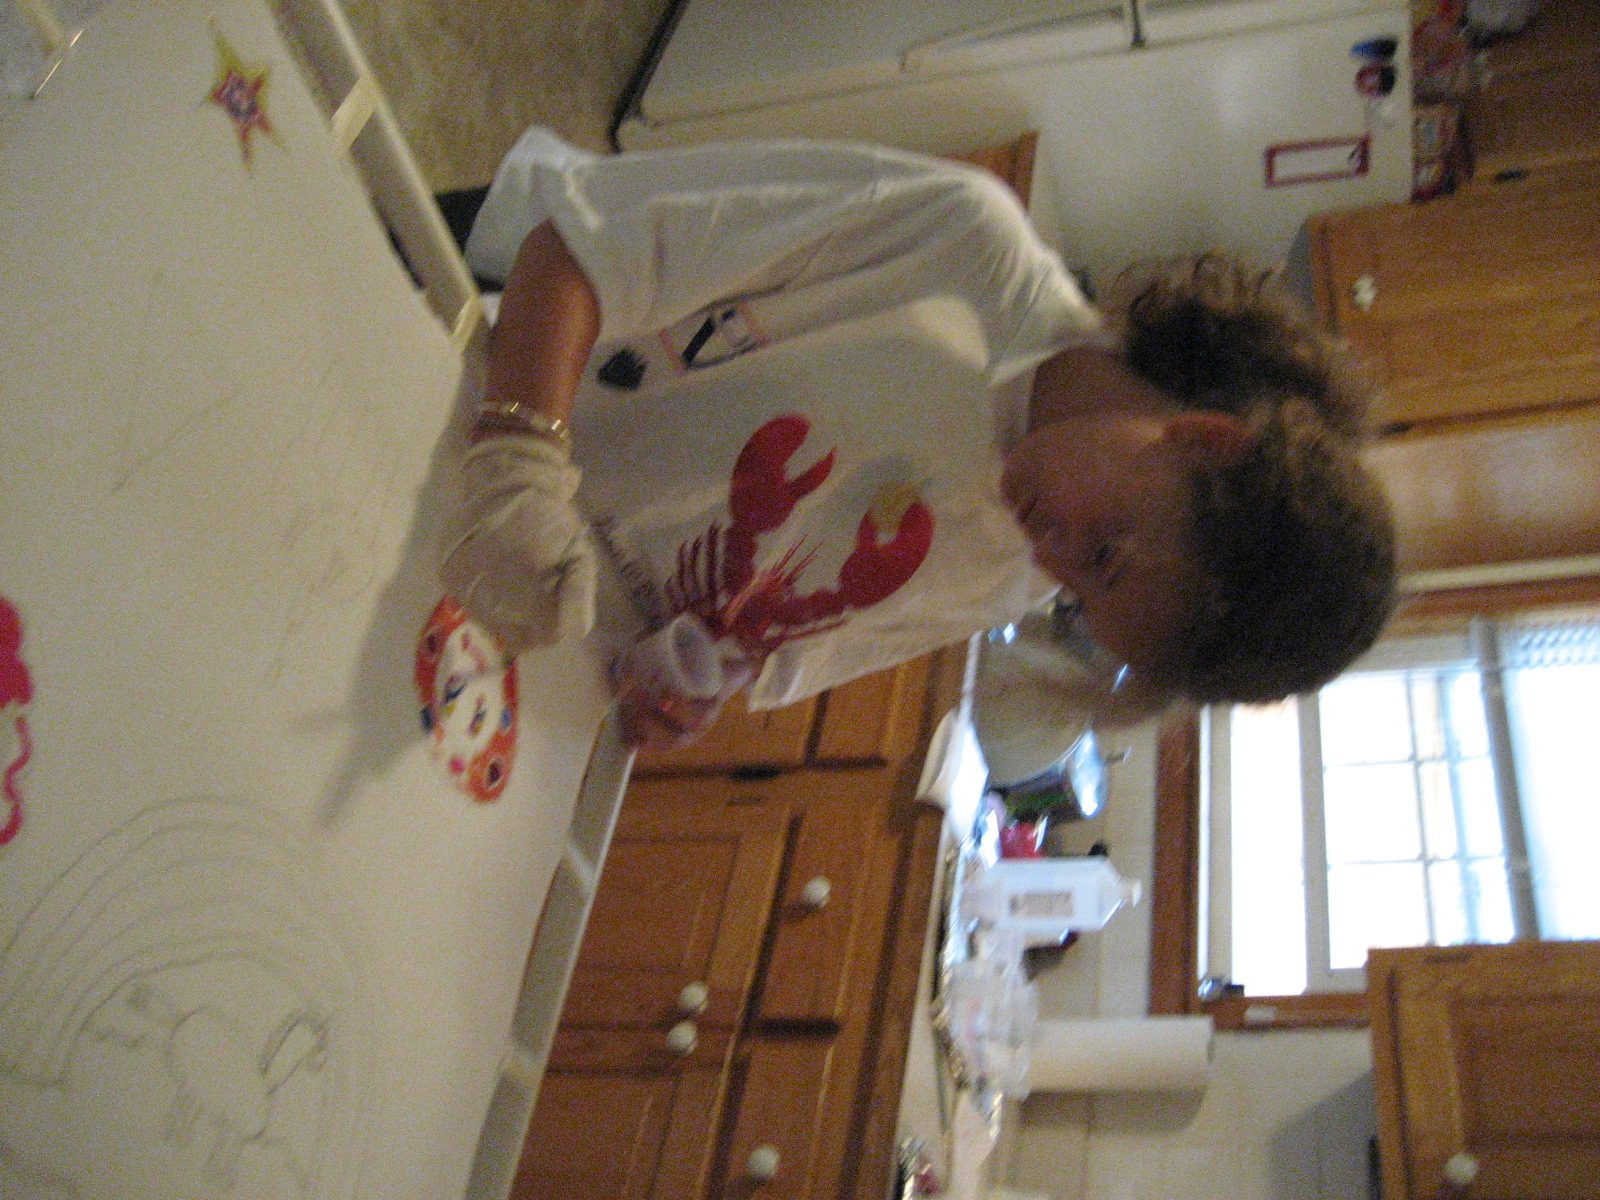
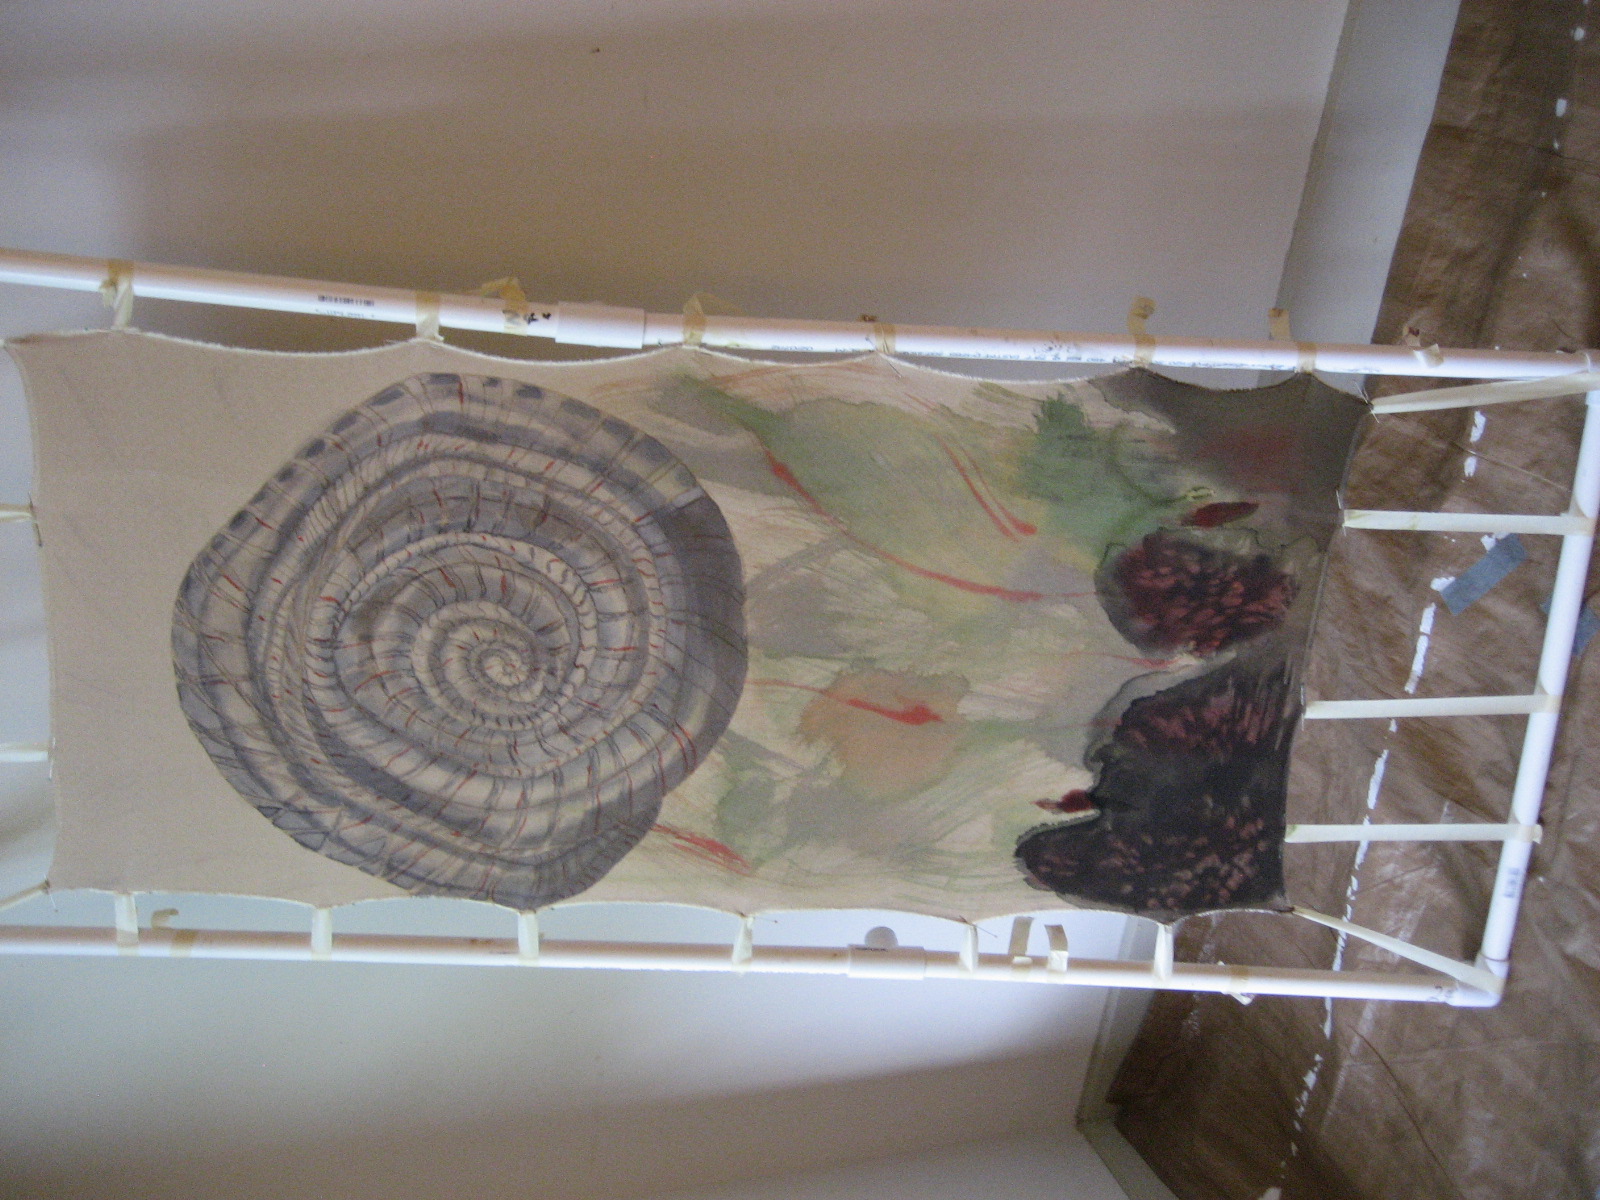
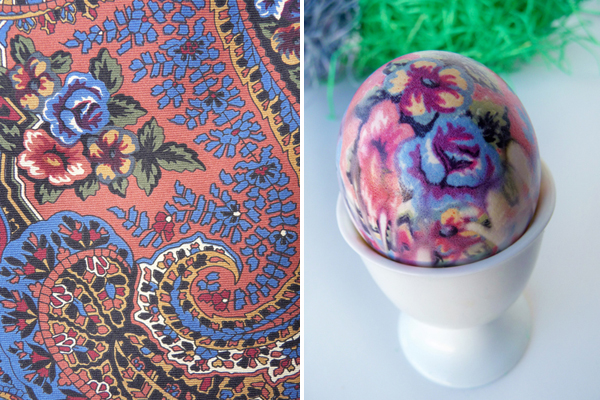
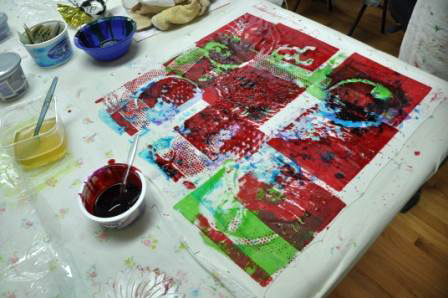
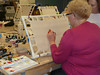
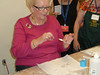
JENNIFER FADEL of Charlotte, SC is experimenting with fabric design and dyes around Paleolithic imagery on cotton. She is also sewing three colorful mattress covers, that she is donating to AZULE. Thank you so much again. 

Near Asheville, NC, take I-40 W toward Knoxville.  Exit at exit 24 toward Hot Springs. You are now on Hwy. 209.  Go about 18 miles, then take Gorenflow Rd. before you get to downtown Hot Springs.  Take the first right and Azule is on the right.  

Joyce Hubert

Joyce Hubert

Art in the Library

by Kathy Goodson

For the month of July the Spring Creek Artists were asked to exhibit at the libraries of Madison Co. My work is at two Mars Hill and Marshall.

Pink Camellia from the Emil Nolde Gardens in Germany

Pink Camellia from the Emil Nolde Gardens in Germany

Piedmont Silk Painters

by Kathy Goodson

The Piedmont Silk Painters (PSP) are the North Carolina Chapter of SPIN (Silk Painters International). We get together about every 5 weeks to share what we know about silk painting and surface design and to have loads of fun while doing it. Some of our members are surface designers and fiber artists, some are silk painters, like me, and a few lucky ones, are both.

On March 15, 2013, we got together and learned Kerr Grabrowski's Deconstructed Silk Screening Technique as demonstrated by two of our members. So much fun, I couldn't wait to run out and buy silk screens... and I'm looking into taking a workshop from Kerr Grabrowski. So much to learn, so little time.

482285_10200967852864956_574480409_n.jpg

SPIN in Santa Fe 2012

by Kathy Goodson

Went to the SPIN Festival in Santa Fe in July 2012.

IMG_1502.JPG

First I took Karen Sistek's Class.

Then I took Suzanne Punch's Class.